
Remove the Hanger From Your Clothing Photos
Shot your stock on a hanger against a door or wall? Upload the photo and the AI removes the hanger and its hook, gives the shoulders a natural rounded shape and places the garment on a clean white, light gray or transparent background.
- Photo
- Settings
- Result
Works best
- One garment, fully in frame
- Straight-on, evenly lit
- Plain background
Avoid
- Cropped hems or sleeves
- Busy backgrounds or several garments
Output: 2048 × 2048 px · JPG
Uses 1 credit per image. A failed image gives the credit back.
- Private: only you can see your photos
- Failed images give the credit back
- 2048 px downloads, ready for Shopify, Etsy and Amazon
- Pay once, no subscription
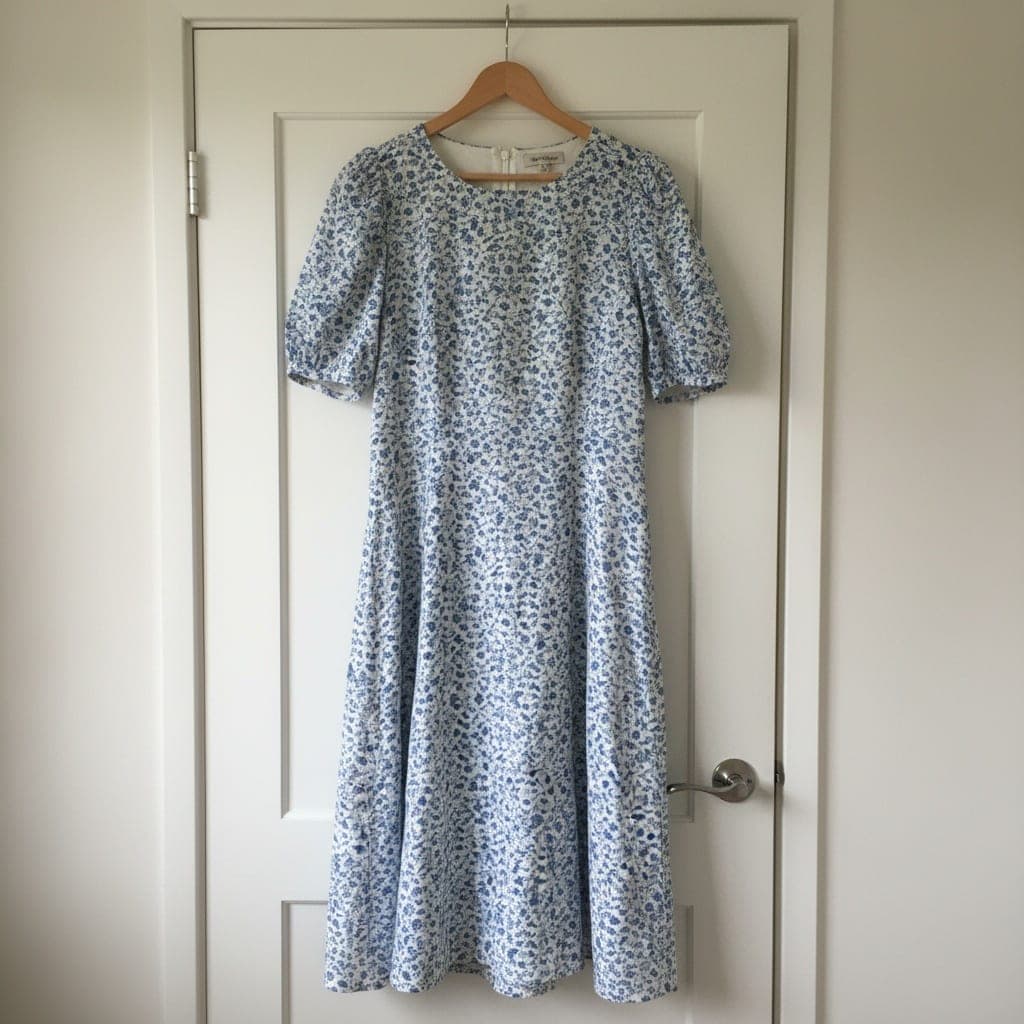 Hanger
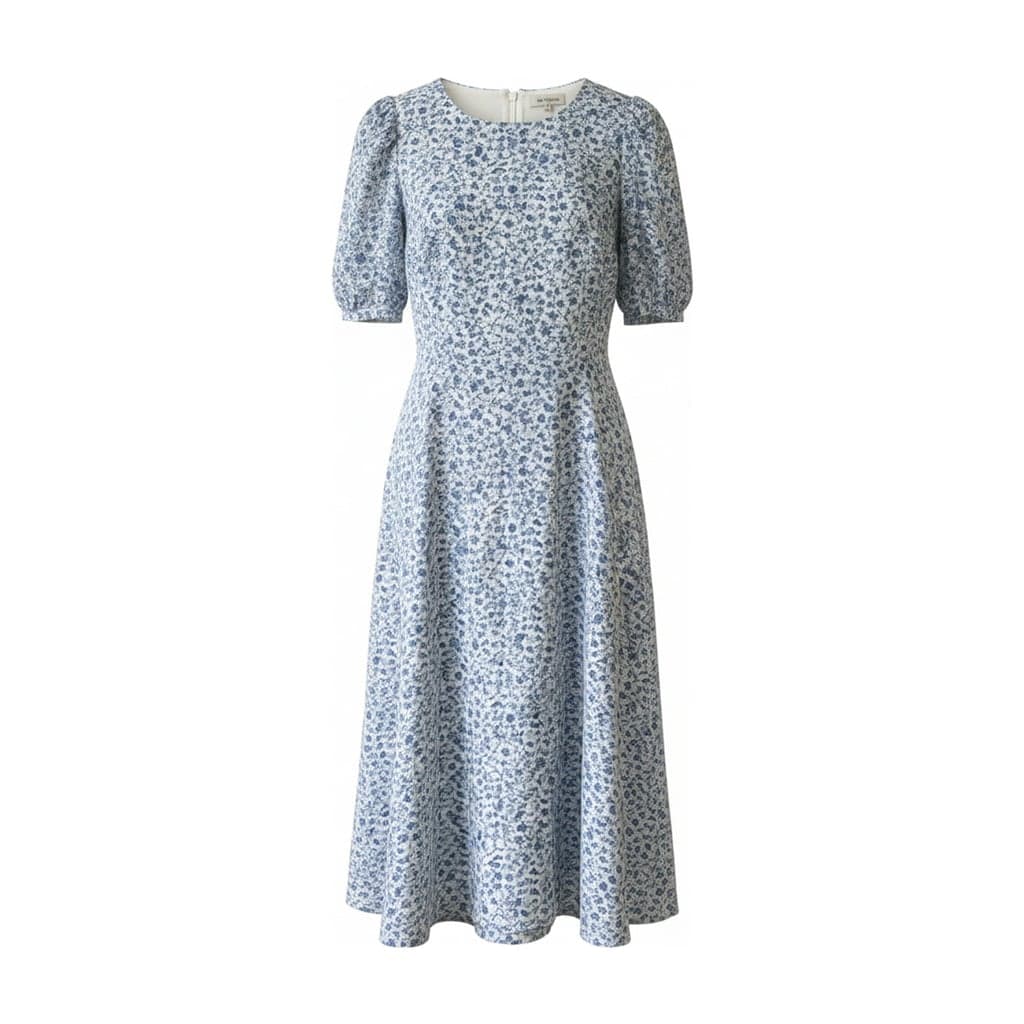 Ghost mannequin
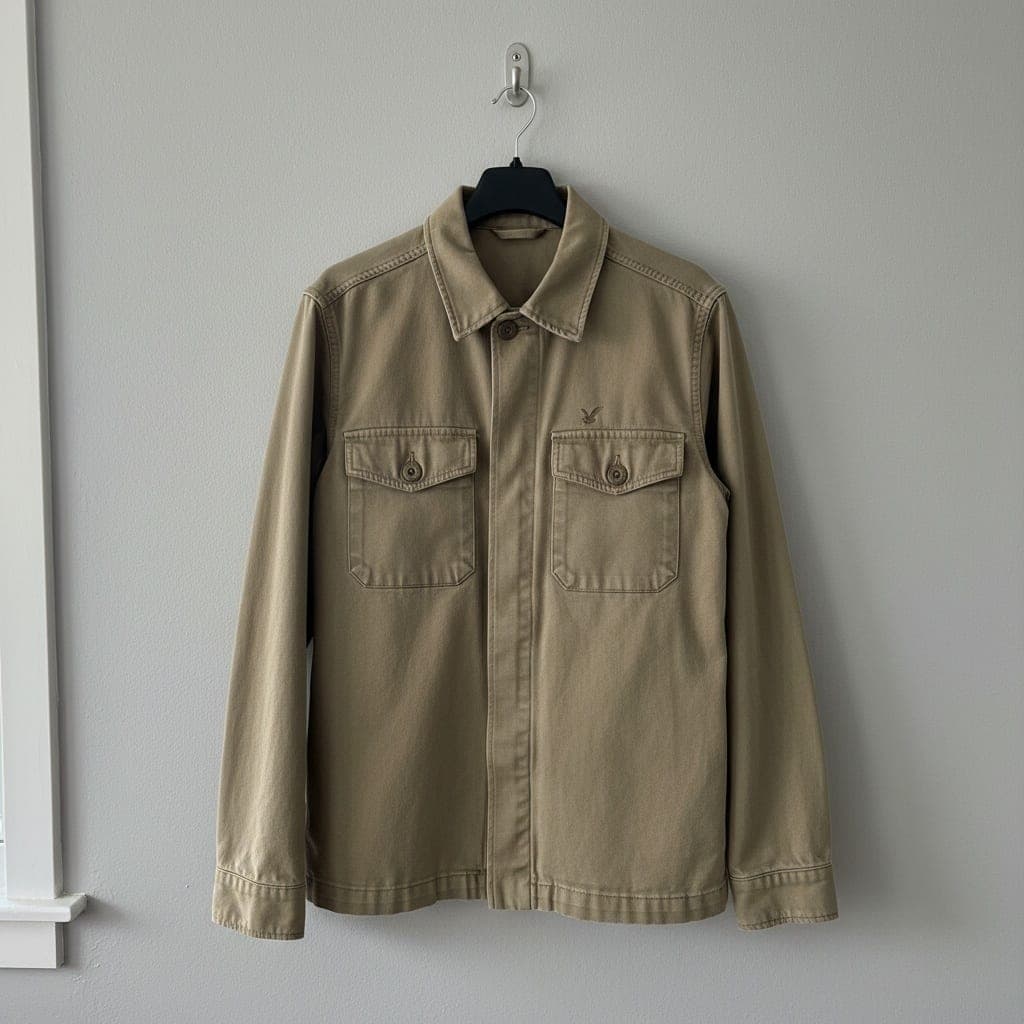 Hanger
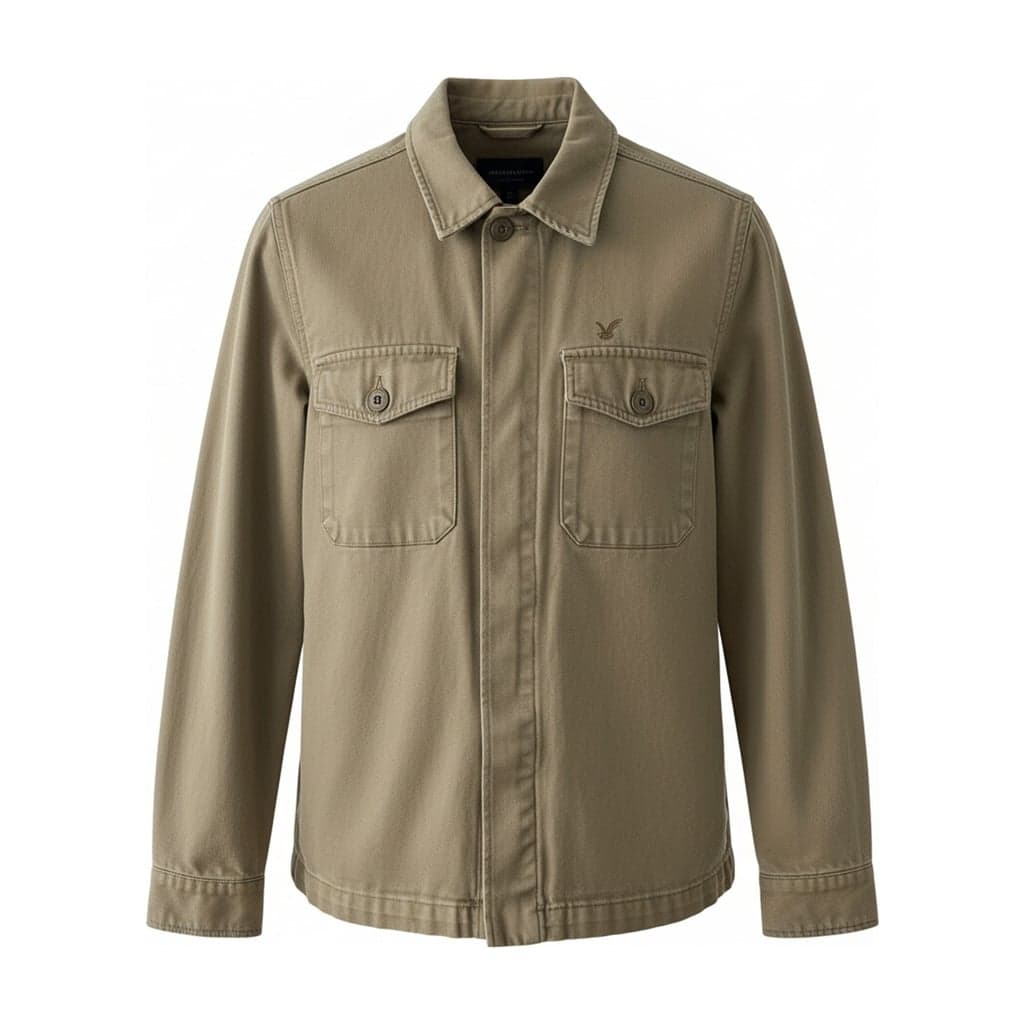 Ghost mannequin
Hanger Photos Are the Easiest to Take
No mannequin, no overhead rig: most sellers already have a pile of photos of clothes hanging on a door, a rail or a hook on the wall. The problem is that they look like what they are. The hook sticks up, the shoulders take the shape of the hanger, and the wall behind is never quite plain.
Removing the hanger fixes the first problem. Reshaping the shoulders fixes the second, and replacing the background fixes the third. That's what this page's tool does in one step.
What Changes
The hanger and hook
Both are removed completely, including the part that shows through the neck opening.
The shoulders
Wire and plastic hangers leave sharp corners. The AI gives the shoulders a natural rounded shape, as if the garment were worn.
The background
The door, wall or rail is replaced with pure white, light gray or a transparent background, with the garment centered and evenly spaced.
How to Shoot a Good Hanger Photo
- 01
Hang it straight
Use a plain hanger that fits the garment, do up the buttons and zips, and let it hang without twisting.
- 02
Keep the wall plain
A light, plain door or wall works best. Move other clothes, towels and hooks out of the frame.
- 03
Shoot straight on
Stand in front of the garment at chest height, with soft daylight from the front or side, and get the whole garment in frame.
Ghost Mannequin or Flat Lay?
The tool above makes a ghost mannequin: the garment with a worn, 3D shape. If you'd rather show it laid flat from above, the flat lay generator accepts hanger photos too, with the same credits. Trousers and skirts on clip hangers usually look better as a flat lay.
Remove Hanger FAQ
Does it work with wooden, plastic and wire hangers?
Yes. The type of hanger doesn't matter much. What matters more is that the garment hangs straight and is fully in frame.
What about clip hangers for trousers and skirts?
Clips are removed too, but they often pinch the waistband. For trousers and skirts, the flat lay tool usually gives a cleaner result from the same photo.
Will it remove wrinkles?
It may even out light creases, but it isn't meant to iron the garment, and deep folds can stay. Steaming the garment before you shoot gives the best result.
Is the inner neck added like on a mannequin photo?
Yes. Front views get the inner back of the neck filled in. It's AI-drawn, so compare it with your garment before you publish.