
How to Shoot a Clothing Flat Lay at Home
Surface, light, camera angle and folding for clean clothing flat lays with a phone, and what to do when a garment won't lie flat.
A flat lay is a garment laid out on a surface and photographed from straight above. It is the easiest product photo to take at home: no mannequin, no model, just a clean surface, daylight and a phone. It is also easy to get slightly wrong, and small mistakes (a tilted camera, a shadow from your arm, one sleeve longer than the other) are what make a flat lay look homemade.
What you need
- A surface bigger than the garment. A white foam board, a sheet of poster paper, a bedsheet pulled tight, or a light wooden floor. For dresses and trousers, the floor is usually the only surface big enough.
- Soft daylight. A large window with no direct sun on the garment. Overcast days are ideal.
- A phone. Any recent phone camera is sharp enough. A phone mount on a stand or a step stool helps you get high enough.
- A steamer or iron. Creases are the most visible flaw in a flat lay, and no editing fixes all of them.
Set up the light
Put the surface next to the window so the light falls across it from one side. If the far side looks dark, stand a white board or a sheet of paper on that side to bounce light back. Turn off the room lights: mixing daylight with warm bulbs gives the garment a color cast that's hard to correct.
Watch for your own shadow. Shooting from above, it's easy to stand between the window and the garment.
Lay out the garment
- Steam it first, then lay it down and smooth it from the center outward with flat hands.
- Make it symmetrical. Line up the shoulders, then make both sleeves mirror each other. For T-shirts, angle the sleeves slightly down; for long sleeves, either lay them straight beside the body or fold them in once at the same angle.
- Shape the waist a little. Tucking the sides in slightly at the waist makes a shirt look worn rather than spread out.
- Close it up. Button shirts, zip jackets, and turn collars down the way they're worn.
- Leave space. Keep a margin around the whole garment so nothing touches the edge of the frame.
Take the photo
- Shoot from directly above, with the phone parallel to the surface. If one end of the garment looks wider than the other, the phone is tilted.
- Turn off the wide angle. Use the main 1× lens and step back or stand higher rather than using the 0.5× lens, which bends the edges.
- Tap to focus on the fabric, and lower the exposure a little if a white garment loses its detail.
- Take a detail shot of the print, the label or the fabric texture while it's laid out.
Garments that don't lie flat
Some garments are hard to flat lay well at home: heavy coats, structured blazers, anything long that needs more floor than you have. Others you may already have photographed another way, on a hanger or on a mannequin, for your listings.
In those cases you can start from the photo you have and let the flat lay generator lay the garment out on a clean background. It takes mannequin, hanger and worn photos, and the AI draws the parts the photo doesn't show, such as how the sleeves fall when laid flat. Check every result against the product before you publish it.
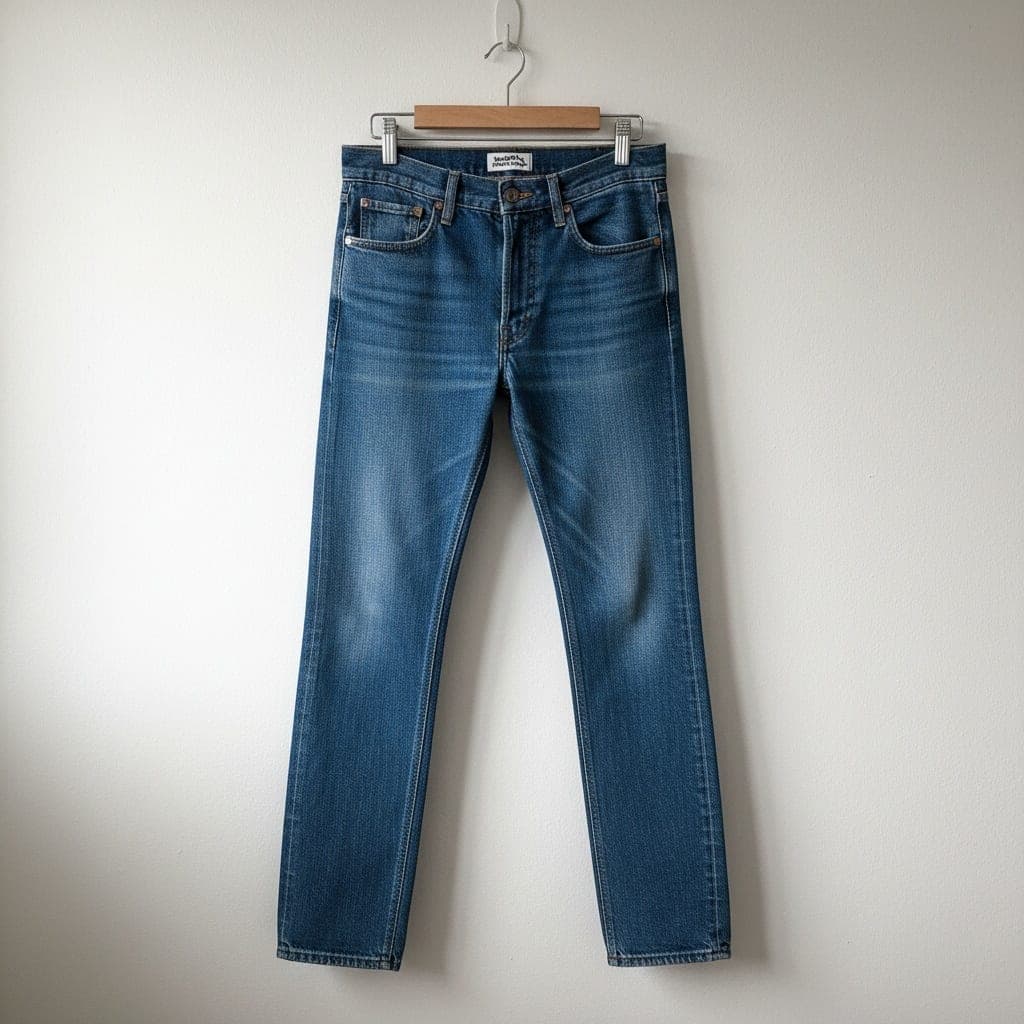 Hanger
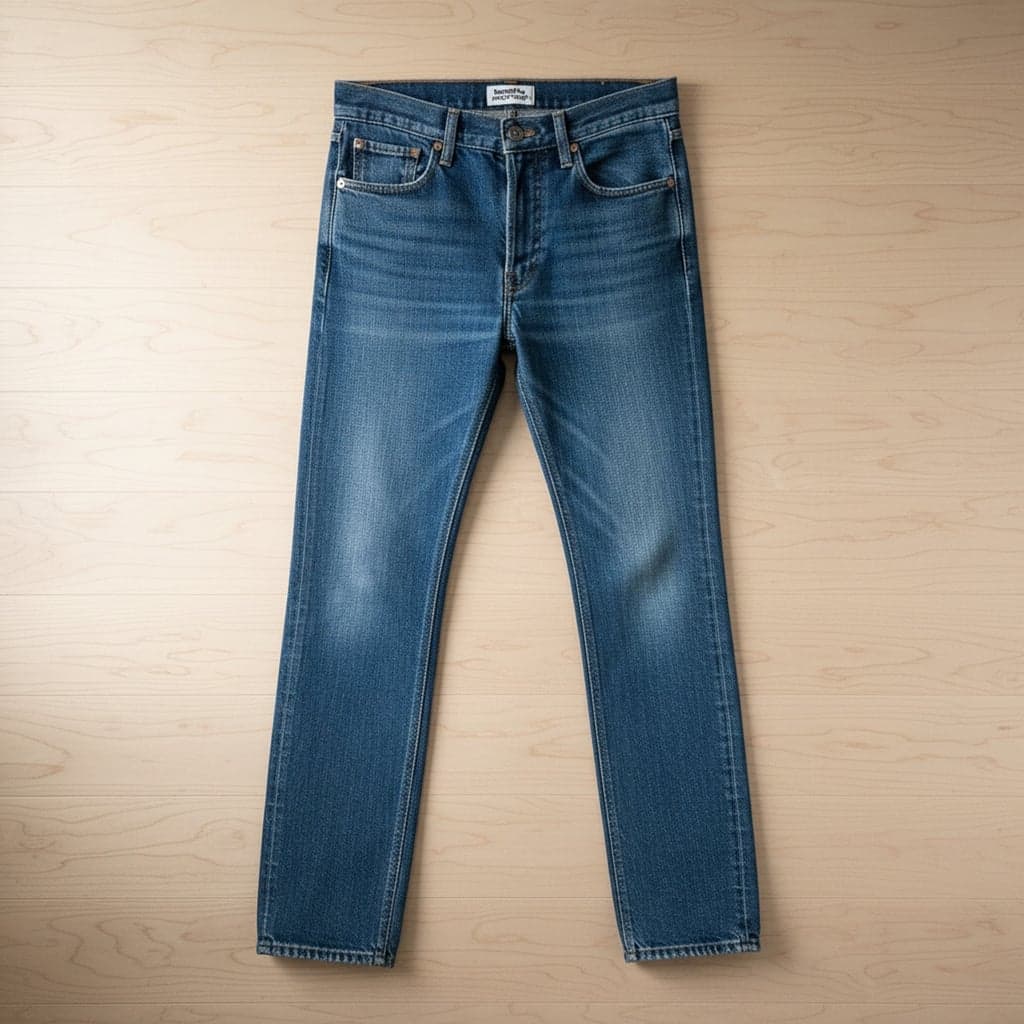 Flat lay
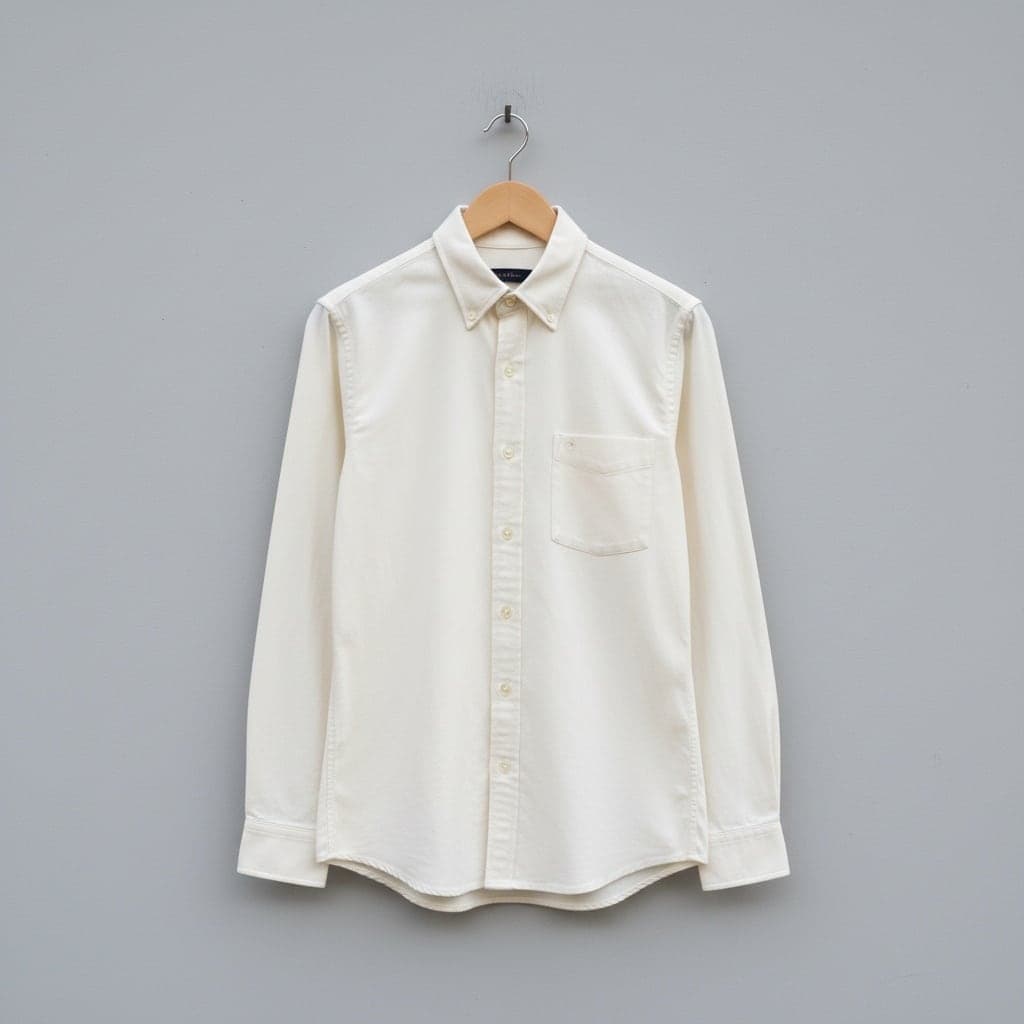 Hanger
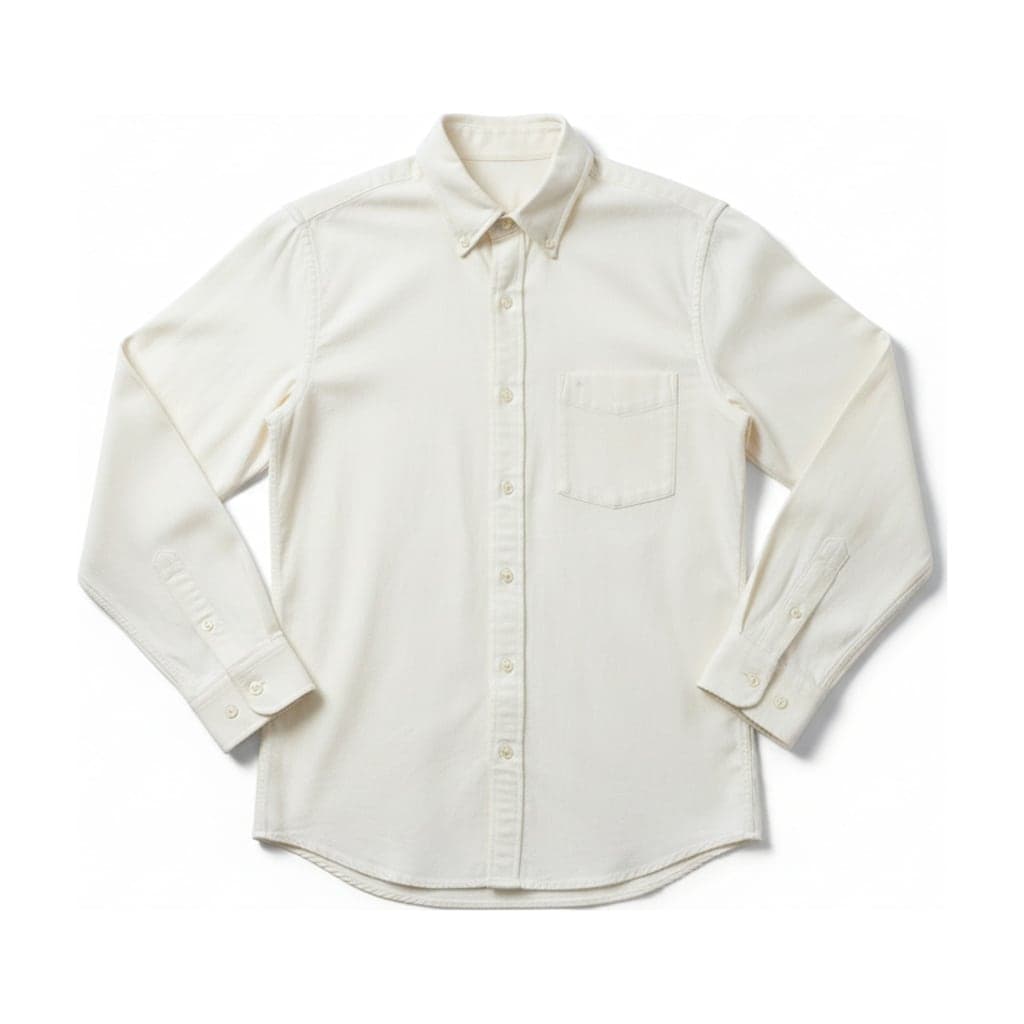 Flat lay
If the garment is worn by a person in your only photo, see remove a person from a clothing photo.
Common flat lay mistakes
| Mistake | How it shows | Fix |
|---|---|---|
| Phone tilted | One end of the garment looks wider | Hold the phone parallel to the surface |
| Direct sun | Hard shadows and blown-out highlights | Move out of the sun or wait for cloud |
| Room lights on | Yellow or orange cast | Daylight only |
| Creases | Lines across the fabric | Steam before laying out |
| Uneven sleeves | The garment looks lopsided | Mirror the sleeves before shooting |
| Busy surface | The garment gets lost | Plain white, gray, light wood or linen |
Keep a catalog consistent
Use the same surface, the same window, the same time of day and the same framing for every product. Shoppers notice when one product is warmer, closer or on a different background than the one next to it. If your own photos vary, the generator can put every garment on the same background with the same ratio and padding.
For the sizes each marketplace expects, see clothing product photo requirements. Not sure whether a flat lay is the right style for a product? Ghost mannequin vs flat lay compares the two.