Clothing Photo Editor
An editor made for one job: turning a phone photo of a garment into a store-ready product image. Upload a shot on a mannequin, a hanger, laid flat or worn, choose a ghost mannequin or a flat lay, and get the garment on a clean background in the same size and spacing as the rest of your catalog.
1 credit per image
1K source image for everyday product shots.
Both modes deliver the same 2048 px short edge after processing; standard uses a higher-resolution source, not a larger download.
- Photo
- Settings
- Result
Works best
- One garment, fully in frame
- Straight-on, evenly lit
- Plain background
Avoid
- Cropped hems or sleeves
- Busy backgrounds or several garments
Next generation settings
Framing reference only. These settings apply to the next generation and do not edit the current result.
Output: 2048 × 2048 px · JPG
New accounts receive trial credits after email verification. Basic mode uses 1 credit per image.
Uses 1 credit per image. A failed image gives the credit back.
- Private: only you can see your photos
- Failed images give the credit back
- 2048 px downloads in 1:1, 4:5 or 3:4
- One-time packs available
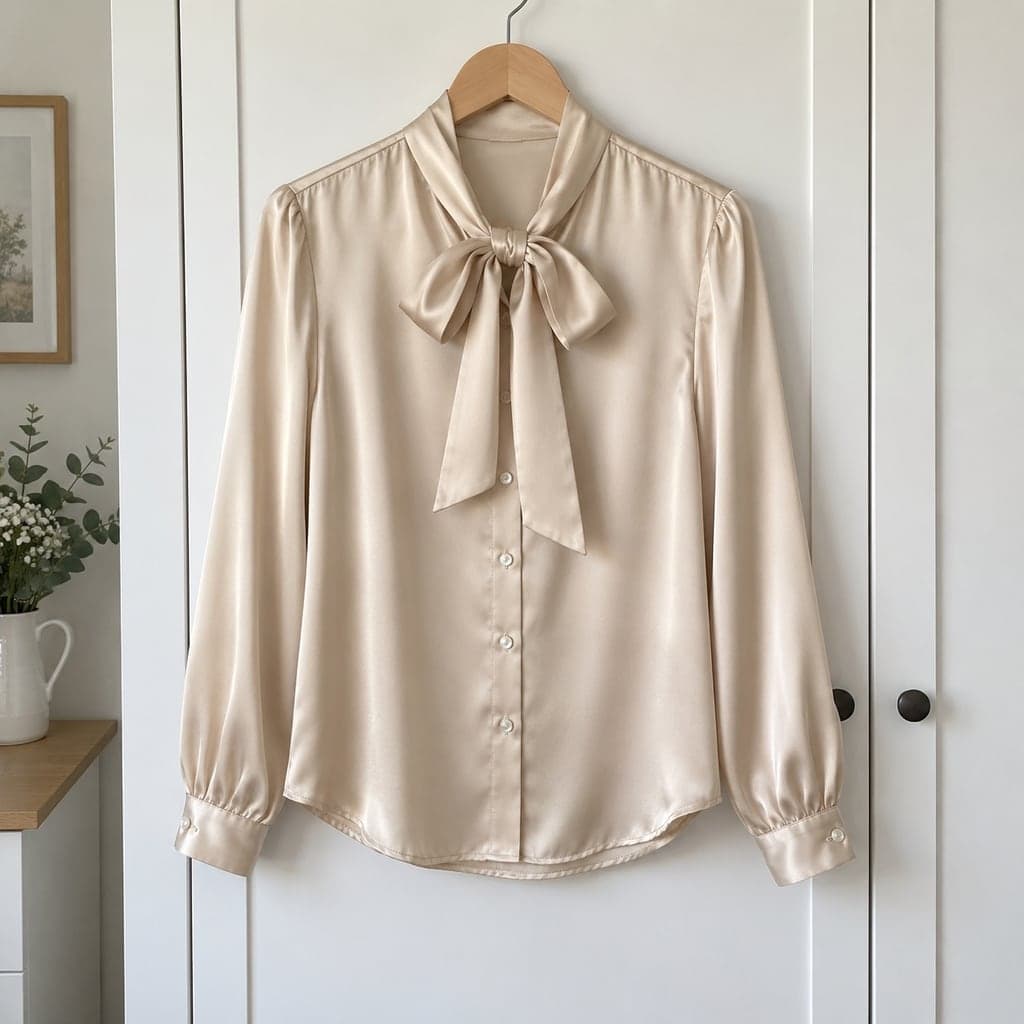 Hanger
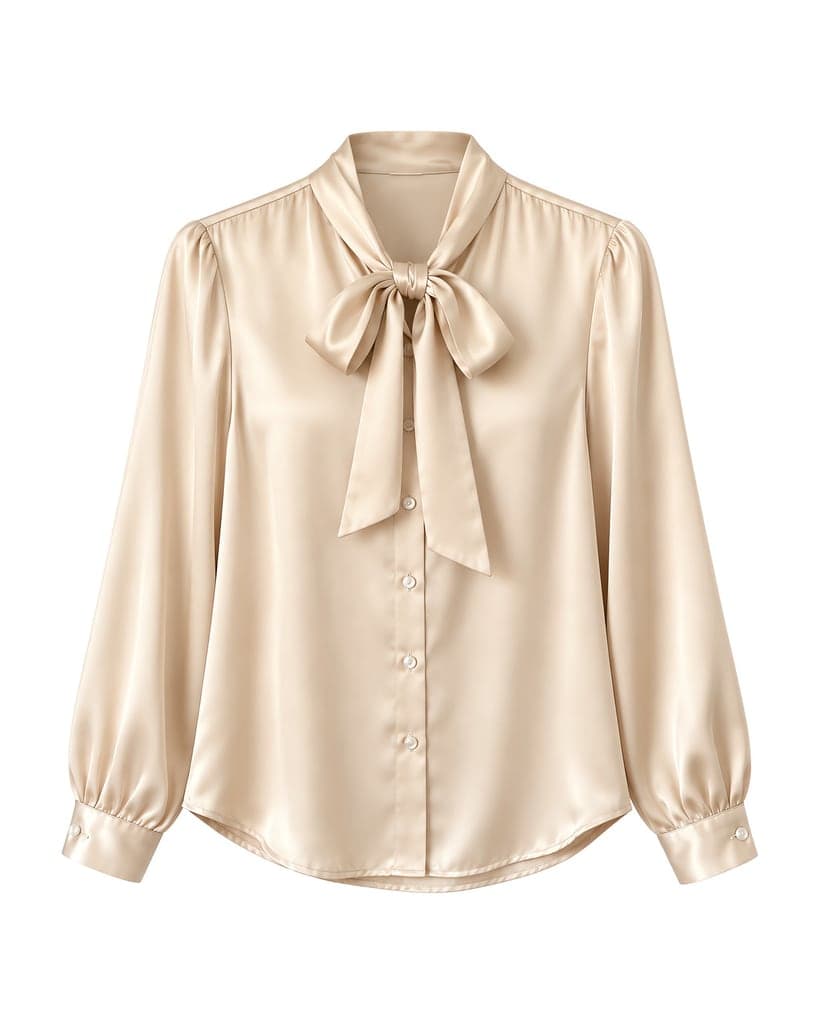 Ghost mannequin
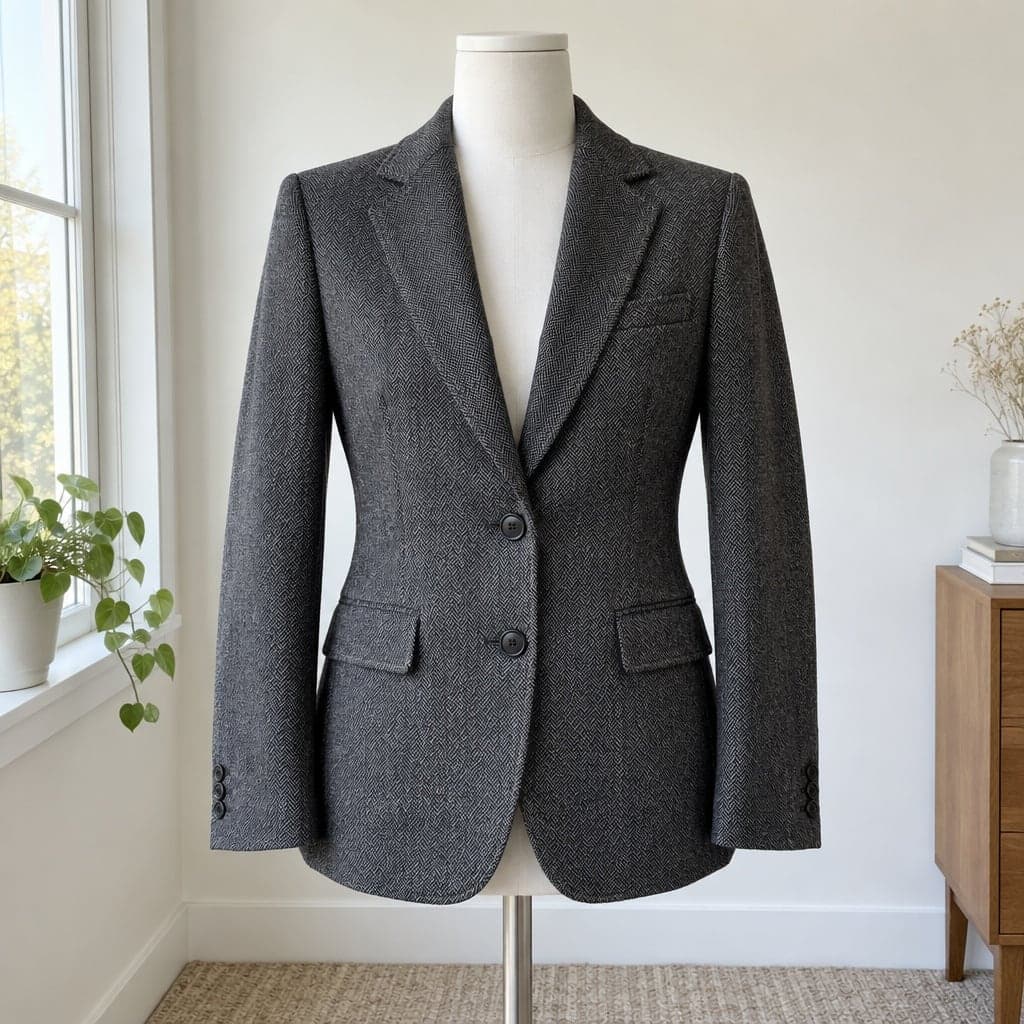 Mannequin
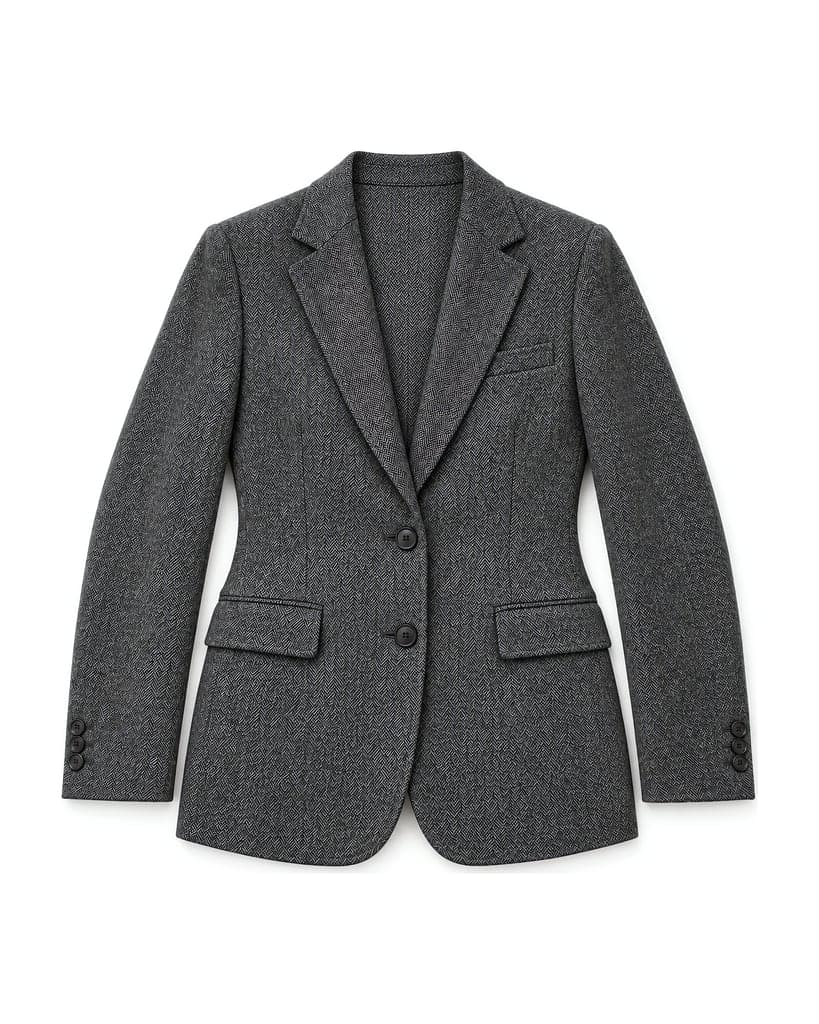 Flat lay
The original photos in these examples are AI-generated sample garments, not customer photos. Anything that differs from the original is noted under the image.
Built for Product Photos of Clothes, Not Every Kind of Picture
A general photo editor gives you a hundred tools and leaves the work to you: cutting out the garment, hiding the mannequin, straightening the hem, picking a background, then doing it all again so the next product matches. That is fine for one picture. For a rack of new stock it means hours of the same edits.
This editor only does the edits a clothing listing needs. It removes what holds the garment up (a mannequin, a hanger or the person wearing it), gives the garment a clean shape, puts it on a plain background and frames it at a fixed size. You choose the look and the framing once, and every photo after that comes out to match.
It is not a retouching app: there are no filters, text, stickers or skin tools, and it won't edit a lifestyle photo or a group shot. If your photo shows one garment and you need a product image of it, that's what it's for.
What the Editor Does to Your Photo
Removes the mannequin, hanger or person
The form, its neck and stand, the hanger hook or the model's body are taken out of the picture. Only the garment is kept.
Rebuilds the garment's shape
For a ghost mannequin image the garment is shown as if worn by an invisible body, with the inside of the neck filled in. For a flat lay it is laid out smooth and symmetrical, seen from directly above.
Replaces the background
Pure white (#FFFFFF) or light gray (#F2F2F2) for both looks; flat lays can also go on light wood or linen, with or without a soft shadow. There is no transparent background option.
Frames every image the same way
Choose 1:1, 4:5 or 3:4 and tight, standard or loose padding. The garment is centered and the image is exported at 2048 px on the short edge, which meets the size Shopify recommends and Etsy's 2000 px minimum.
Ghost Mannequin or Flat Lay: Which Edit to Pick
Both edits start from the same photo and use the same credits, so the choice is about how you want the garment to look on your product page.
Pick ghost mannequin when fit and shape sell the item: blazers, shirts, dresses, coats and knitwear look fuller and more three-dimensional, and the inner neck shows the collar the way a shopper would see it. It accepts mannequin, hanger, flat lay and worn photos, and you can choose a front, 45° or back view.
Pick flat lay when you want a neat, styled top-down picture: T-shirts, kidswear, sweatshirts, denim and anything sold on Etsy, Instagram or second-hand marketplaces often look better laid out. It accepts mannequin, hanger and worn photos, and gives you the two textured backgrounds as well as the plain ones.
Many stores use both: a ghost mannequin image as the main photo and a flat lay as the second. Make one, then switch the output above and run the same photo again.
How to Edit a Clothing Photo Here
- 01
Upload one garment
JPG, PNG or WEBP, up to 15 MB and at least 800 px on the short side. Large photos are resized in your browser before upload. Tell the editor what the photo shows: mannequin, hanger, flat lay or worn.
- 02
Choose the output and framing
Ghost mannequin or flat lay, then background, aspect ratio and padding. Your choices are remembered, so the next garment comes out the same way.
- 03
Add optional reference photos
In single mode you can add a photo of the inside of the collar, so a real neck label can be kept, and a photo from another angle so seams and shape are read correctly.
- 04
Compare and download
Check the result against the original side by side, then download the 2048 px image. If it isn't right, try again for a new version.
Editing a Whole Collection
Product pages look professional when every garment sits on the same background at the same size. That is the hardest part to get right by hand, and the part the editor takes care of: the settings you pick are applied to every image, so a new drop matches last season's photos.
Batch mode takes up to 10 photos at once. Credits are charged per image, and the credits for any image that fails go back to your balance. Use single mode when you want to add a collar or second-angle photo to one garment.
Photos That Edit Well
One garment, fully in frame
Collar to hem and both sleeves visible. A cropped sleeve or hem has to be drawn by the AI and may not match.
Even, soft light
Daylight from a window or two soft lights. Hard shadows and warm room light can carry into the result as darker folds or a color cast.
A plain background
A wall, door or sheet that doesn't match the garment's color. The background is replaced, but a busy one makes the edges harder to read.
Straight on
Shoot from the front at chest height, or from directly above for a flat garment. Steep angles distort the shape the editor has to work from.
Check Before You Publish
The editor is told to keep the garment's color, print, logo, text, stitching and shape exactly as they are in your photo and to add nothing that isn't there. AI doesn't always manage that, so treat every result as a draft. Some parts are always drawn rather than kept: the inside of the neck on a ghost mannequin image, and on a flat lay any side of the garment your photo doesn't show. Ghost mannequin images made from mannequin photos sometimes get a neck label with made-up text.
Hold the result next to the garment in daylight and compare the color, the print, the buttons and zips, the sleeve length and the hem. Publish it only if it shows what the buyer will receive.
Credits and Privacy
You need an account to edit photos. New accounts receive trial credits after email verification, and Google sign-in counts as verified. Basic mode uses 1 credit per image and standard mode uses 2; both deliver the same 2048 px size. If an image fails, its credits are refunded automatically.
Your uploads and results are stored privately and are never public links. Only you can see and download them, and they are deleted automatically after the period stated in our privacy policy. You can use the images you make in your store, on marketplaces and in ads, as long as you have the rights to the photo you uploaded.
Clothing Photo Editor FAQ
Can I edit clothing photos taken on my phone?
Yes. Most sellers start from phone photos. Shoot one garment in even light against a plain background, at least 800 px on the short side, and upload it from your phone or computer.
Do I need to install an app?
No. The editor runs in your browser on a computer or phone. You upload a photo, edit it here and download the result.
Can it remove the mannequin from my photo?
Yes. Choose Mannequin as the photo type. The ghost mannequin output removes the form and fills in the inside of the neck; the flat lay output lays the garment out from above instead.
Can I keep the model and only change the background?
No. Both outputs remove the person, mannequin or hanger. For photos of the garment on a model, try the AI fashion model tool, or use a plain background remover if you want to keep your own model.
Can I change the garment's color?
Not in this editor. Once you have a ghost mannequin or flat lay image, the clothes color changer can show the same garment in up to six colors.
What size are the edited images?
2048 px on the short edge: 2048 × 2048 for 1:1, 2048 × 2560 for 4:5 and 2048 × 2731 for 3:4.