
How to Take Pictures of Clothes to Sell Online
Take pictures of clothes to sell on resale apps or your own store: prep, light, backgrounds, hanger or flat lay, the shot list and honest flaw photos.
Last updated:
Good pictures of clothes to sell answer a buyer's questions before they ask them: what the item looks like, what condition it is in, how big it is and whether the color is true. You do not need a studio to do that. A window, a plain background, a phone and ten minutes of preparation per item cover most of it. This guide is for resellers and small stores listing on marketplaces such as eBay, Poshmark, Depop or Vinted, or on their own shop.
Each marketplace sets its own photo limits and rules, and they change. Check the help page of the platform you sell on for its current photo count, size and background requirements. Our clothing product photo requirements guide covers Shopify, Etsy and Amazon.
Prepare the garment first
Most weak listing photos are weak before the camera comes out.
- Wash or air the item and remove lint and pet hair with a lint roller. Fluff and hair show up clearly against a plain background.
- Steam or iron out creases. Folding lines from storage make an item look worn even when it is not. A handheld steamer is the most useful single purchase for clothing photos.
- Empty the pockets, button the buttons, zip the zips and straighten the collar and cuffs.
- Remove or tuck away your own tags and pins, unless they are part of the item.
Set up the light
Daylight from a large window is the easiest good light. Put the garment near the window with the light coming from the side, not from behind it. Turn off room lights so you are not mixing warm bulbs with cool daylight, which gives colors a cast. Overcast days are ideal because the light is soft; in direct sun, hang a thin white curtain or sheet over the window.
If you shoot in the evening or need the same light every day, two inexpensive daylight-balanced lamps on either side of the garment work well. Whatever you use, keep it the same for every item so your listings look consistent.
Choose a background and a way to show the item
A plain, light background lets the garment stand out and keeps buyers' attention on it: a white wall, a door, a sheet of white foam board or a clean light floor. Avoid patterned bedding, busy rooms and mirrors.
There are three common ways to present the item:
On a hanger. Fast and good for shirts, dresses, jackets and coats. Hang it against the wall or door, straighten the shoulders and shoot straight on at chest height. Use a plain hanger that does not distract.
Laid flat. Good for T-shirts, knitwear, jeans, children's clothing and anything that sags on a hanger. Lay it on the floor or a large board, smooth it out and shoot from directly above with the phone parallel to the floor. Our flat lay clothing photography guide covers the setup in detail.
On a mannequin or dress form. Shows the item's shape best, especially tailored jackets and dresses. A second-hand dress form close to the garment's size is enough.
On-model photos help buyers judge fit, but they take more time and bring a person into your listing. Many resellers use a hanger or flat lay for the main photo and add a worn photo only for items where fit is the selling point.
The shot list
Take the same set of photos for every item so you never forget one:
- Front, full item. The main photo. Fill most of the frame with the garment, centered and straight.
- Back, full item.
- Brand and size label. Close enough to read.
- Fabric and care label. Buyers often ask about material.
- Close-up of the fabric to show texture, knit or print.
- Details that add value: buttons, embroidery, hardware, lining.
- Every flaw. A mark, pull, missing button, fading or pilling, each in its own close-up.
- Measurements, if your platform buyers expect them: a tape measure laid across the chest (pit to pit) and along the length.
Shoot in your phone's normal photo mode, tap to focus on the garment and hold the phone steady or use a small tripod. Avoid wide-angle modes and portrait blur, which distort the shape.
Show condition honestly
Second-hand buyers are deciding about one specific item, so photos must show that item as it is. Never edit out a stain, hole or fade. A clear photo of a small flaw builds trust and reduces returns and disputes; a flaw the buyer discovers on arrival does the opposite.
The same applies to any editing tool, including AI. Brightening a photo or cleaning up the background is fine. Changing the item is not.
Where AI fits
An AI tool can turn a hanger, mannequin or flat lay photo into a cleaner main image: our ghost mannequin generator removes the hanger or mannequin and gives the garment a worn shape on a white or light gray background, and the flat lay generator makes a neat top-down view. That can make a listing's first photo look more consistent with the rest of your shop.
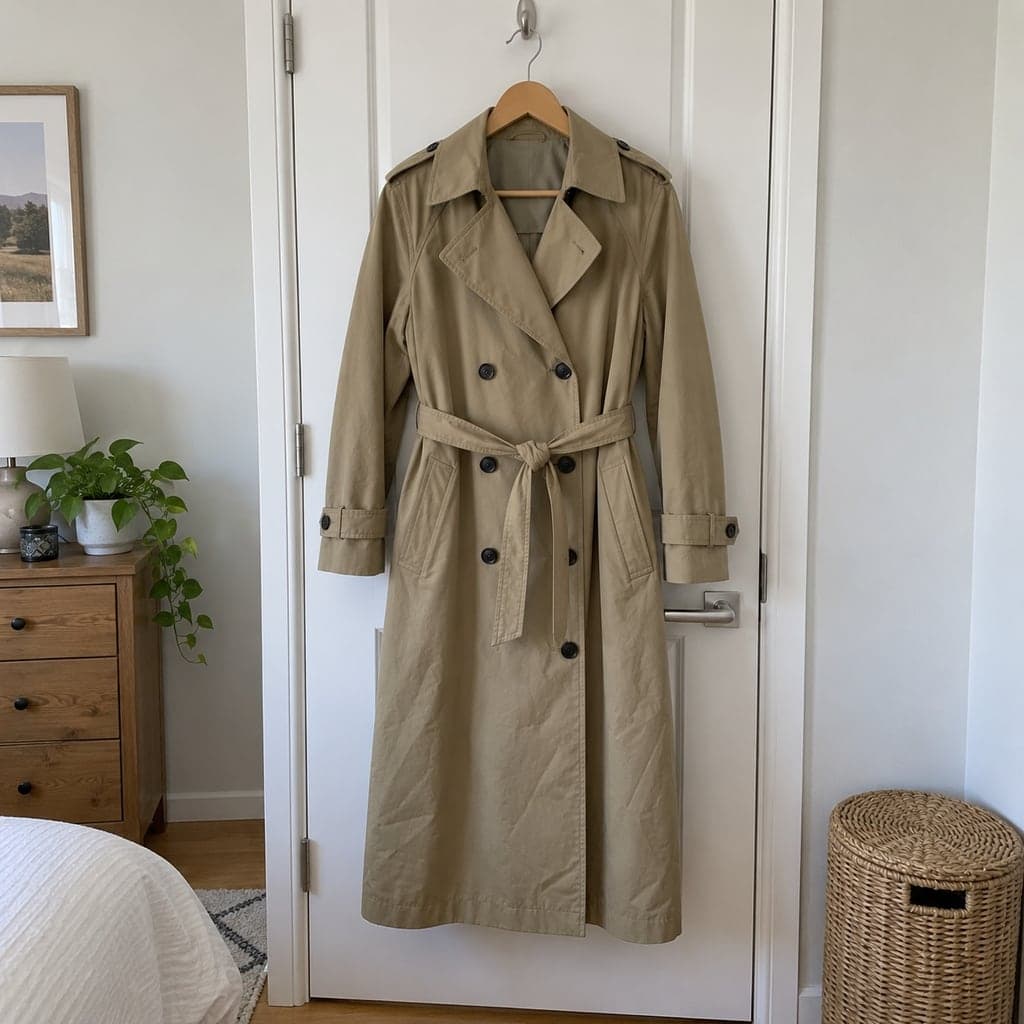 Hanger
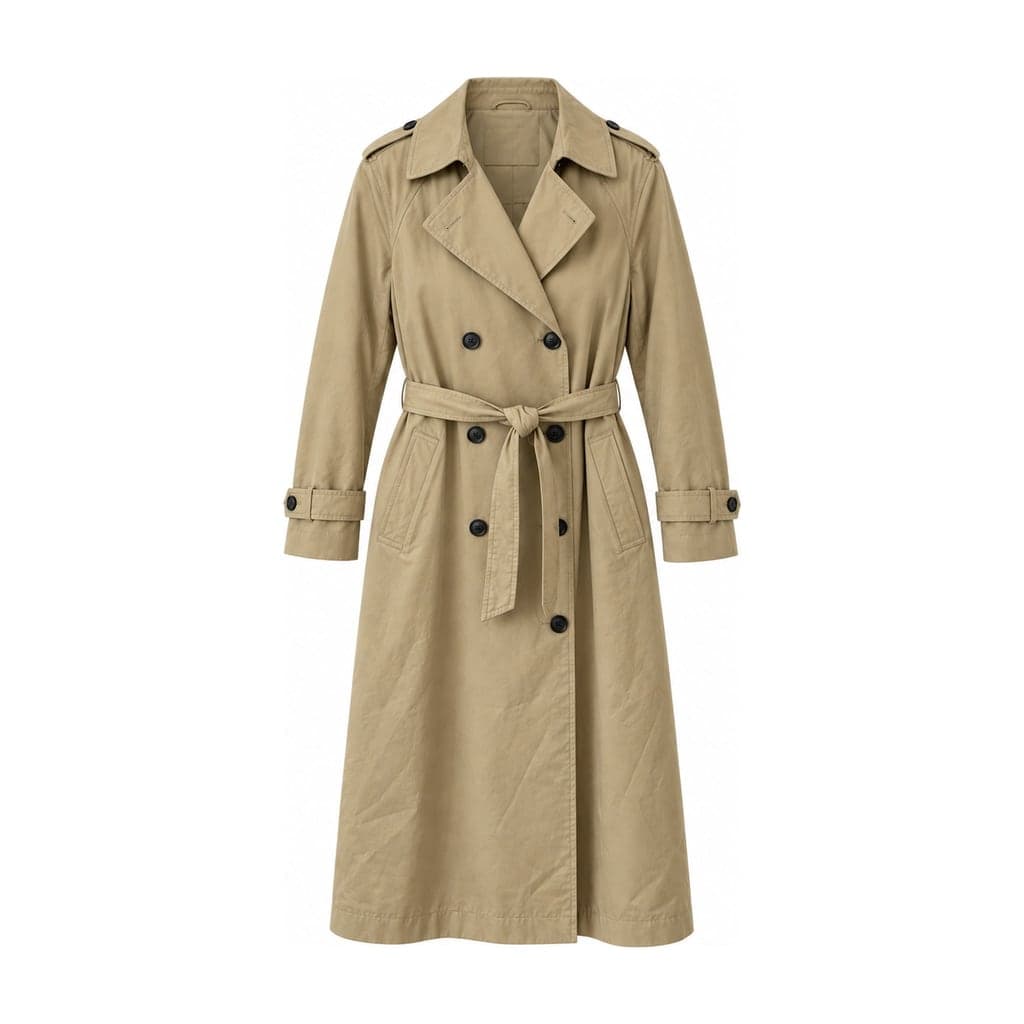 Ghost mannequin
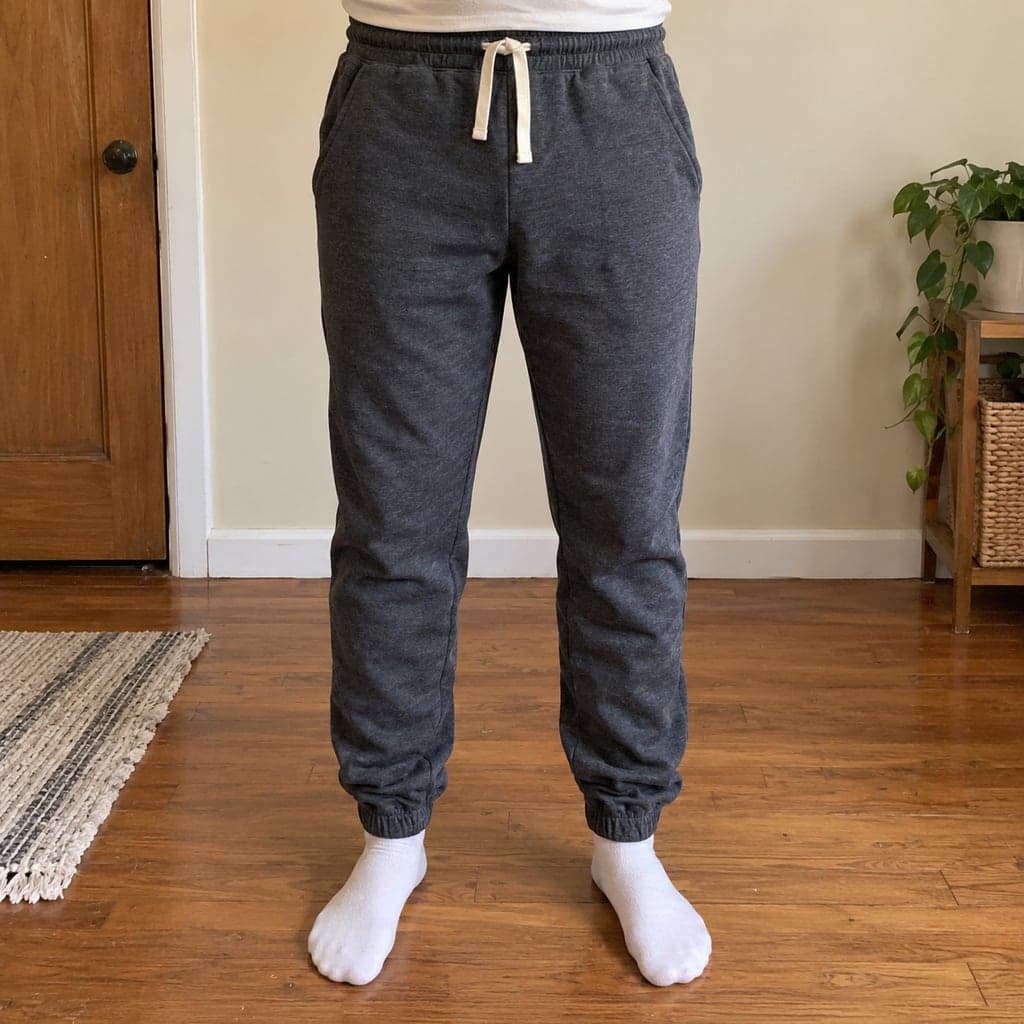 Worn
Worn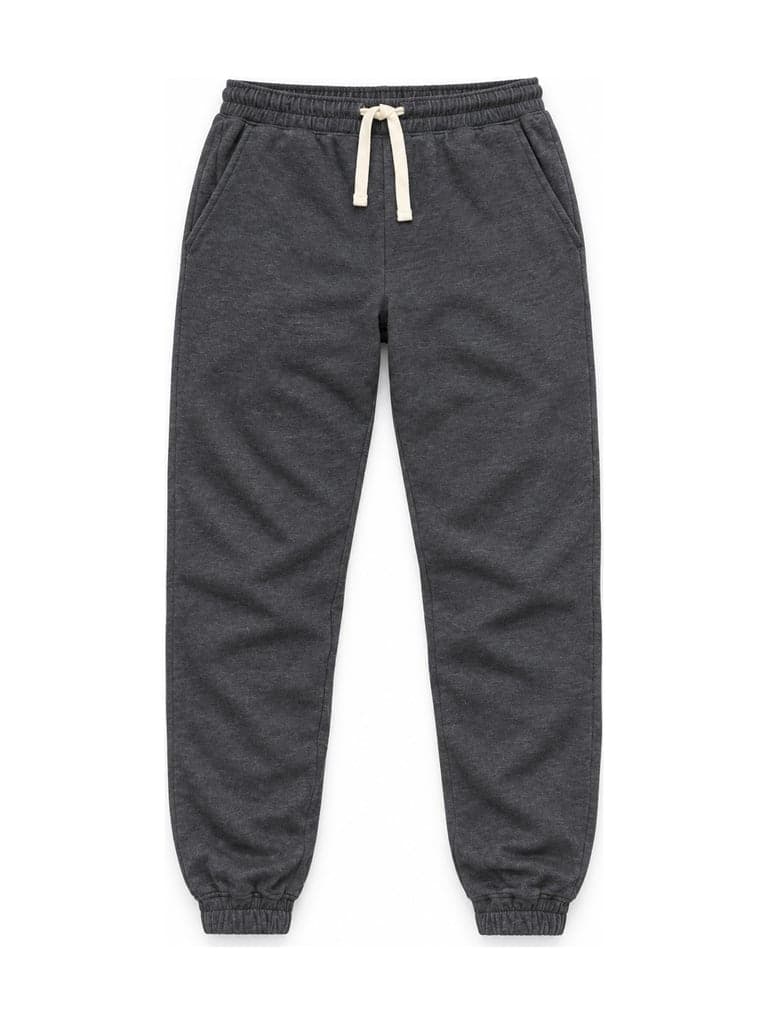 Flat lay
Use it for the main overview only, and keep your real photos for everything else: labels, fabric close-ups and every flaw. The AI draws parts it could not see, such as the inside of the neck, and it can shift colors or small details or add a label that is not there. Compare the result with the item before you list it, and do not use a generated image to hide condition. The note under each example above says what changed compared with the original photo.
Quick checklist
- Item clean, steamed, buttoned and empty-pocketed
- Soft side light, room lights off
- Plain light background
- Same framing for every item
- Front, back, labels, fabric, details, flaws, measurements
- Colors checked against the real item on your screen
- Any edited or AI image checked against the item before listing
Related reading
See what clothing product photography costs, get flat lay clothing photography ideas, or learn what a ghost mannequin photo is.