
Apparel Photography: Styles, Setup and Workflow for Online Stores
An apparel photography overview for online stores: the four product photo styles, a small clothing photography setup, lighting, backgrounds and a repeatable workflow.
Last updated:
Apparel photography for an online store has one job: show each garment clearly enough that a buyer can decide without touching it. That means accurate color, a readable shape, visible details and the same look from one product to the next. This guide gives an overview of the choices that decide how your catalog looks: which photo style to use, what a small clothing photography setup needs, how to light and frame it, and how to keep a workflow repeatable. Where a topic has its own guide, we link to it rather than repeat it.
The four apparel photo styles
Most clothing stores use one or two of these for the main image, plus close-ups.
| Style | What it shows | Good for | Main cost |
|---|---|---|---|
| On-model | Fit, movement, how it is worn | Fitted pieces, swimwear, brand mood | Models, styling, more retouching |
| Ghost mannequin | Worn 3D shape without a person | Consistent catalogs, tops, jackets, dresses | Mannequin plus compositing, or AI with checking |
| Flat lay | The whole garment from above | Casual wear, knits, kids' clothing, social posts | Time spent arranging each piece |
| Hanger | The garment as it hangs | Quick listings, resale, shirts and coats | Looks less finished as a main image |
On-model photos answer fit questions best but cost the most to produce and are hardest to keep consistent. Ghost mannequin images keep the shape of a worn garment while removing the person; our guide on what a ghost mannequin is explains the effect. Flat lays are the easiest to shoot at home and work well on social media; see the ghost mannequin vs flat lay comparison. Hanger shots are fast and honest, which is why resellers use them a lot, but they rarely look as polished as the others.
Pick one main style per category and keep it. A catalog where every product page opens with the same kind of image looks more trustworthy than one that switches between styles.
A small clothing photography setup
You can produce good apparel photos in a spare corner. The essentials:
- A camera or recent phone. A phone is fine for web images if you avoid wide-angle and portrait modes and keep the lens clean.
- A tripod. It keeps framing identical between products and lets you shoot at slower settings without blur.
- Light. A large window, or two continuous daylight-balanced lights with softboxes. Matching lights matter more than expensive ones.
- A plain background. A white wall, a roll of seamless paper or large foam boards. For flat lays, a white board, a light wooden surface or linen.
- Something to hold the garment. A mannequin or dress form near your sample size, plain hangers, or a clear floor area for flat lays.
- Preparation tools. A steamer, lint roller, pins and clips.
For a step-by-step flat lay setup, read flat lay clothing photography setup and tips. For mannequin and hanger shooting aimed at the ghost mannequin effect, read ghost mannequin photography.
Lighting
Clothing needs soft, even light. Hard light from one bright source makes deep shadows in folds and can hide the color of dark fabric. Two soft sources at about 45 degrees on either side of the garment give even coverage; a white board opposite a single window does a similar job.
Keep the color of your light consistent. Mixing daylight with warm room bulbs gives a color cast that is hard to correct across a whole batch. Set a fixed white balance on your camera rather than auto, and photograph a white or gray card at the start of each session so you can check color later.
Watch for fabrics that behave differently: satin and leather reflect, so move lights further to the side; black garments need more light to show texture; white garments on white backgrounds need a slight shadow or a light gray background so the edge stays visible.
Framing and consistency
Decide these once and write them down:
- Aspect ratio. Many stores use square (1:1) or portrait (4:5 or 3:4). Use one ratio for every main image. Check what your platform requires first; our clothing product photo requirements guide covers Shopify, Etsy and Amazon.
- Camera height and distance. Mark the tripod position on the floor.
- How much space around the garment. The same margin on every product makes a category grid line up.
- Background color. White is the safest default for marketplaces; light gray can flatter white garments.
A repeatable workflow
- Prep a batch of garments: steam, lint-roll, button, empty pockets.
- Shoot the main view for the whole batch without changing the setup, then the backs, then details and labels.
- Name files by product code as you go, so images never get mixed up between colorways.
- Edit for background, crop and color. Compare color against the real garment on a calibrated or at least consistent screen.
- Export at the size your store needs and keep the originals.
- Check every final image against the garment before it goes live.
Where AI fits in apparel photography
AI tools can replace some of the slowest steps. Removing a mannequin and rebuilding the inner neck is the most time-consuming part of ghost mannequin editing; an AI tool such as our ghost mannequin generator does it from one mannequin, hanger or flat lay photo. Turning a hanger or worn photo into a neat top-down view is what the flat lay generator does. Both let you set background, ratio and spacing once and reuse them across a batch.
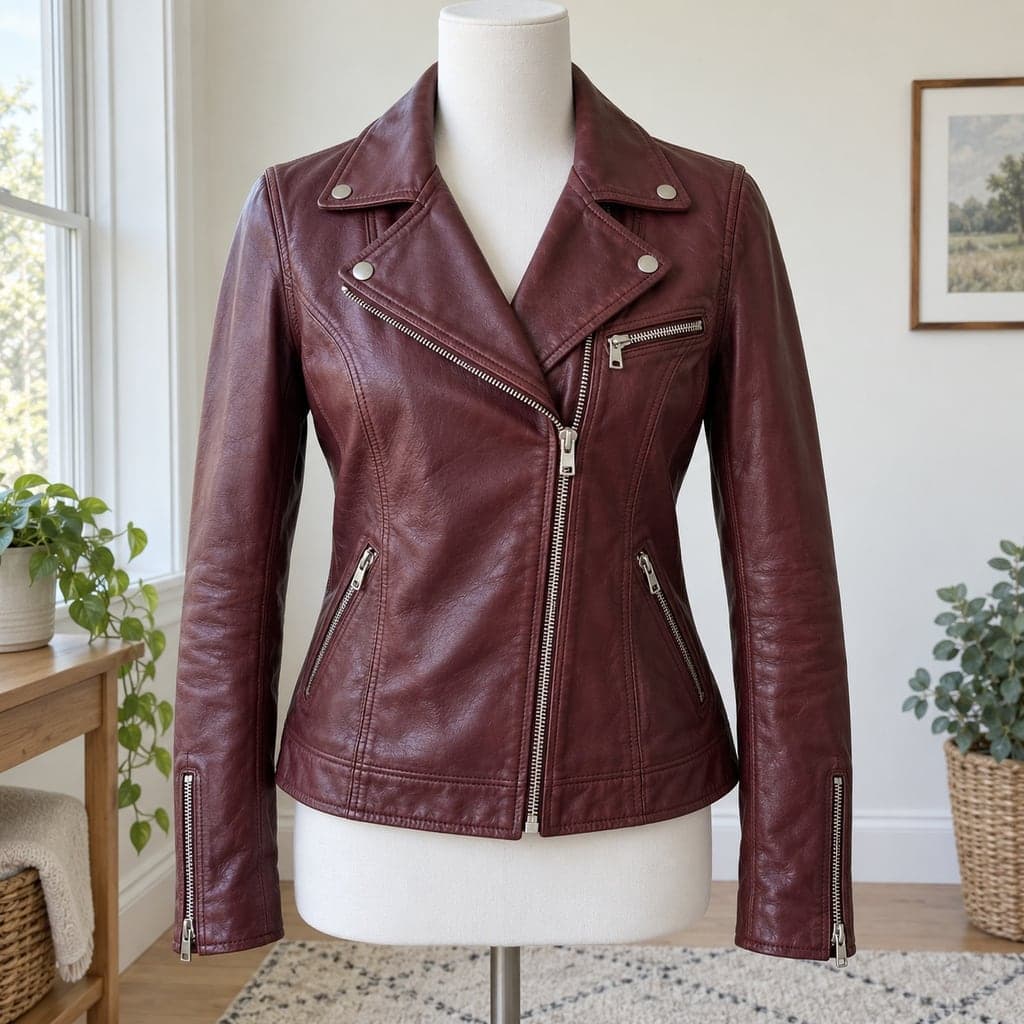 Mannequin
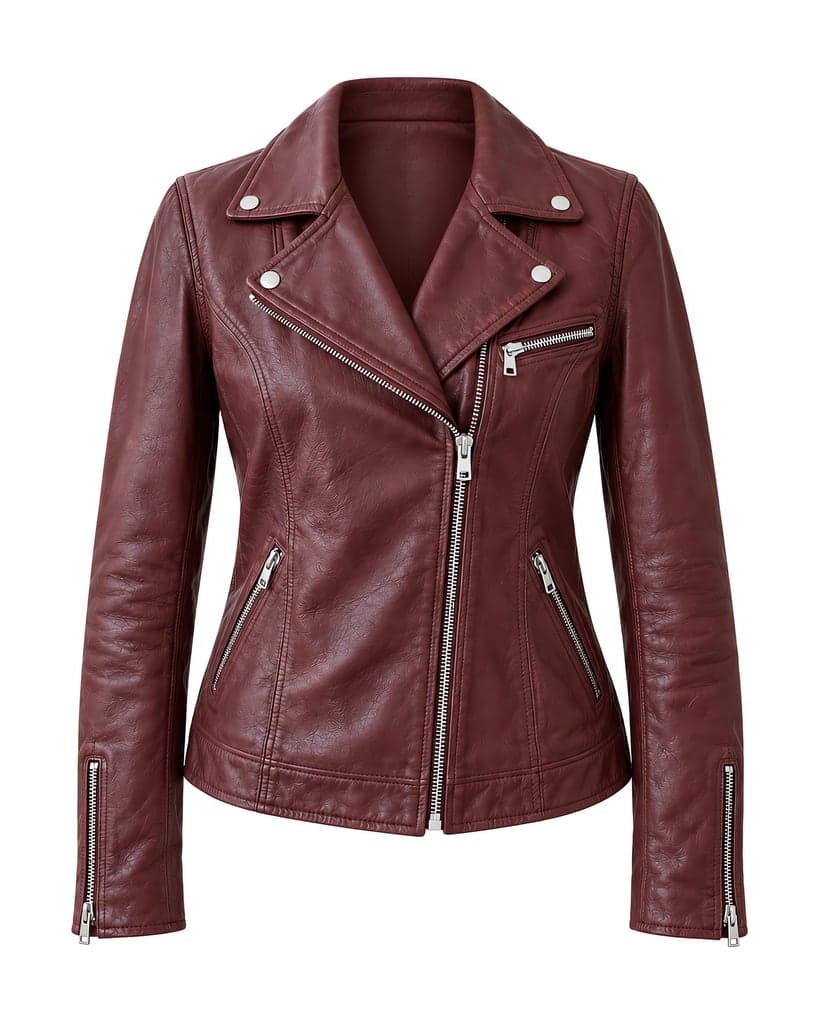 Ghost mannequinMannequin
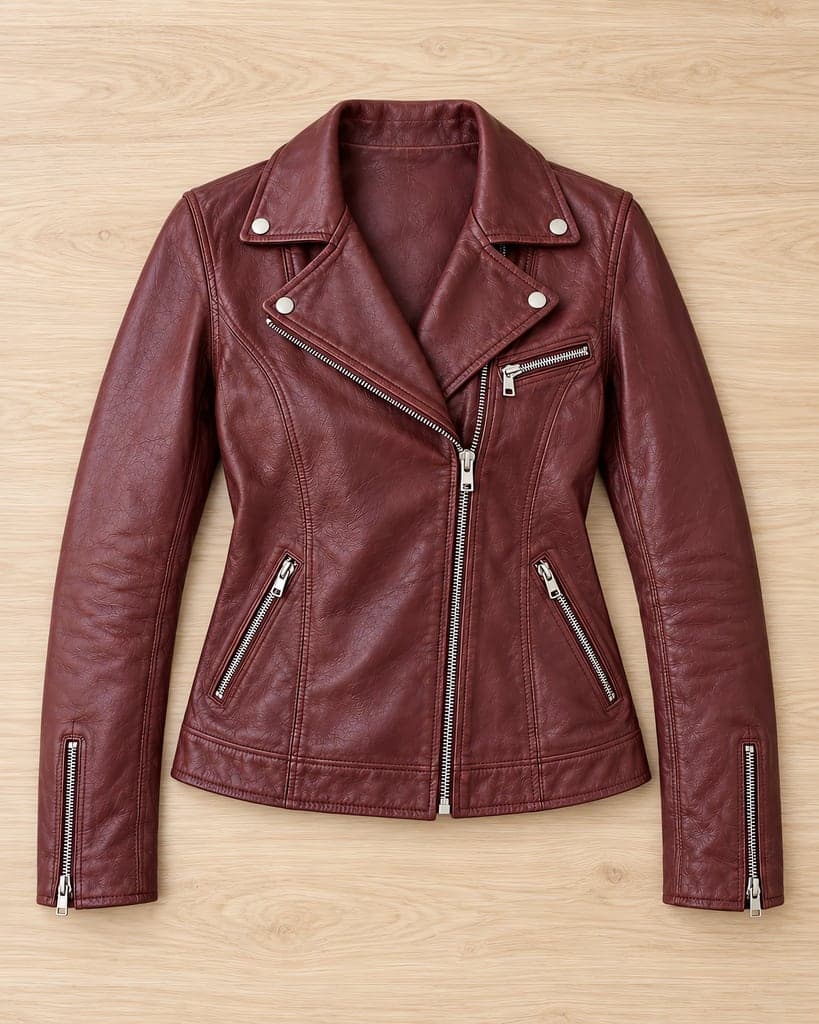 Flat lay
The limit is accuracy. AI draws anything the camera did not capture and can change color, prints, small text and hardware. Treat each result as a draft to compare with the garment, and keep real close-ups for details buyers care about. Whether AI is cheaper for you depends on how many attempts and checks a garment needs; our clothing product photography cost guide compares studio, editing service and AI pricing.
Related reading
Compare a ghost mannequin service with AI, get flat lay clothing photography ideas, or learn how to take pictures of clothes to sell.