
Ghost Mannequin Effect Online: Photo to Invisible Mannequin Image
Upload a clothing photo and get an invisible mannequin image: a hollow, three-dimensional garment with an inner neckline and no visible mannequin or hanger. Choose a white or light gray background, then compare the result with the real item.
Standard · 2 credits per generation
2K source for finer fabric and print detail. Check each result against your garment.
Download: 2048 px on the short edge.
- Photo
- Settings
- Result
Works best
- One garment, fully in frame
- Straight-on, evenly lit
- Plain background
Avoid
- Cropped hems or sleeves
- Busy backgrounds or several garments
Next generation settings
Framing reference only. These settings apply to the next generation and do not edit the current result.
Output: 2048 × 2048 px · JPG
Sign in with email or Google. New accounts can try 1 Standard image (2 trial credits). Watermarked preview; unlock this already-generated image for $0.50 via PayPal. Trial credits are granted after email verification; Google sign-in counts as verified.
Uses 2 credits per image. A failed image gives the credit back.
- Private storage: your photos are not publicly displayed
- Failed images give the credit back
- 2048 px downloads in 1:1, 4:5 or 3:4
- Packs from $2.99 · no subscription
The ghost mannequin effect shows volume through the shoulders, sleeves and body while leaving the supporting form invisible. Try clear photos of shirts, knitwear, jackets or dresses with the whole garment visible. Lace, sheer fabric, small lettering and hidden garment parts need especially careful review; AI may redraw them.
Ghost Mannequin Examples
Compare the original photo and result, including the neckline, print and fabric.
From a Mannequin Photo
Remove the mannequin from a clothing photo and the AI fills in the inner back of the neck, so a T-shirt, shirt or hoodie looks worn by an invisible form. Check the neck closely: it is drawn by AI.
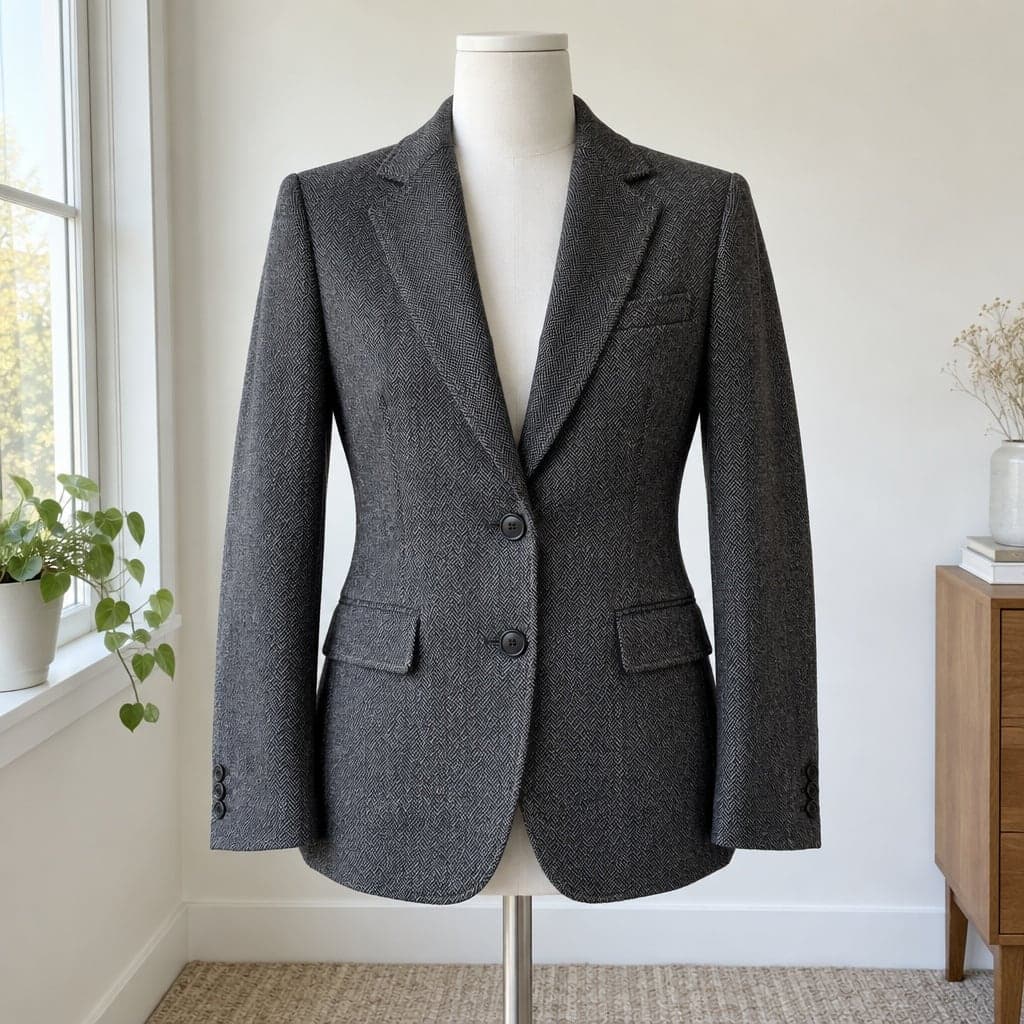 Mannequin
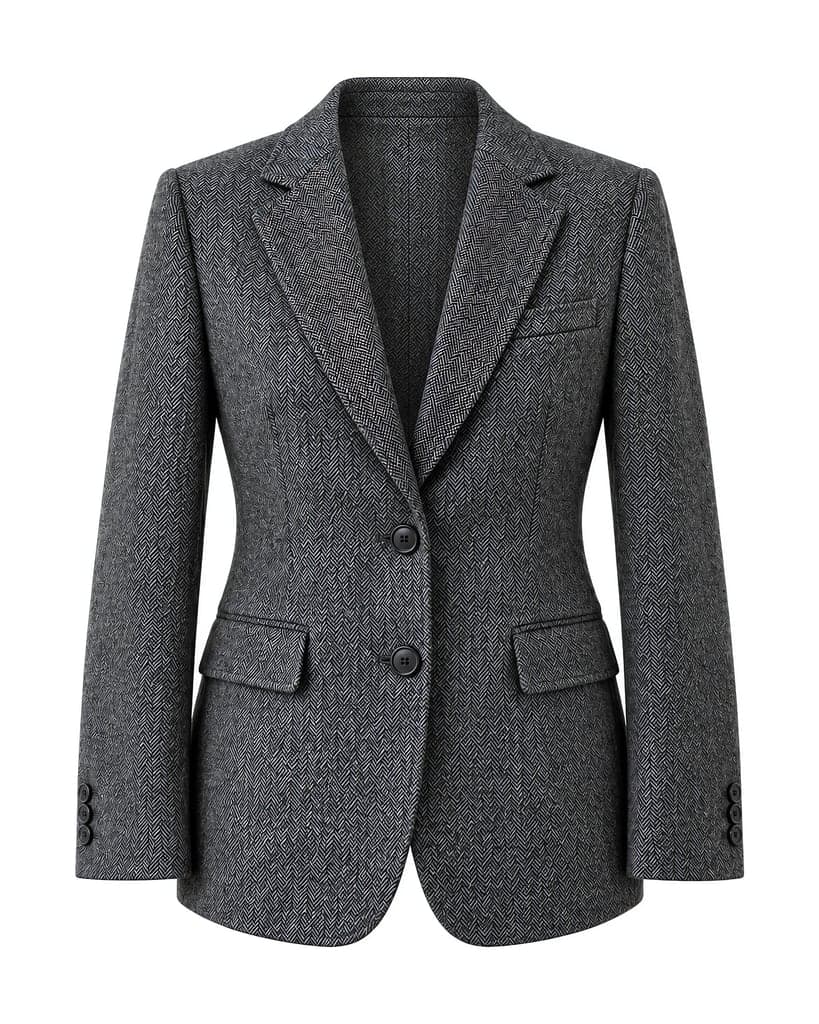 Ghost mannequin
From a Hanger Photo
Dresses and jackets shot on a hanger lose the hook and get natural, rounded shoulders instead of the hanger's sharp corners.
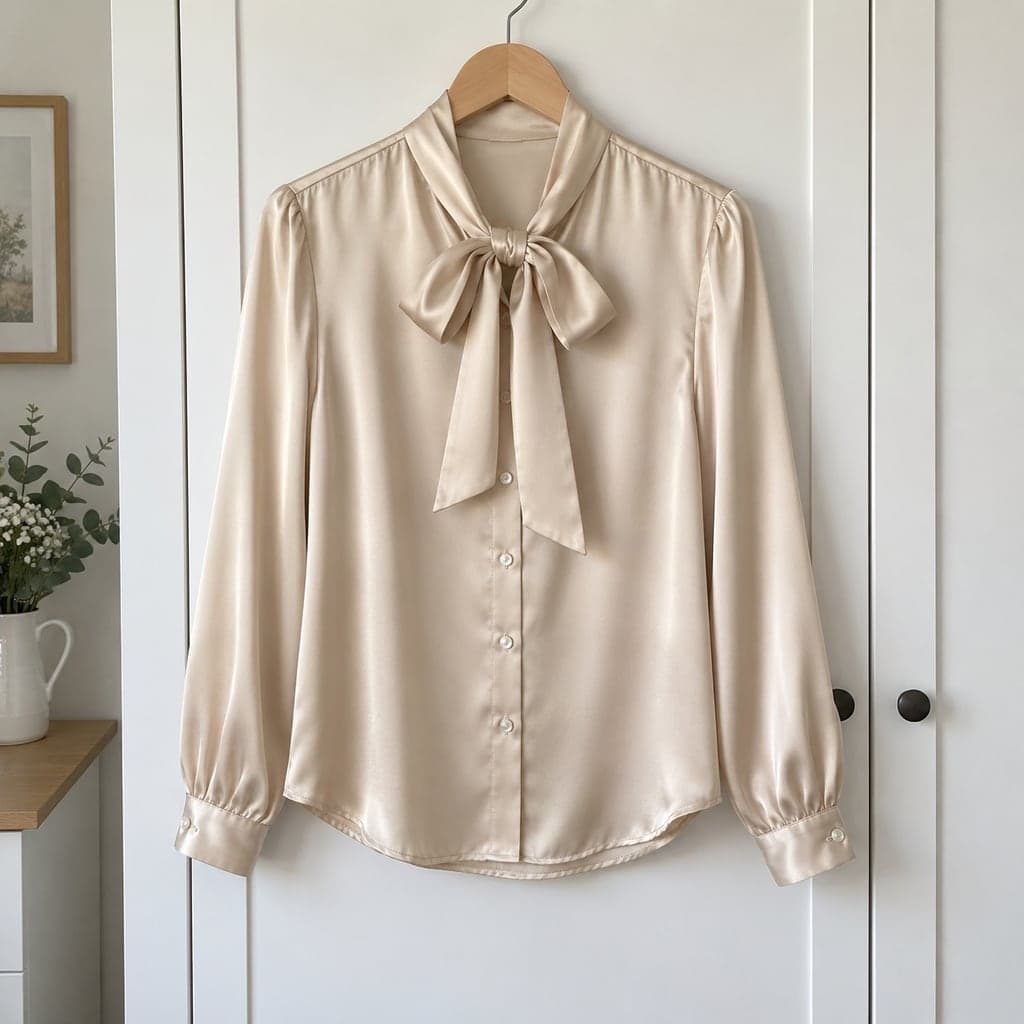 Hanger
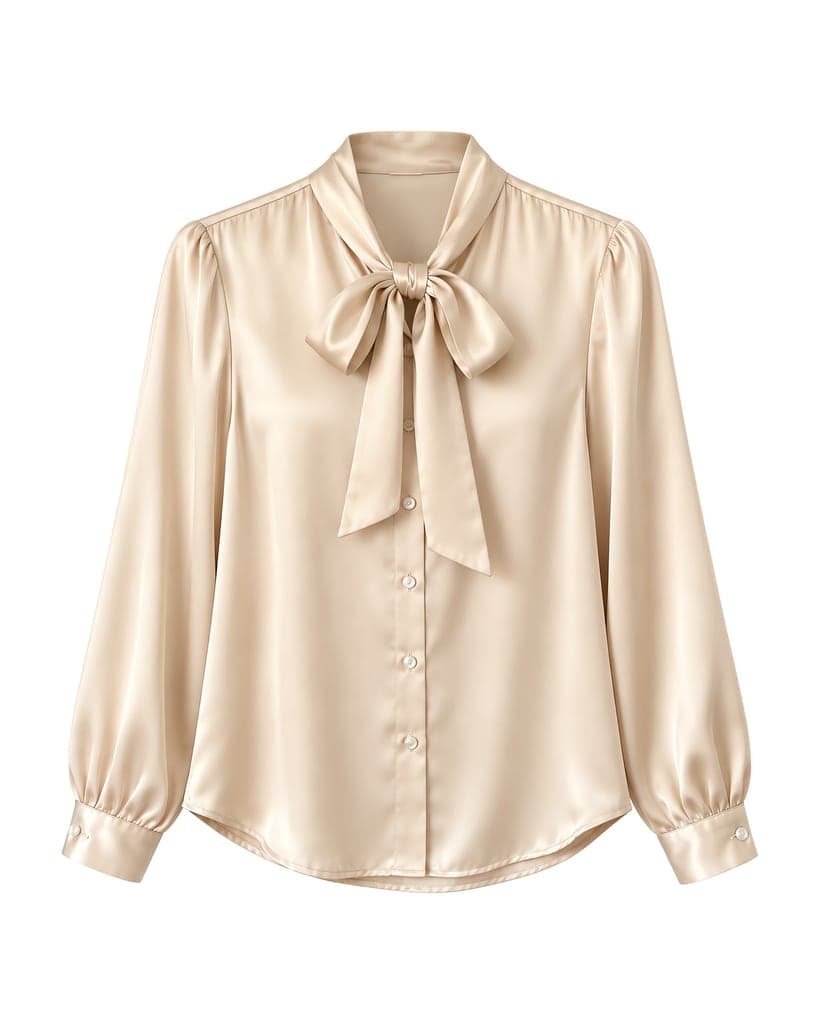 Ghost mannequin
From a Flat Lay
This example uses two steps: the worn photo first makes a standard flat lay, then that untouched flat lay becomes the input for ghost mannequin. It is not a direct conversion from the worn photo; volume and hidden areas are inferred by AI.
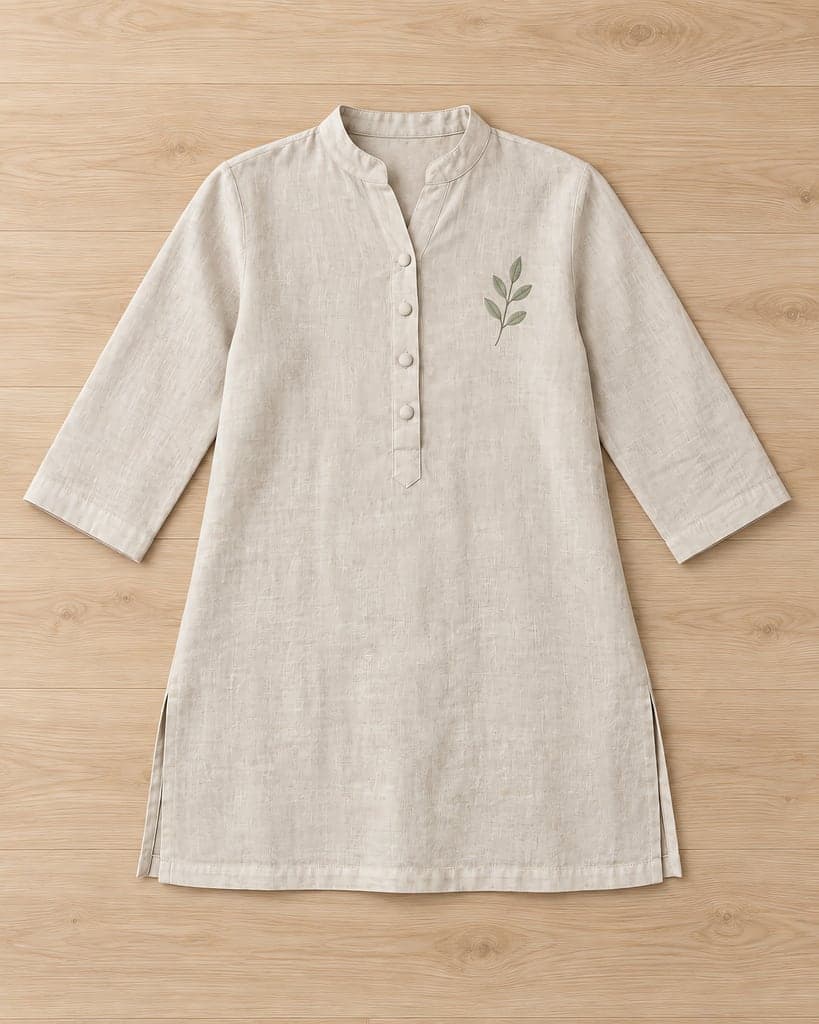 Flat lay
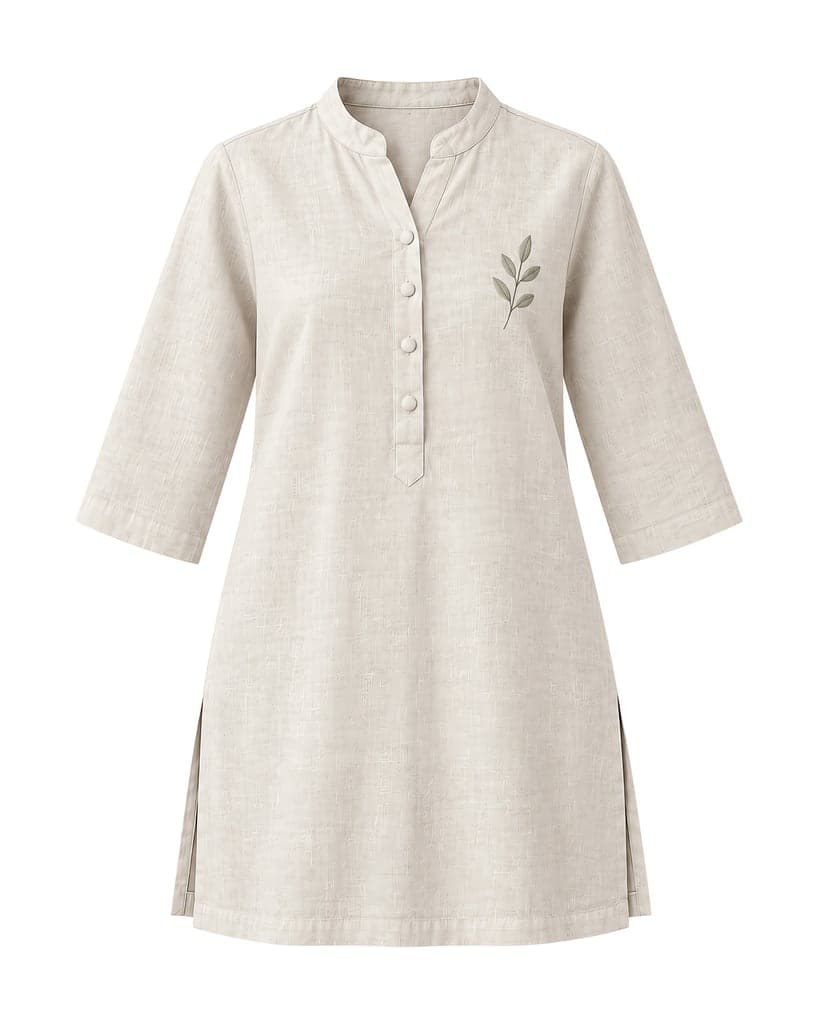 Ghost mannequin
Extra Photos and Angles
Add a clear photo of the inside of the collar as a reference for its label and seams (G10 inset). The same front photo can also produce an approximate 45° or rear view; unseen areas are inferred by AI.
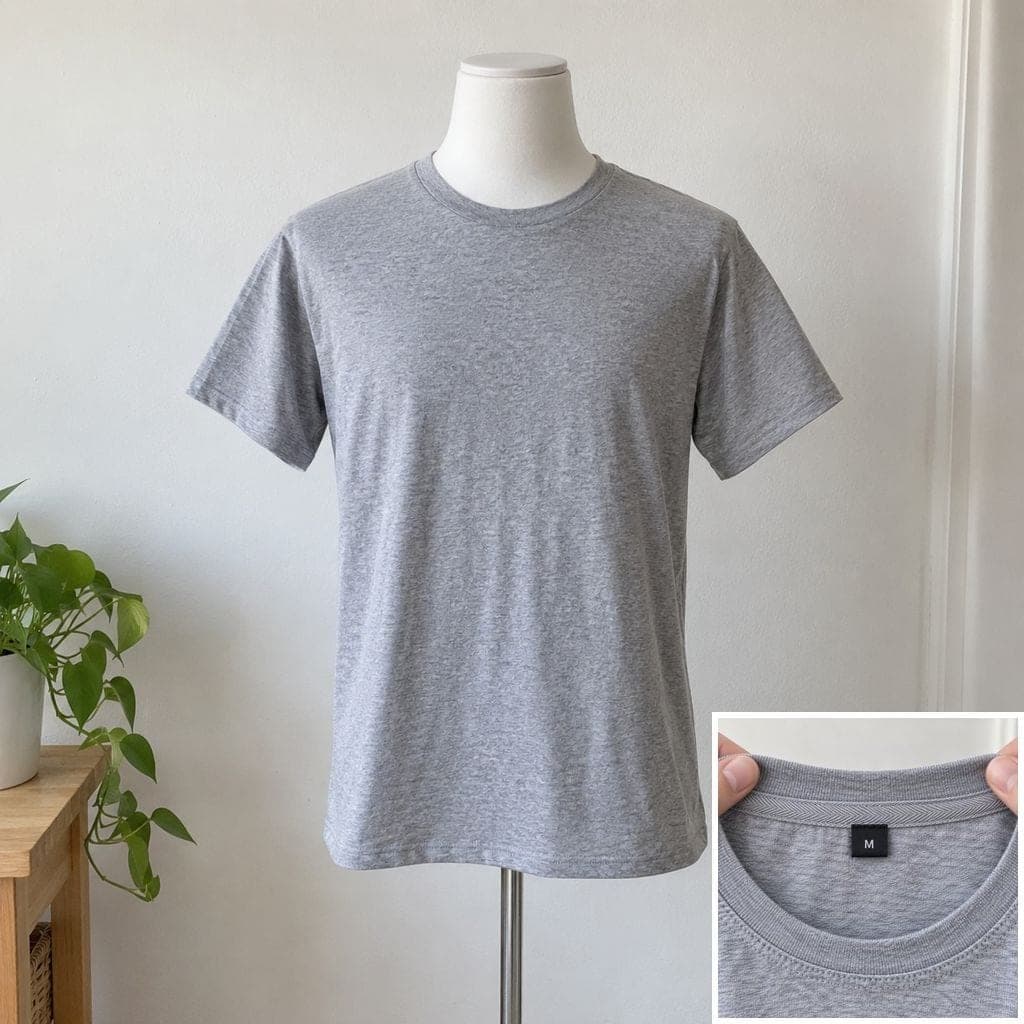 Mannequin
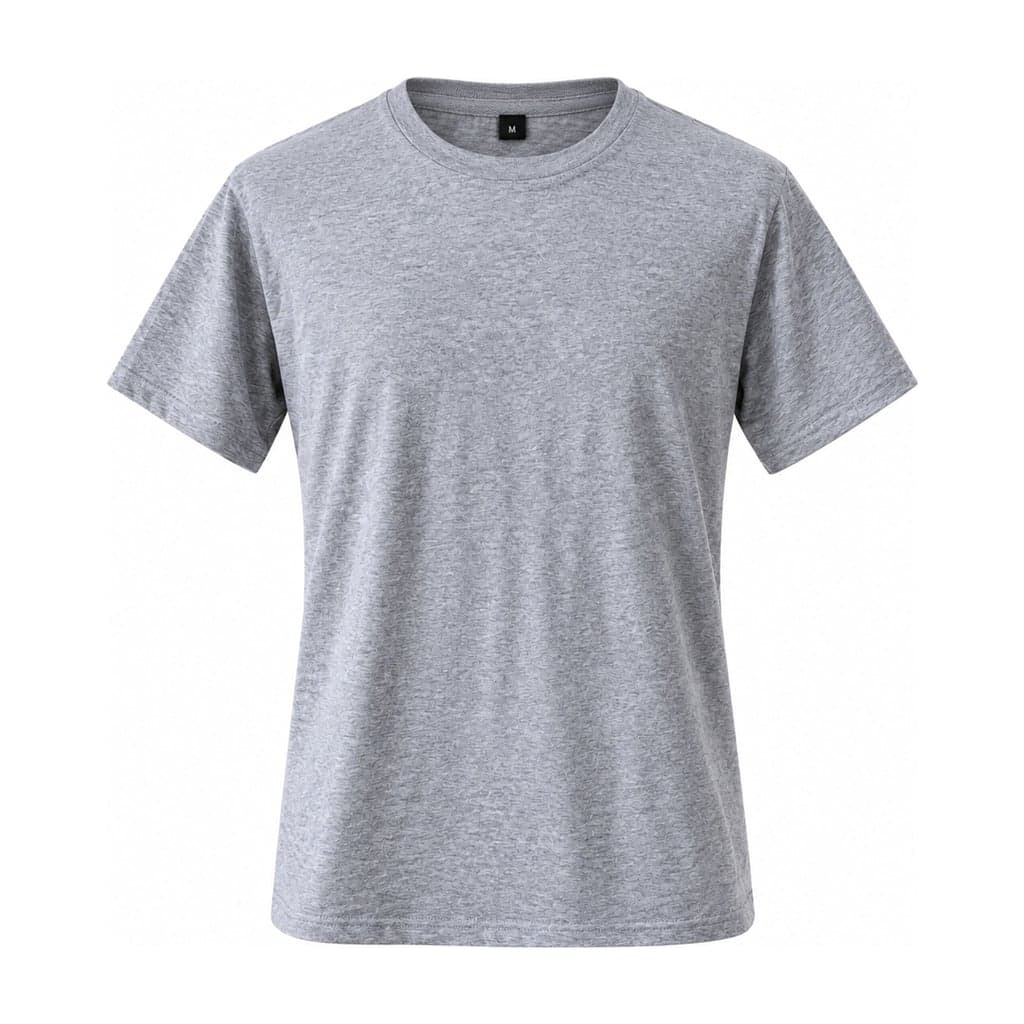 Ghost mannequin
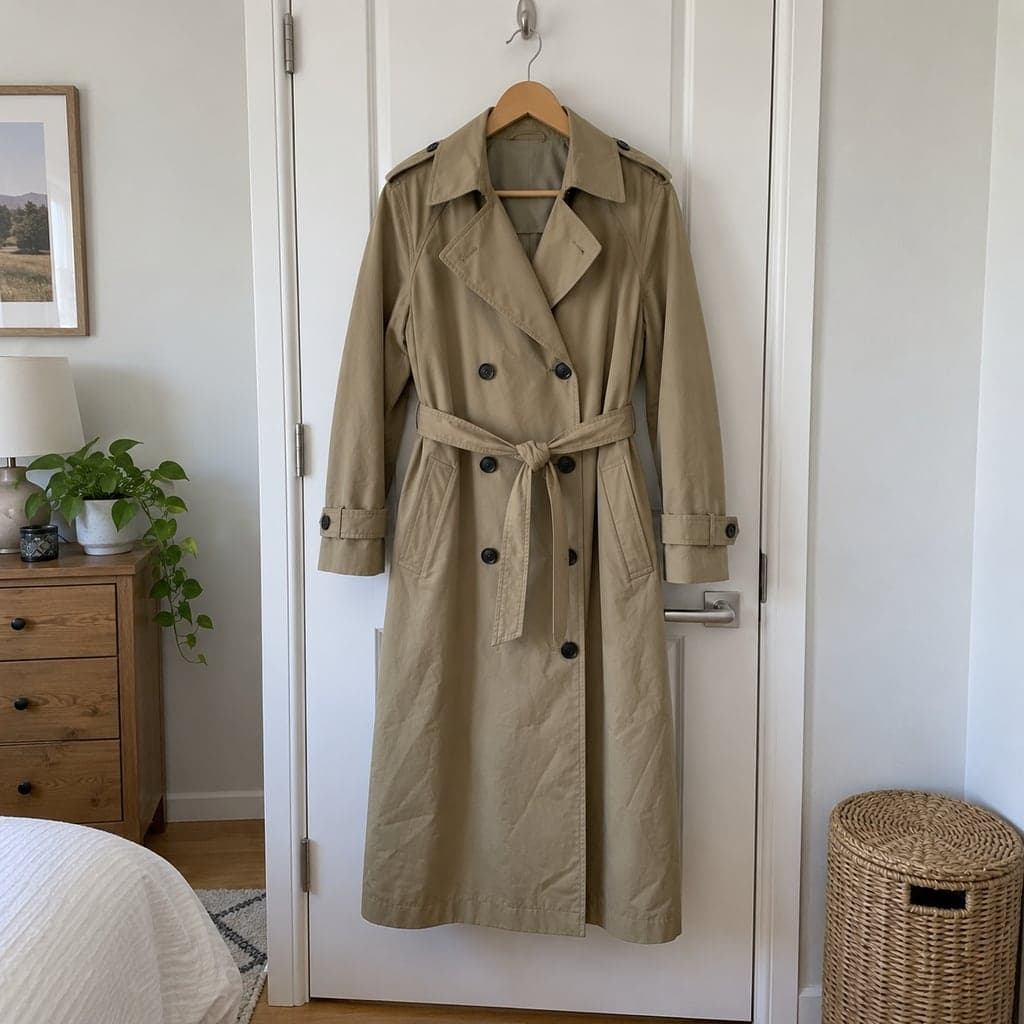 Hanger
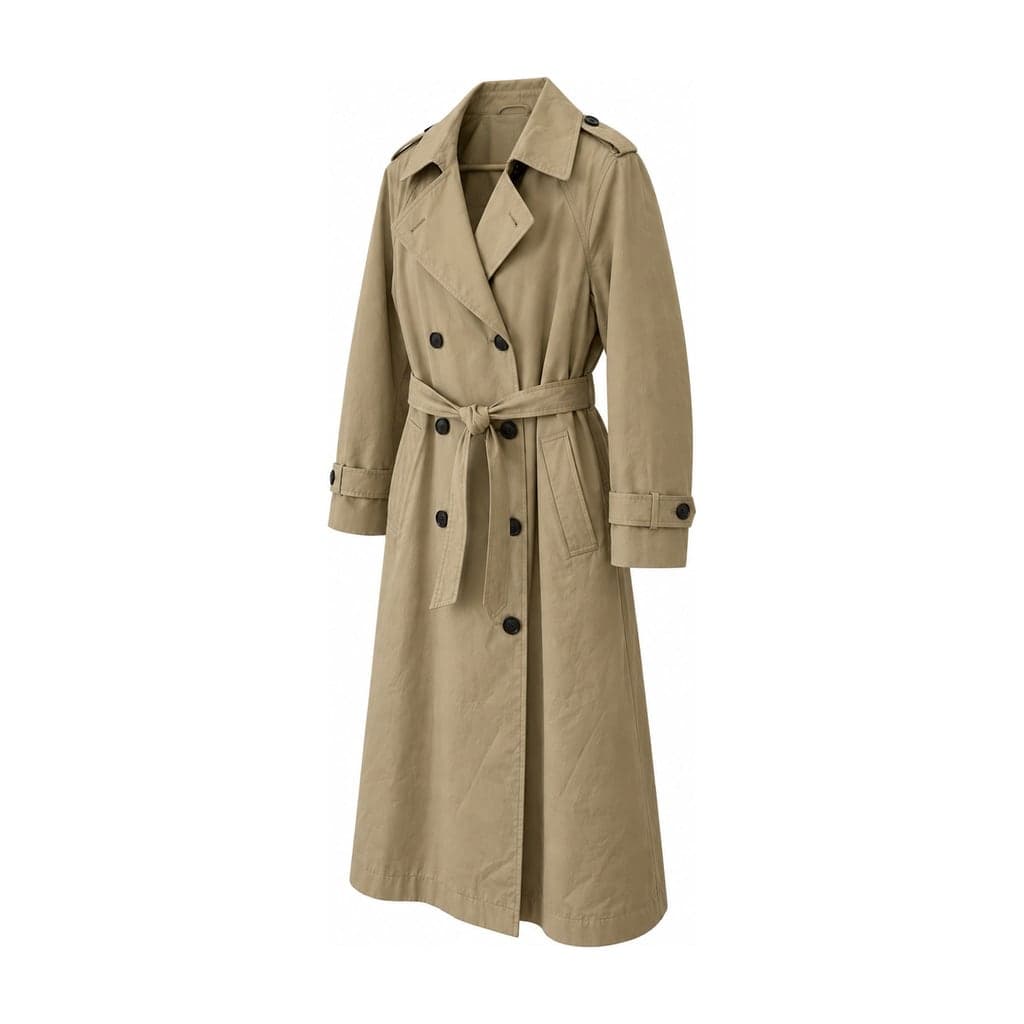 Ghost mannequin
 comparisons · V1–V8
Compare each original with its Standard 2K ghost mannequin result. Open the full image or inspect the close-ups.
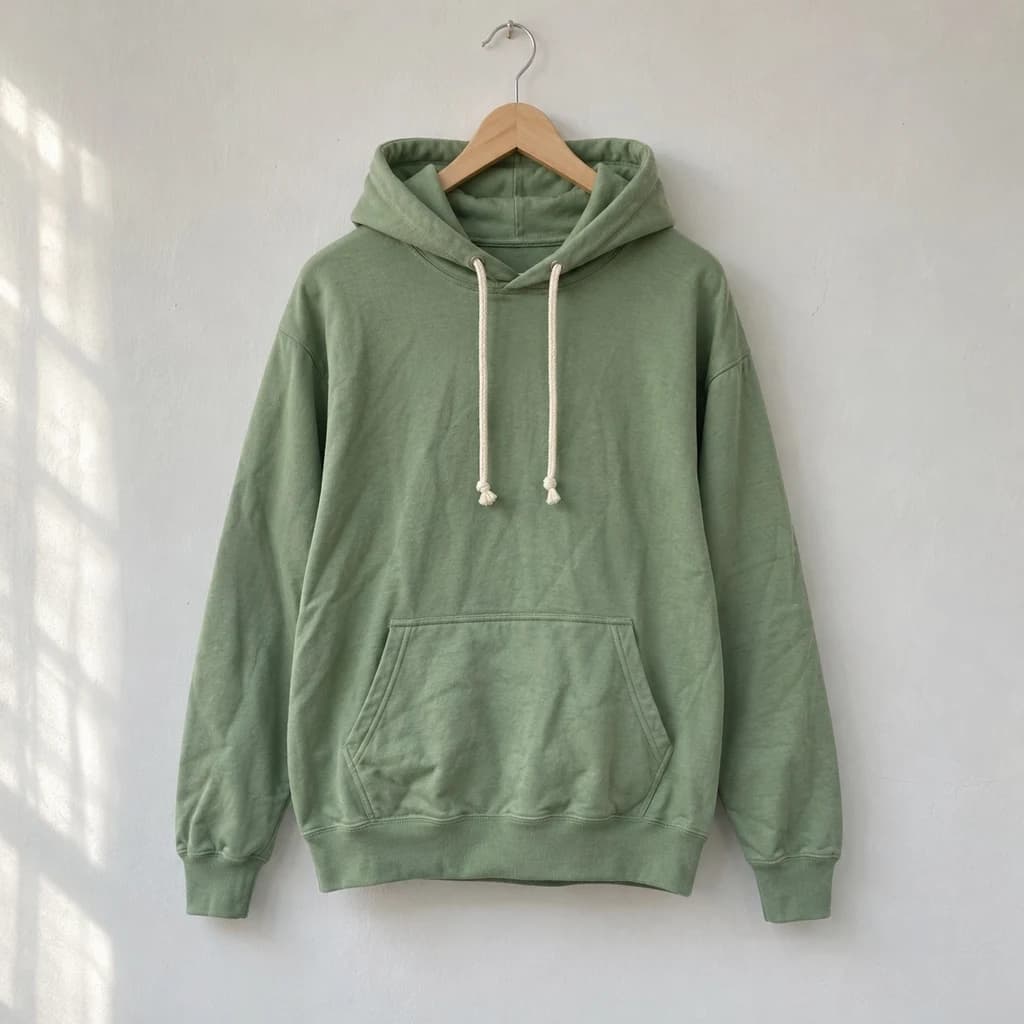 Hanger
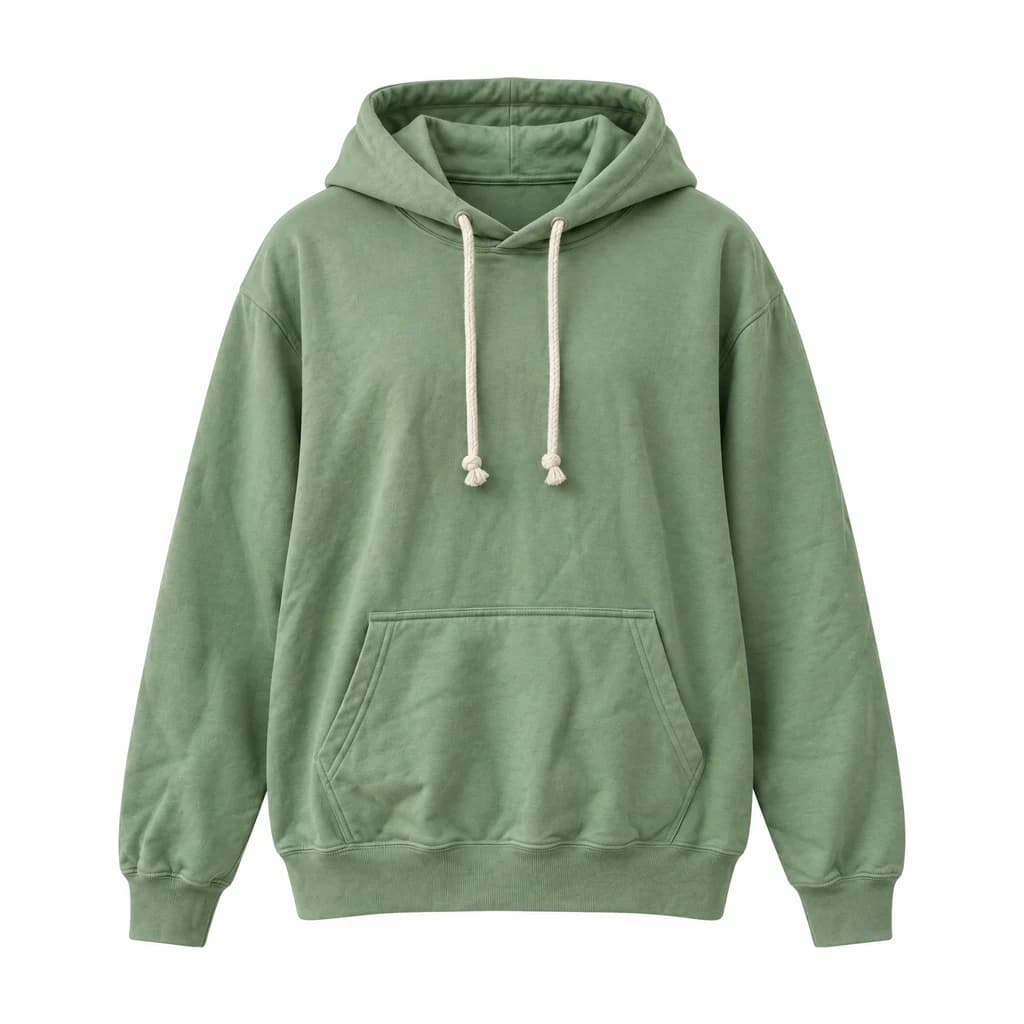 Ghost mannequin
Hood opening and drawstrings
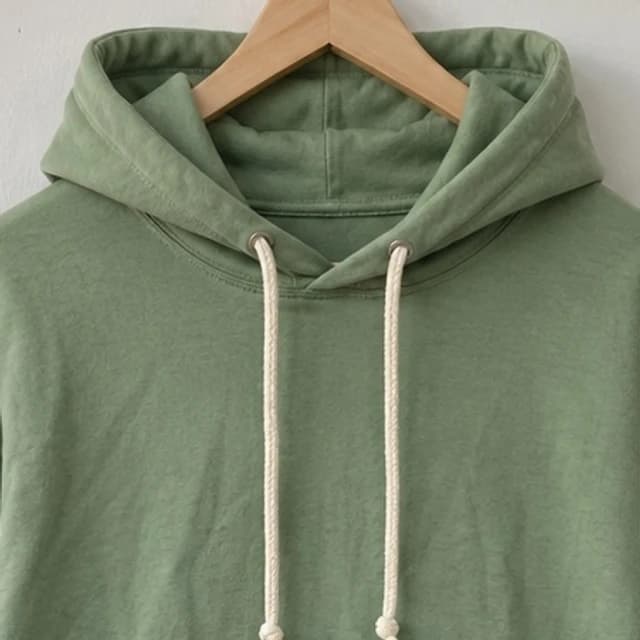
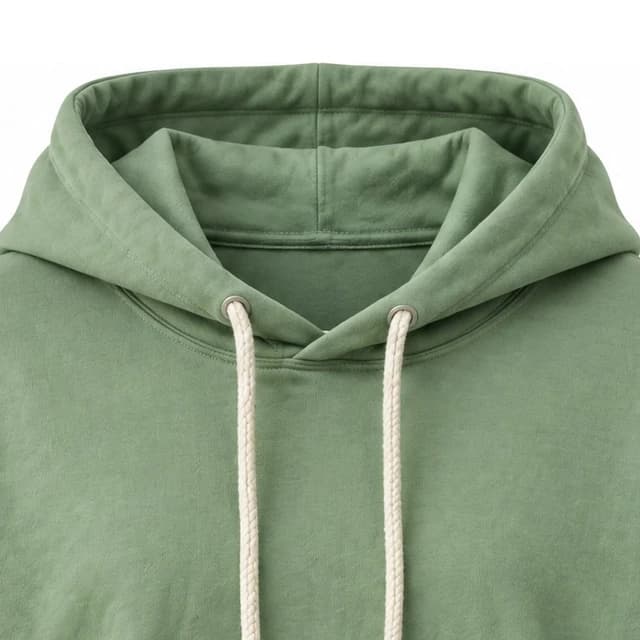
 Hanger
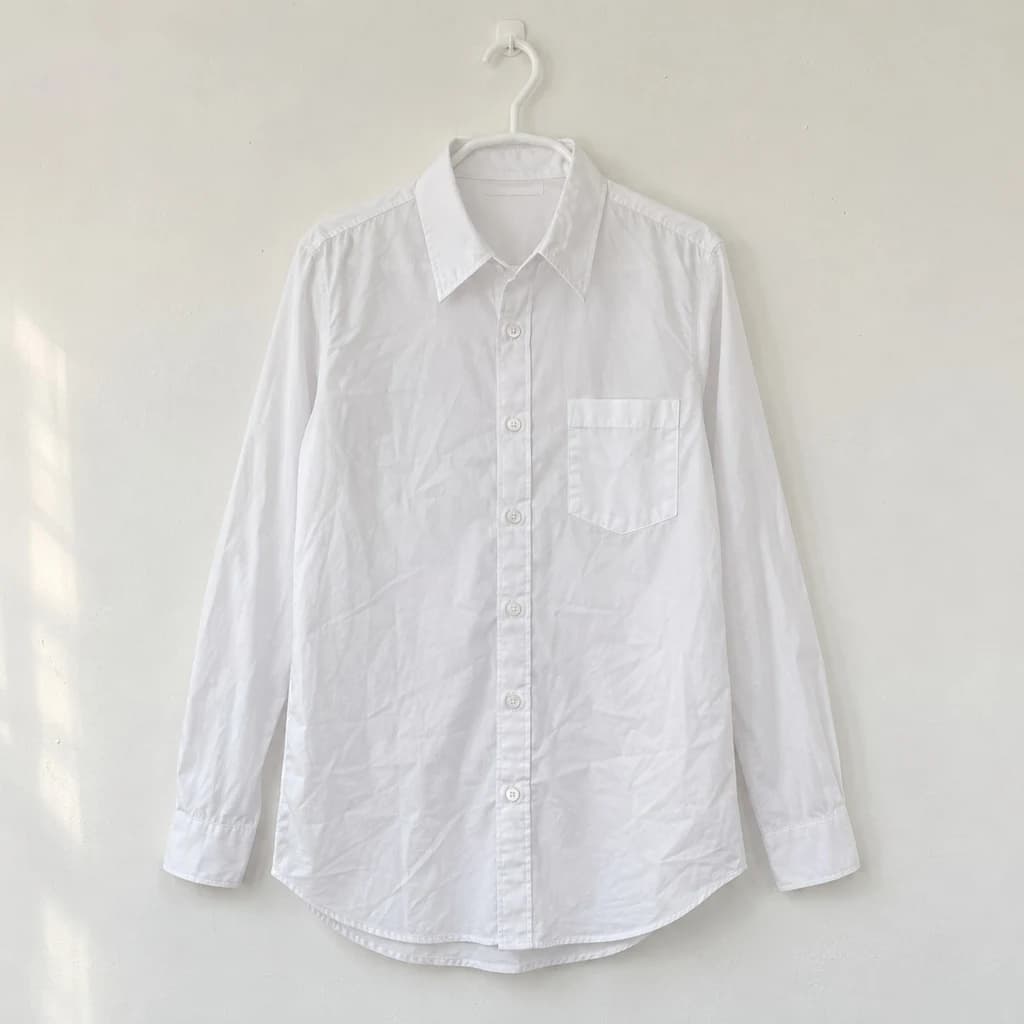
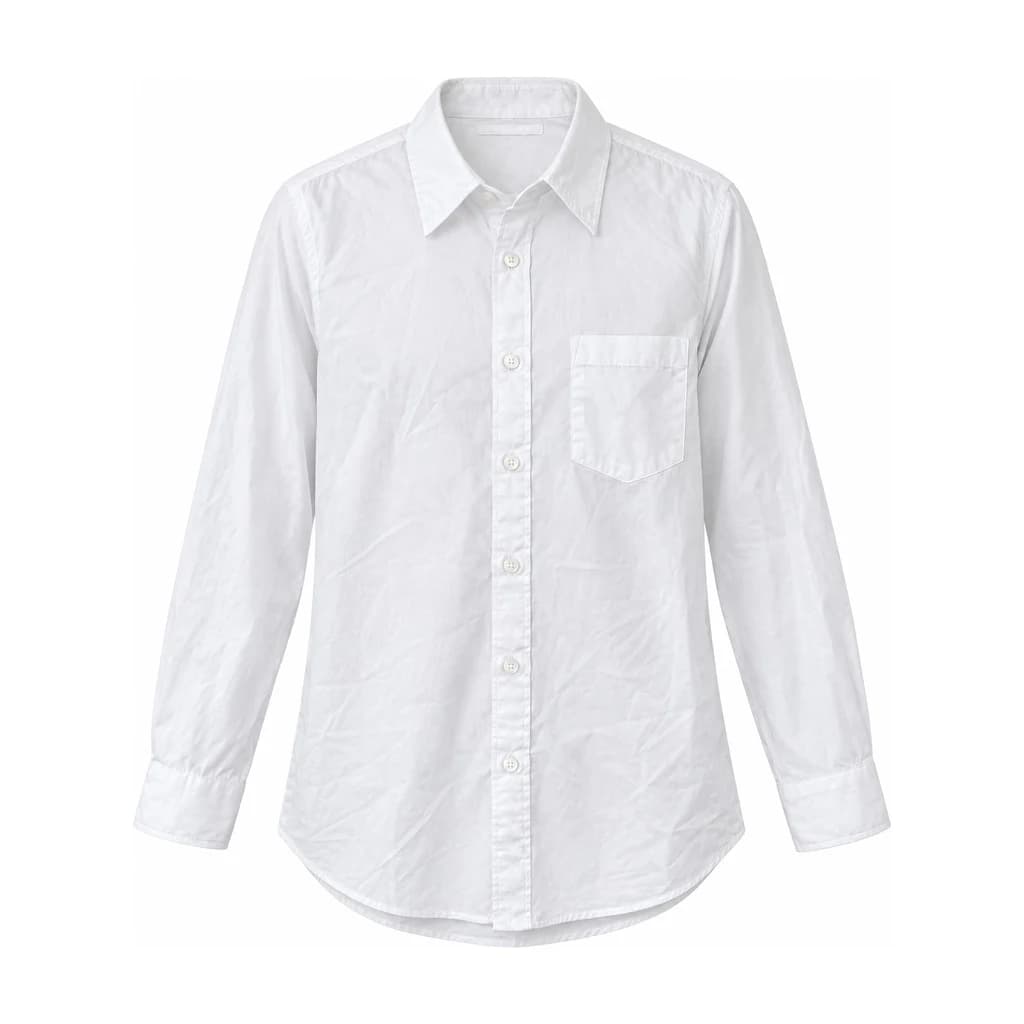 Ghost mannequin
Collar and blank neck patch
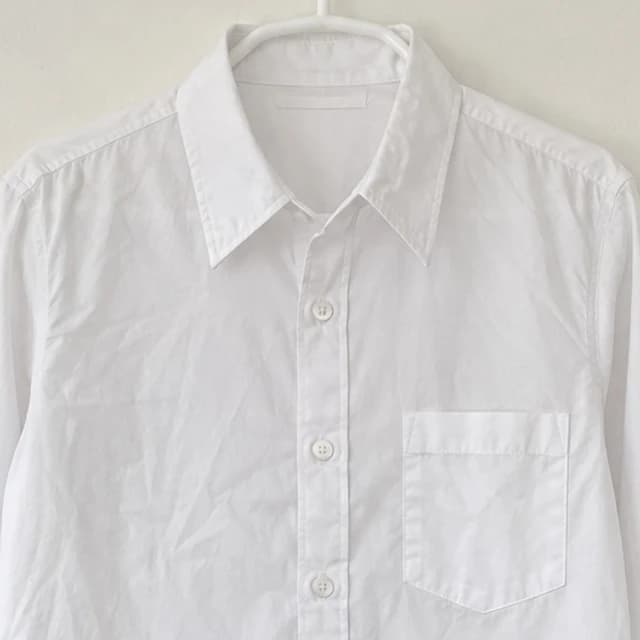
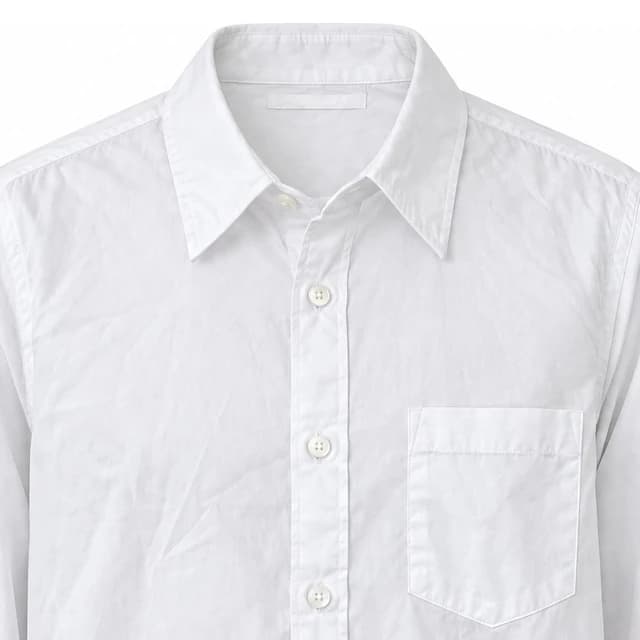
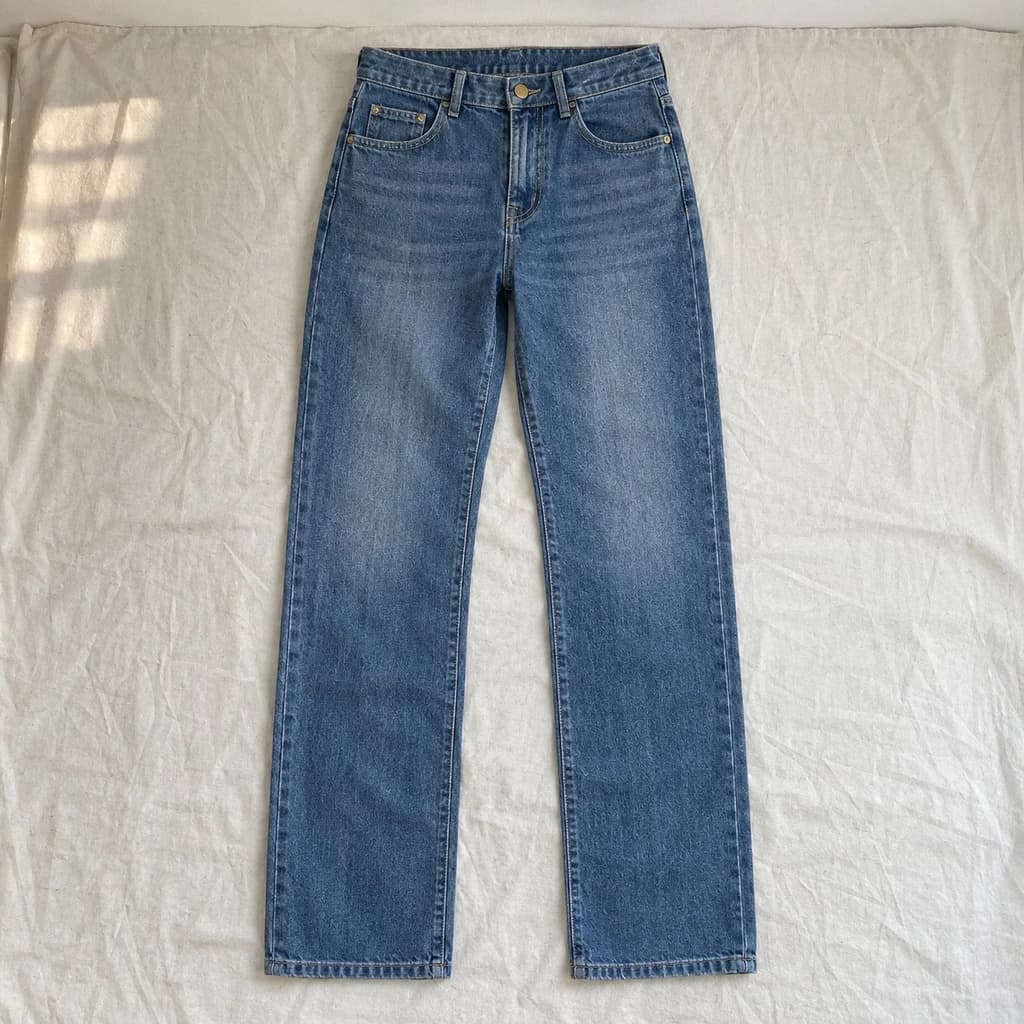 Flat lay
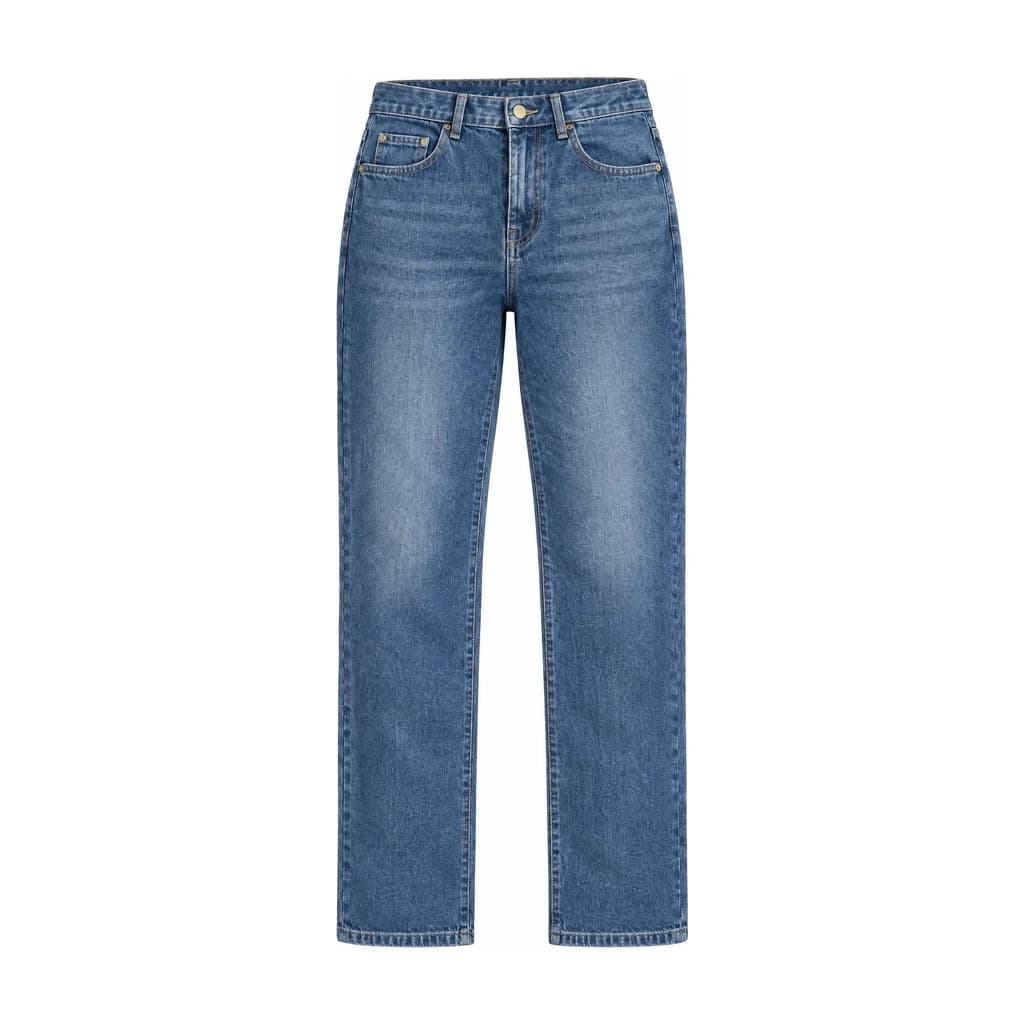 Ghost mannequin
Waistband and pocket stitching
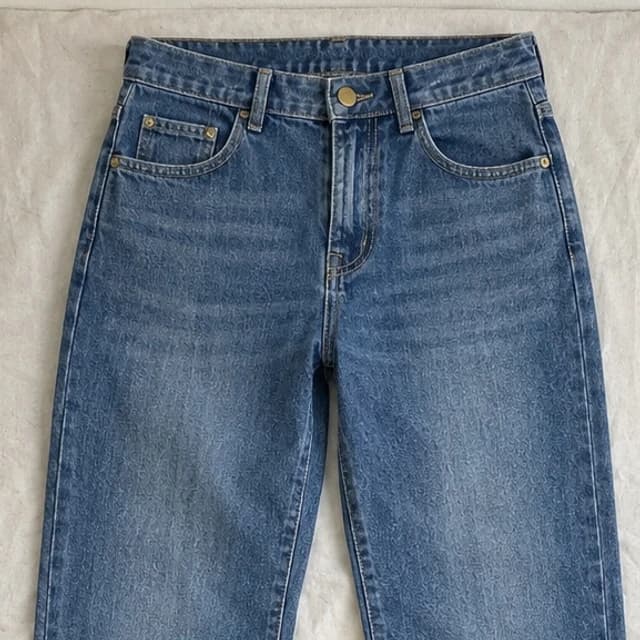
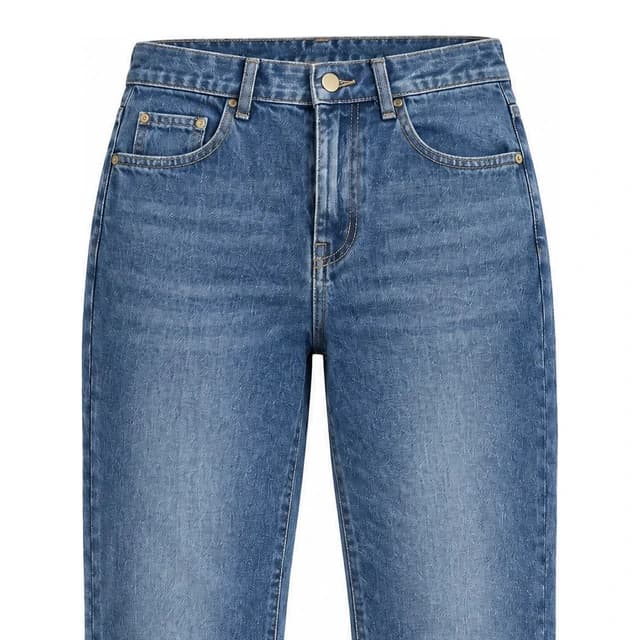
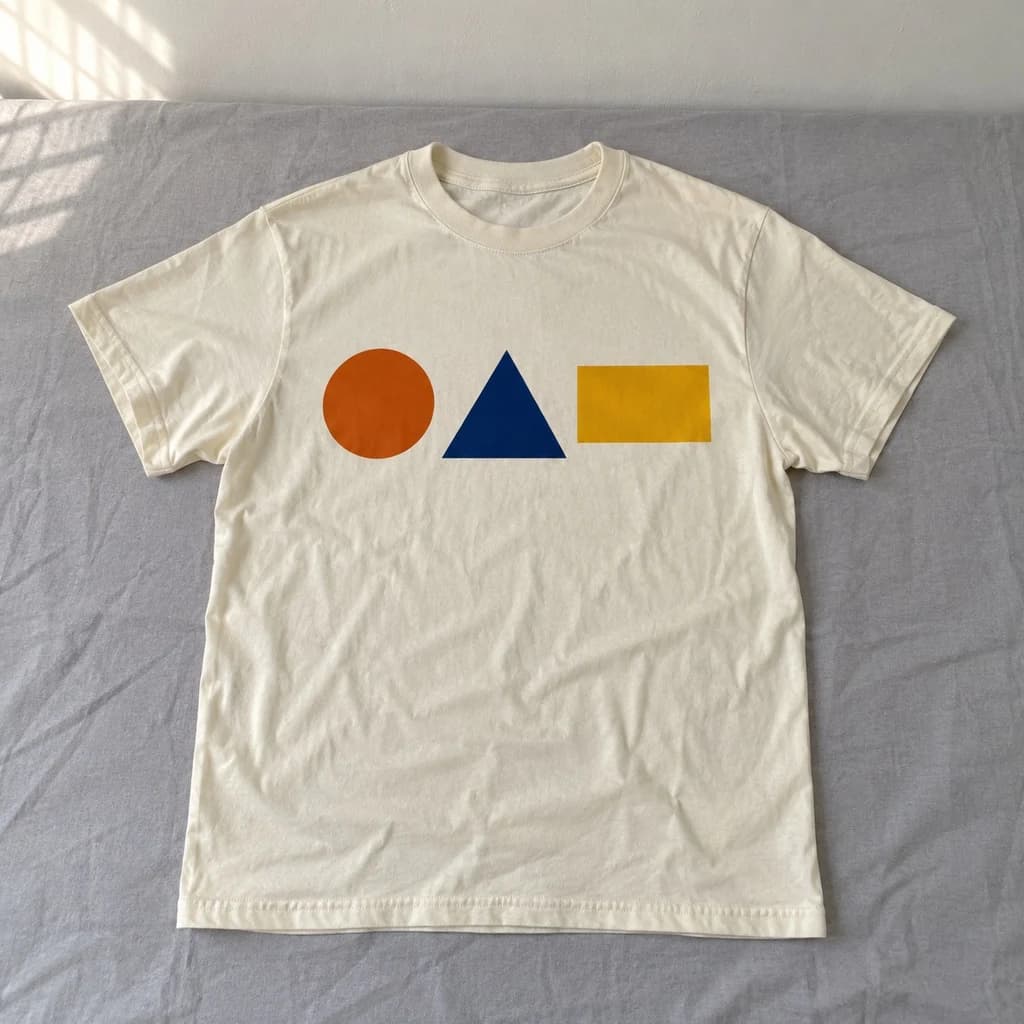 Flat lay
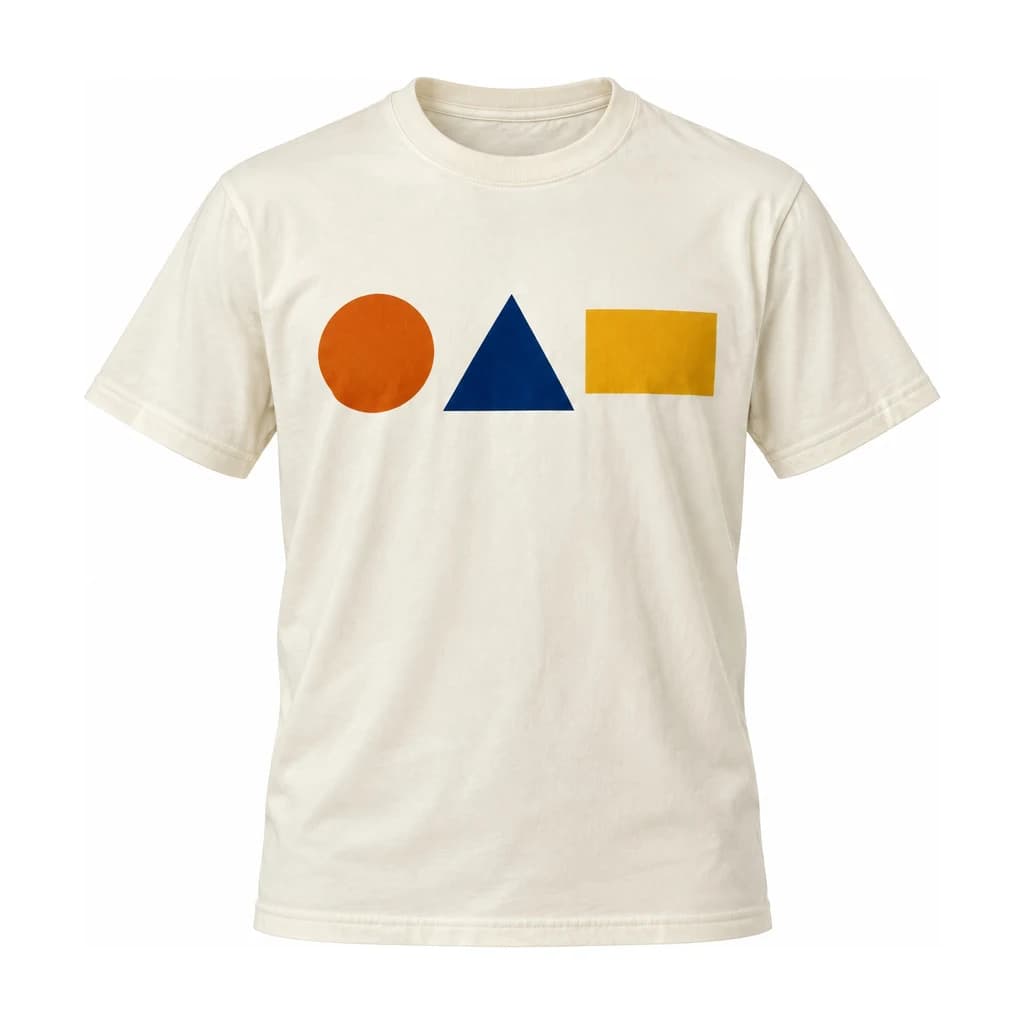 Ghost mannequin
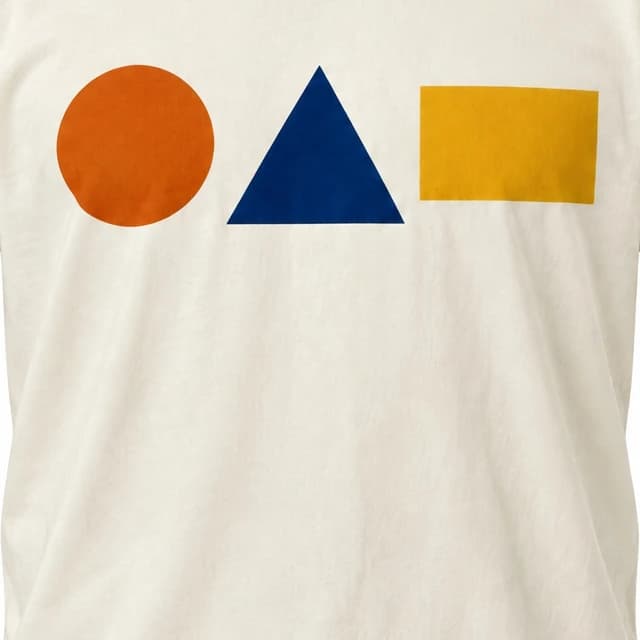
Three-shape chest print
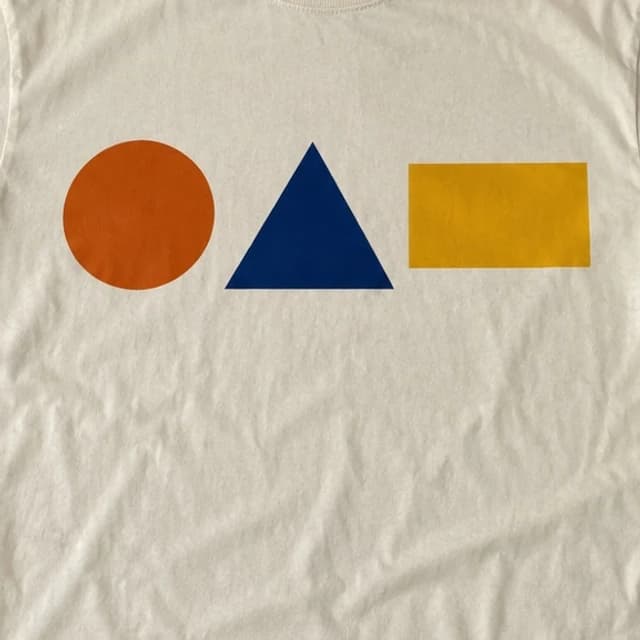
 Mannequin
 Ghost mannequin
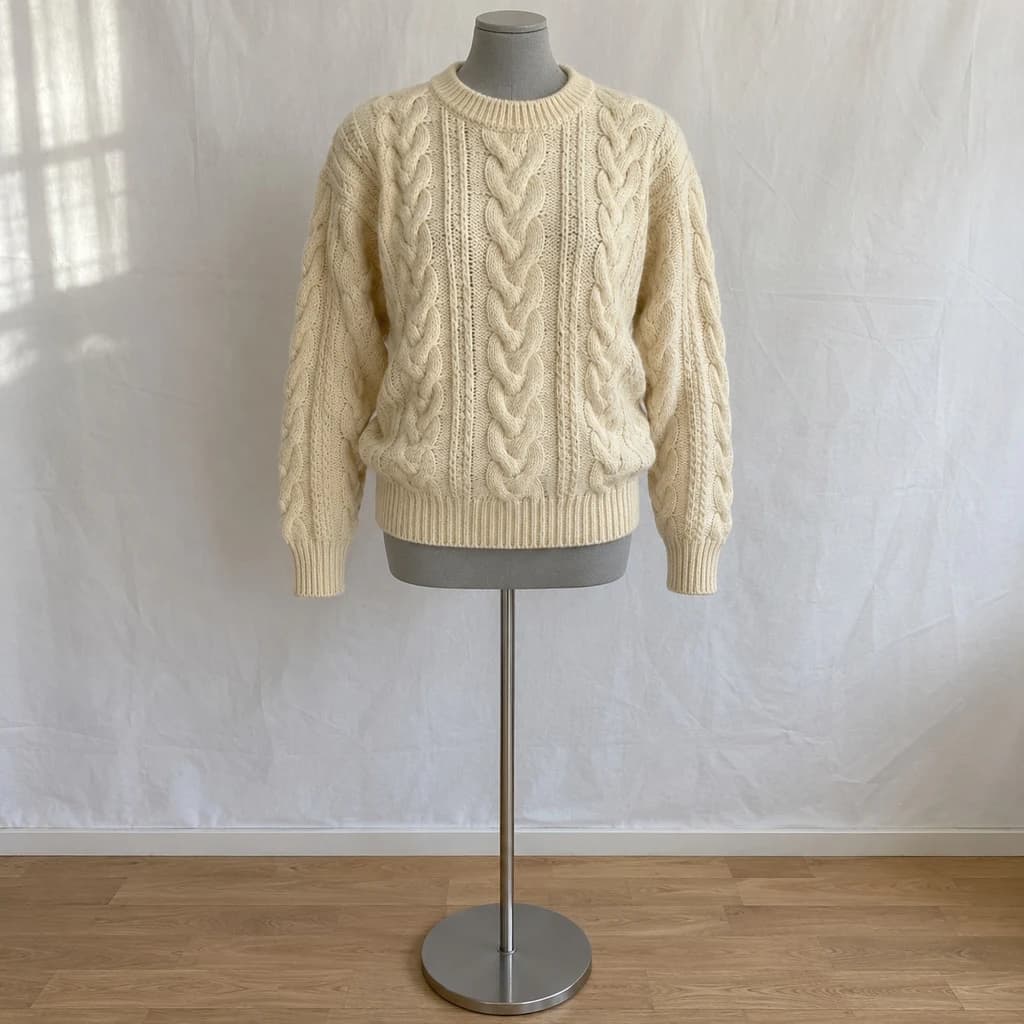
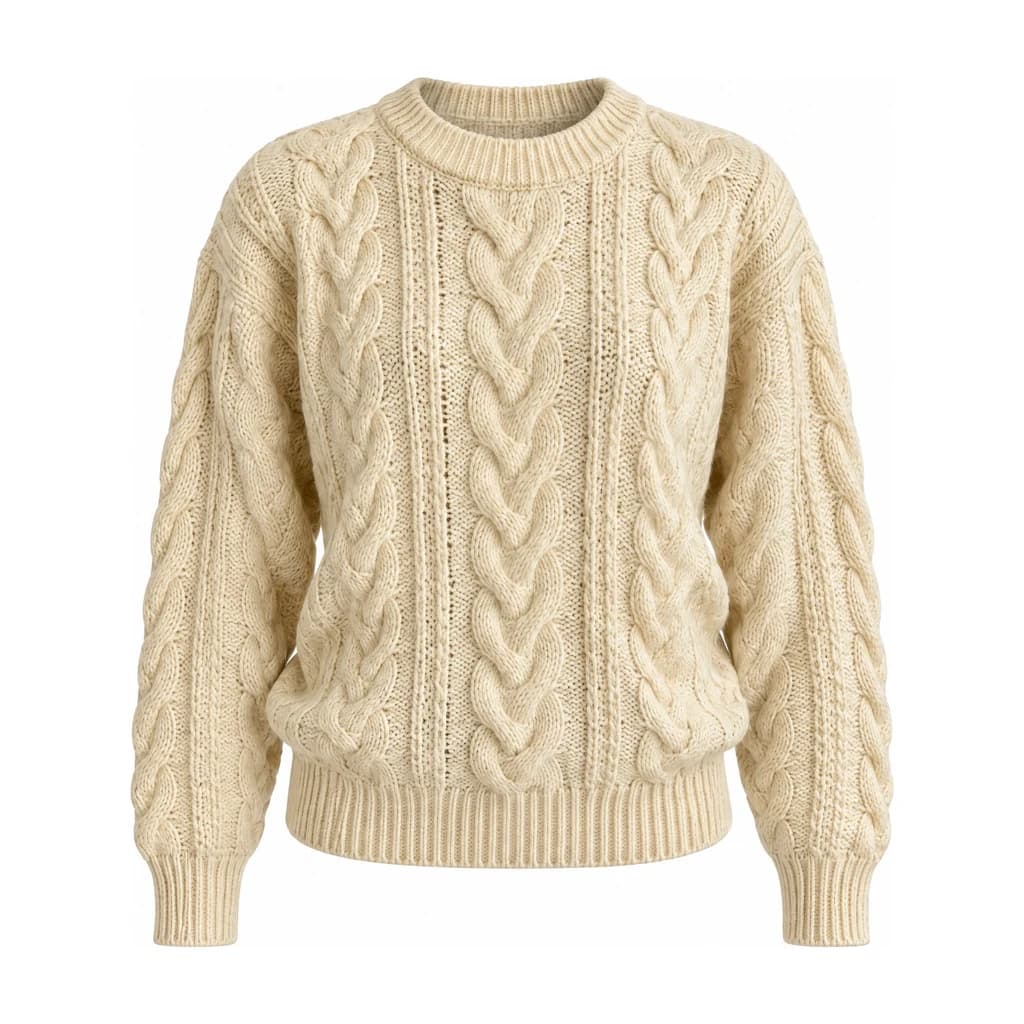
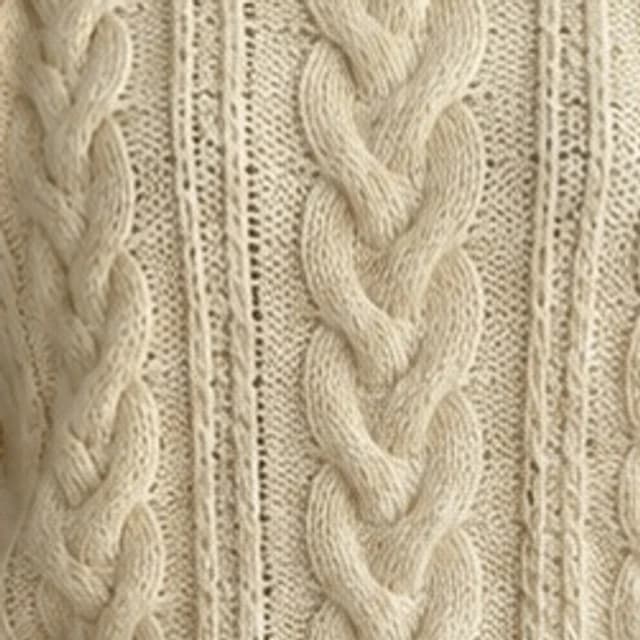
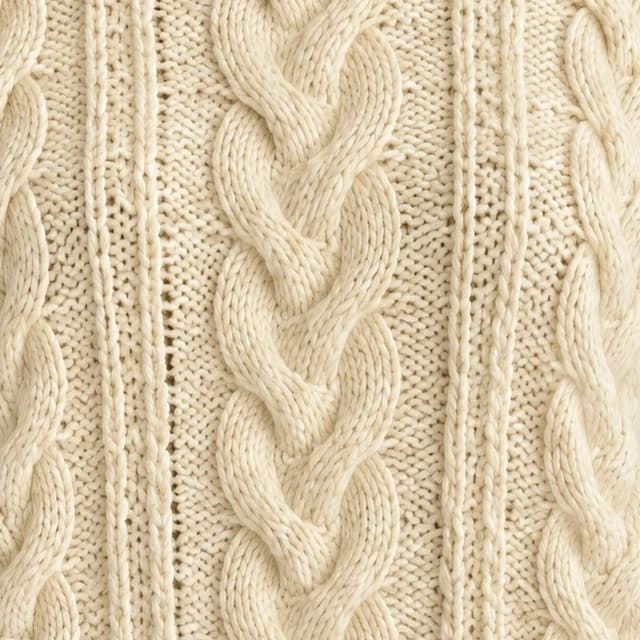
Cable-knit texture
 Mannequin
 Ghost mannequin
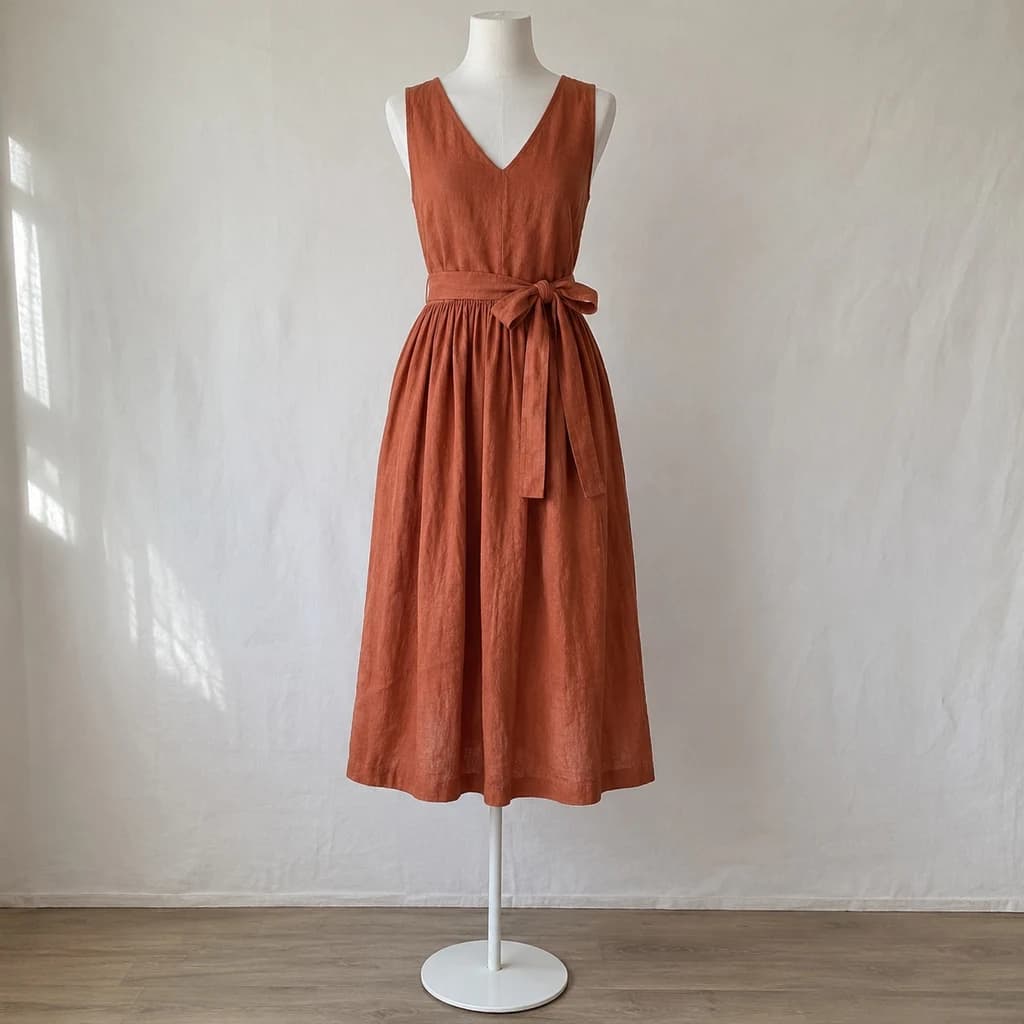
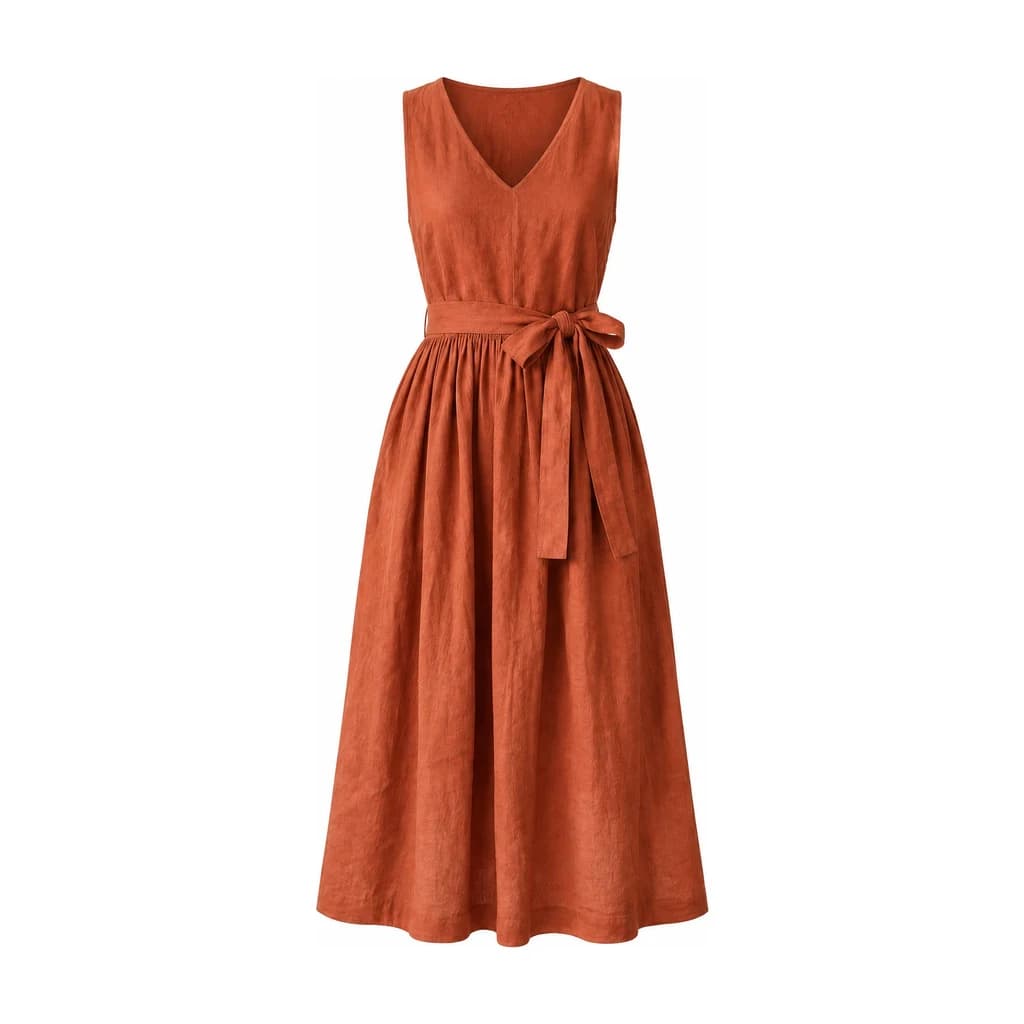
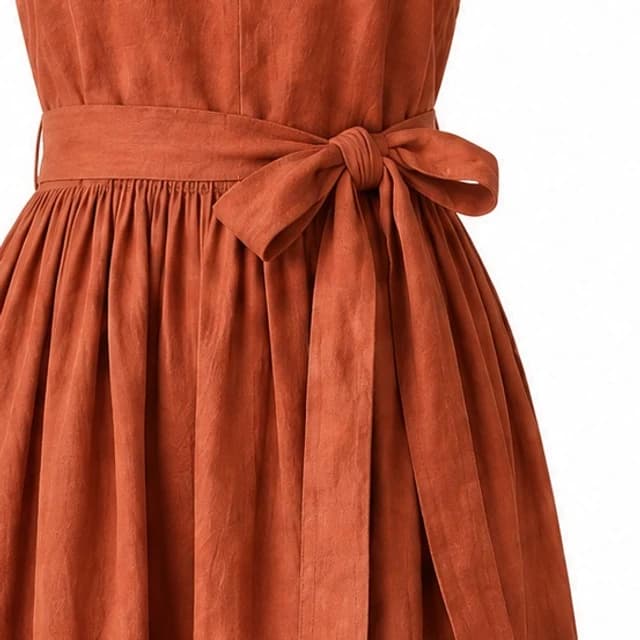
Waist tie and gathers
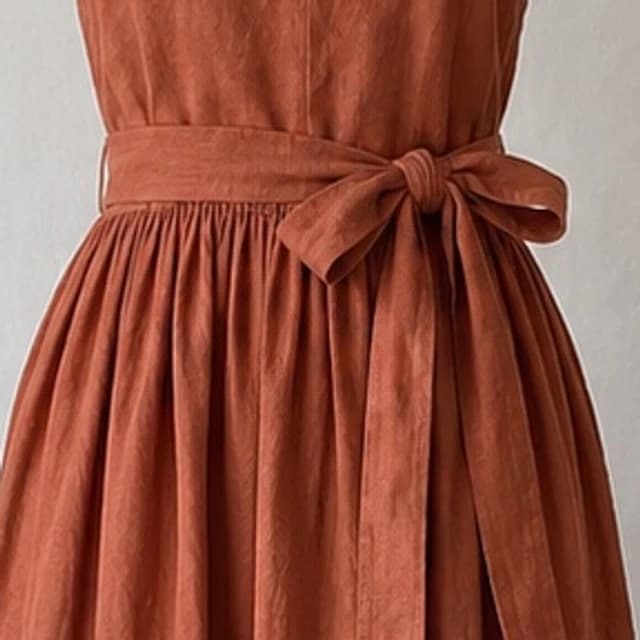
 Hanger
 Ghost mannequin
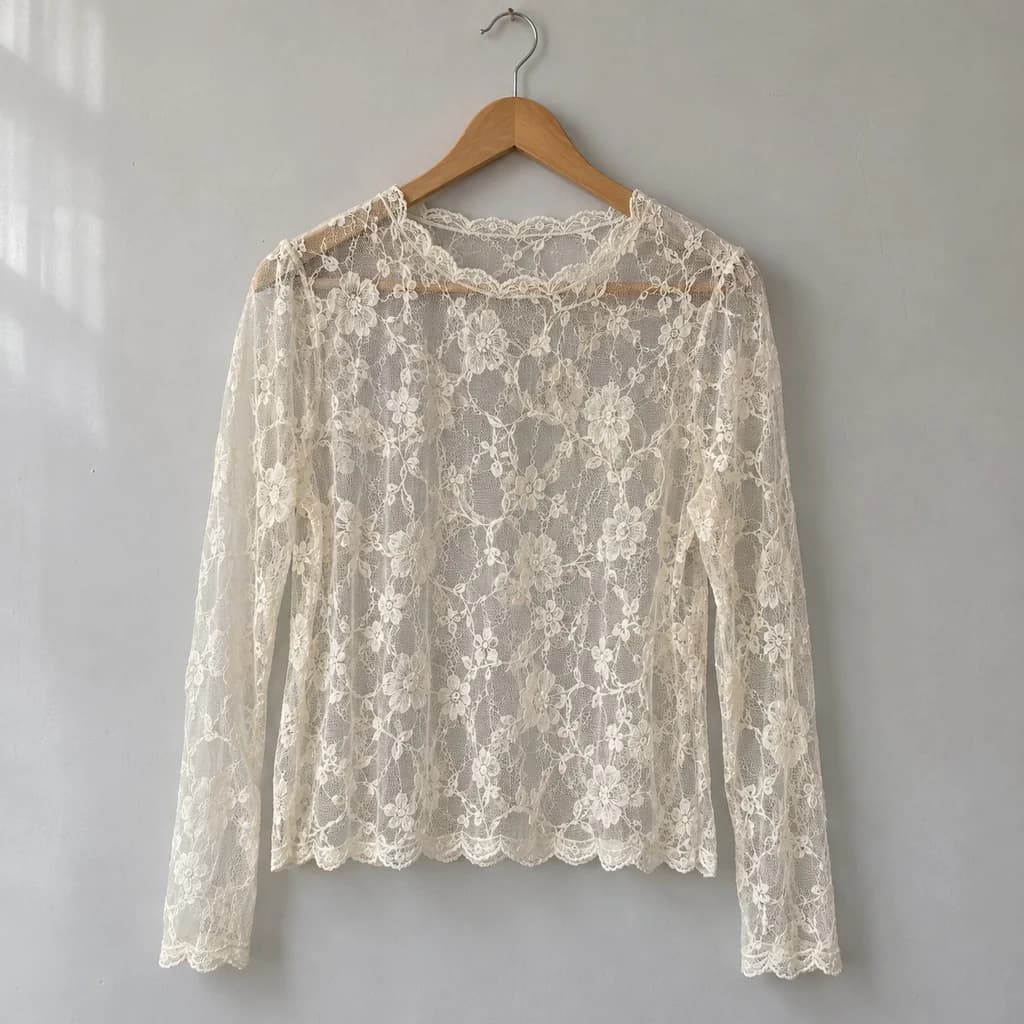
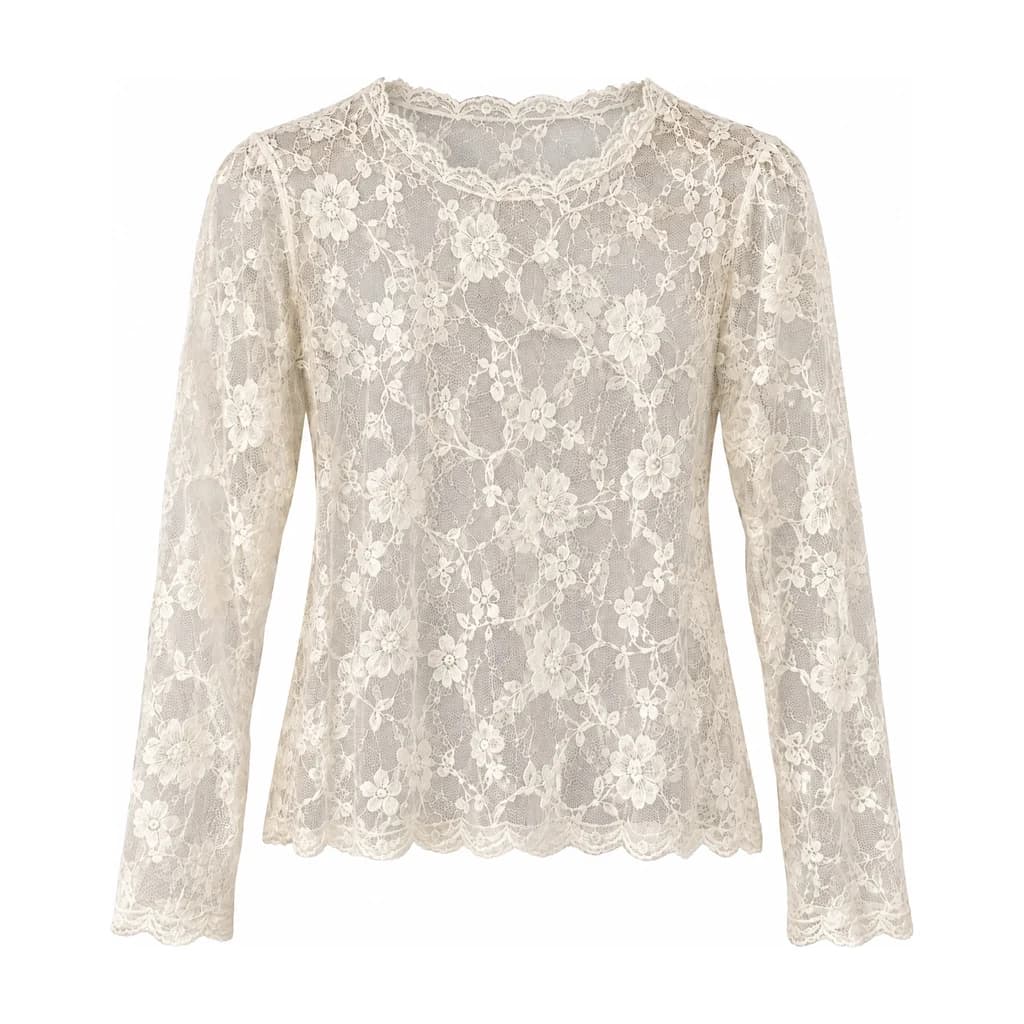
Lace openings and transparency
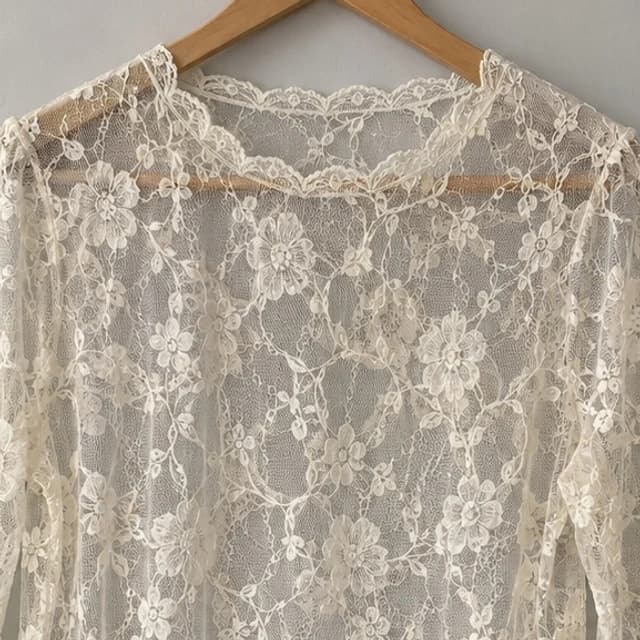
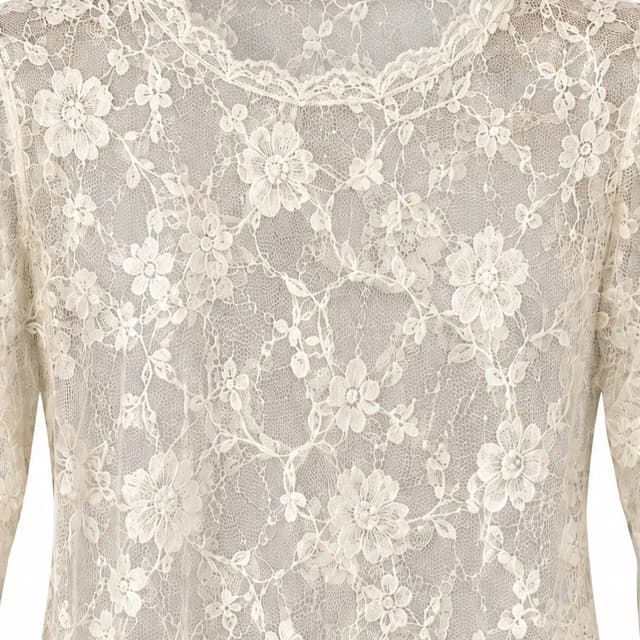
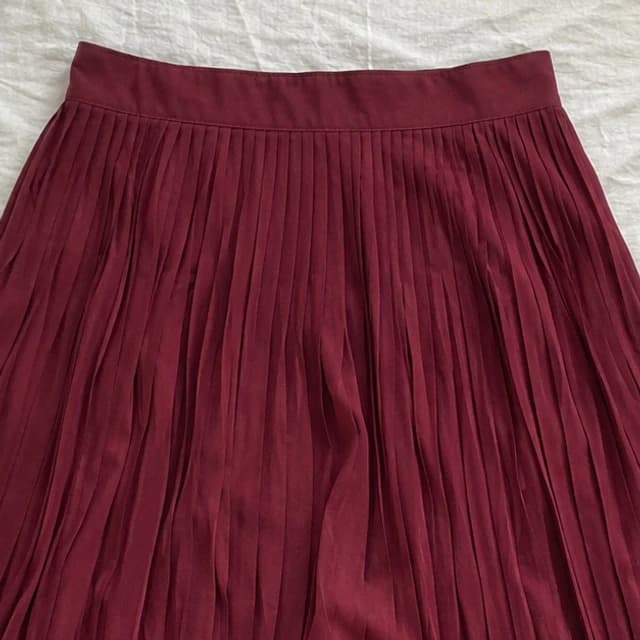
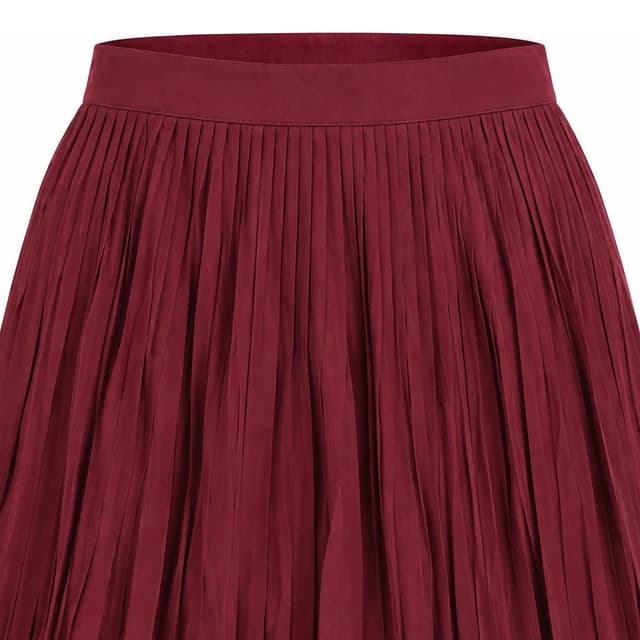
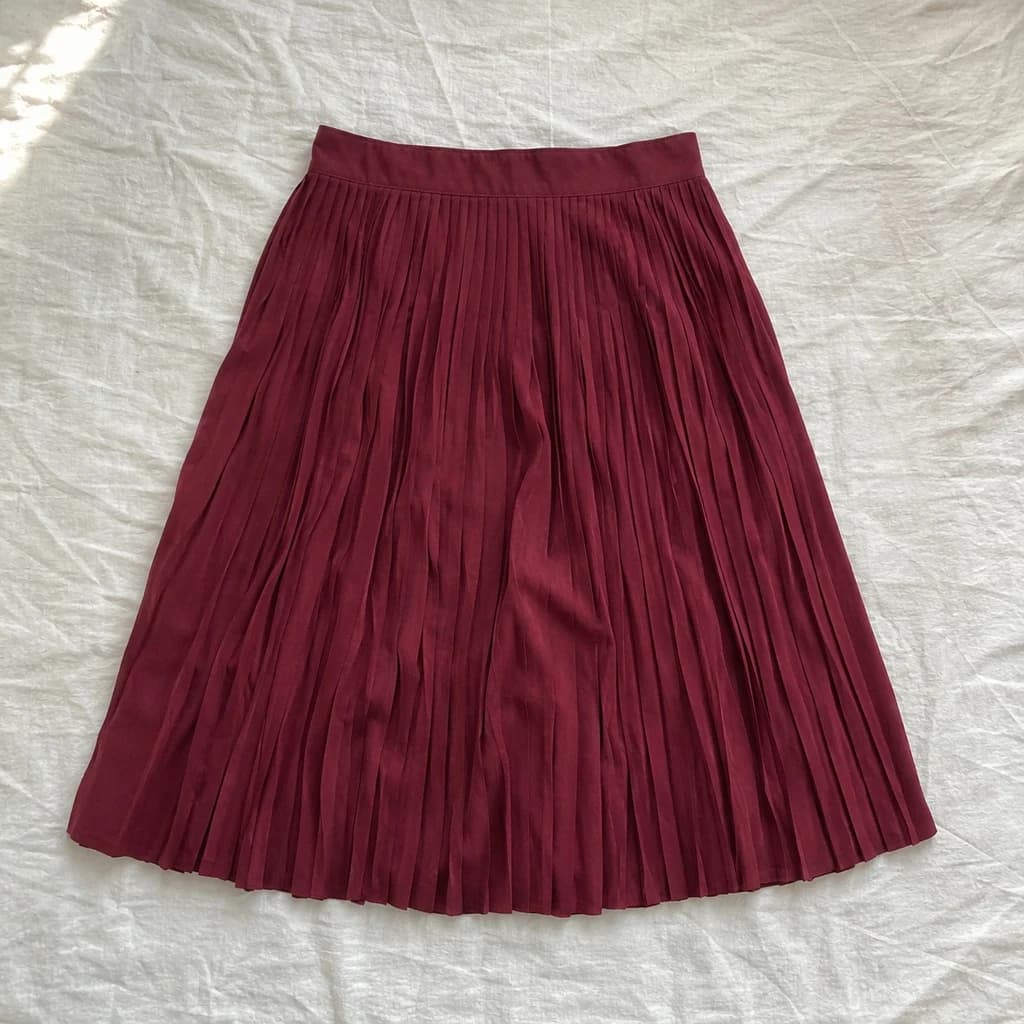 Flat lay
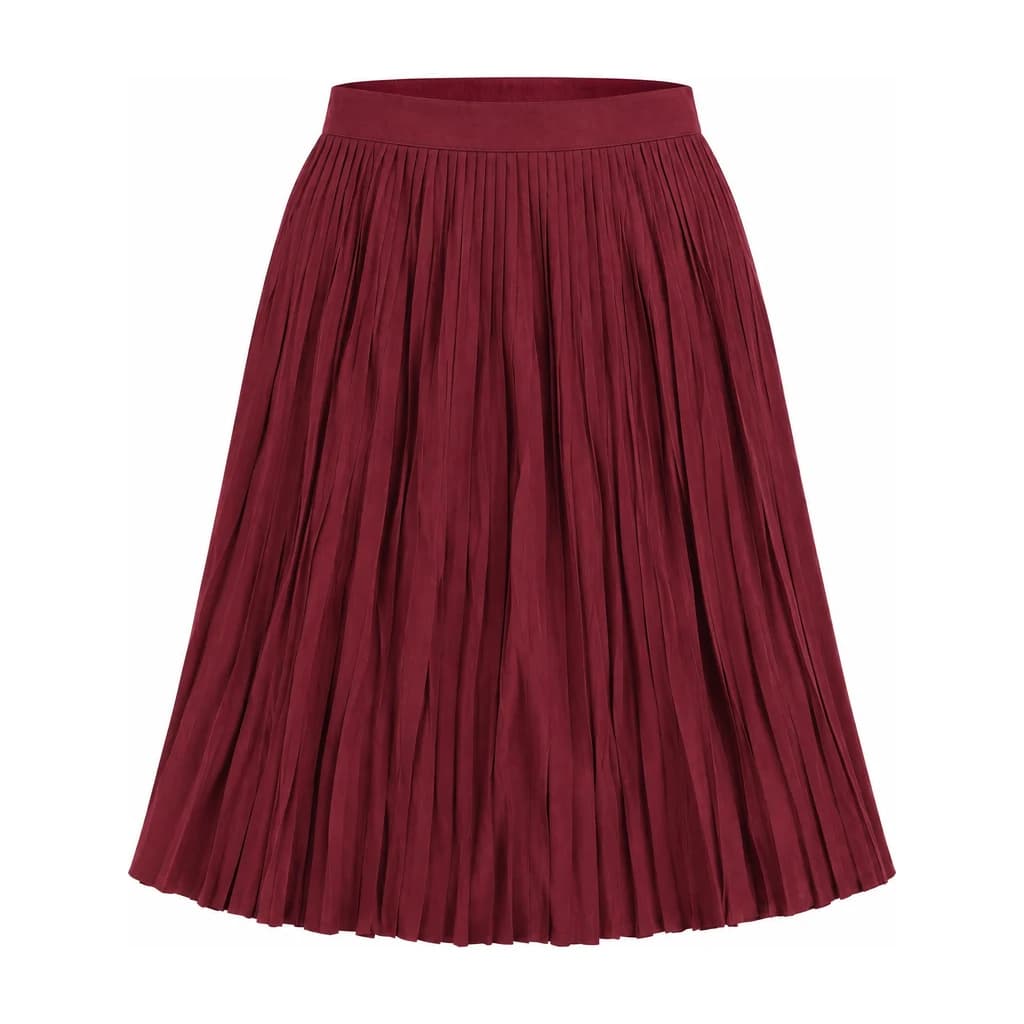 Ghost mannequin
Waistband and pleats
Have a similar clothing photo?
Try your own garment. One clear main photo is enough to start; extra reference photos are optional.
Which Photos Work Best
One garment per photo, fully in frame, evenly lit. A sharp photo at least 800 px on its shortest side gives a sharp result.
Mannequin photos
Shoot straight on, with the whole garment visible and nothing covering it. Avoid heavy shadows, cropped hems and mannequins with printed or very dark bodies.
Hanger photos
Hang the garment against a plain wall or door and shoot from the front. Avoid clip hangers that pinch the fabric and photos where the garment is twisted. To remove the hanger, use the dedicated hanger-photo workflow.
Flat lay photos
Lay the garment smooth and symmetrical and shoot from directly above. Avoid folded sleeves, wrinkles and garments piled on top of each other.
What Is a Ghost Mannequin?
A ghost mannequin is a clothing photo that shows the shape of a garment as though someone were wearing it, with no body or mannequin visible. Invisible mannequin and hollow man describe the same ghost mannequin effect. The shoulders, sleeves and neckline give the product volume while the garment stays the focus.
In a photography studio, the garment is usually photographed on a mannequin, then the inside of the collar is photographed separately. An editor removes the mannequin and combines the shots so the neck opening looks complete. The reference photos preserve details that the front view cannot show.
This AI ghost mannequin generator creates that look from a mannequin, hanger, flat lay or worn photo. The downloadable JPG is not a 3D model or a measurement of fit. Areas absent from the photos, including the inner neck, are drawn by AI; compare color, stitching, labels and shape with the real garment before publishing.
Need more than the ghost mannequin effect, such as a clean white background for a marketplace? The clothing photo editor page shows every edit in one place.
Extra photos and a 45° view
If your garment has a neck label you want to retain, photograph the inside of the collar clearly and add it as the optional neck-label photo. A label visible in the main photo is also used as a reference. Small lettering may not survive the edit.
An optional photo from another angle helps the AI understand seams, fabric and the garment’s shape. Use the same garment in similar lighting; it is a reference, not a second product to generate.
For ghost mannequin images, choose 45° for an angled view. Any side missing from your photos is drawn by AI, so compare the result with the actual garment.
How to Use the AI Ghost Mannequin Generator
- 01
Upload your photo
Pick a mannequin, hanger, flat lay or worn photo of one garment. JPG, PNG or WEBP, up to 15 MB.
- 02
Optional: add a collar or another-angle photo
Add up to two reference photos of the same garment: the inside of the collar and another angle. These do not cost extra credits. For supplementary photos, use single-item processing.
- 03
Choose your settings
Tell us what the photo shows, choose a front, back or 45° view, and pick a background, aspect ratio and padding.
- 04
Download
Compare before and after with the slider, check the details, then download a 2048 px image.
What the AI Changes and What It Keeps
The AI removes the mannequin or hanger and fills in the neck opening and inner back, so your garment looks worn by an invisible form. It is told to keep the color, print, logo and shape you see in your photo.
It can't recreate what your photo doesn't show. The inside of the neck is drawn by AI and may not match your garment's real inside; on mannequin photos it sometimes gets a neck label with made-up text. For flat lay photos the 3D shape is AI-generated too. Always compare the result with your product before you publish it.
Standard generates from a 2K source and exports a JPG with a 2048 px short edge. Older Basic examples used 1K sources; enlarging them does not recover missing detail. Start with a sharp, evenly lit photo.
If generation is marked as failed, the charge is returned automatically. A completed image with an altered print or shape is different: inspect it before downloading, try a clearer input or optional collar reference, and contact support if you need help. Generating another version uses another generation from your balance.
Check Before You Publish
Put the result next to your garment or your original photo and look at these six things.
Color
Compare the shade in the same light. Navy, black and pastels shift most easily.
Print and text
Logos, lettering and repeated prints should match your garment. Small text is the most likely to change.
Inside of the neck
Small lettering on a neck label may not be preserved. Compare the real label with the result and include a close-up in your listing when it matters.
Sleeves and hem
Check the length and shape of the sleeves, cuffs and hem against the real piece.
Buttons and zips
Count the buttons, and check that zips, pockets and seams are where they should be.
Edges
Look along the outline for leftover bits of the mannequin, hanger or background.
Pricing
Standard uses 2 credits per generation. Each new version uses another 2 credits. Failed generations return the full charge automatically. Sign in with email or Google. New accounts can try 1 Standard image (2 trial credits).
Batch processing supports up to 10 photos, charges credits per generation and refunds the credits for each failed image. Use single-item processing when you need supplementary photos.
See pricingGhost Mannequin FAQ
What is a ghost mannequin photo?
It's a product photo where the garment looks worn by an invisible body: you see its 3D shape and the inside of the neck, but no mannequin or model. It's also called an invisible mannequin photo.
Is there a ghost mannequin app?
Yes. Ghost Mannequin Tool is a web app that runs directly in your computer or phone browser, with no installation needed. Sign in, upload your garment photo, choose your settings and compare the result before downloading.
Can AI create the ghost mannequin effect?
Yes. Upload a mannequin, hanger, flat lay or worn photo and the AI removes the mannequin or hanger, gives the garment a worn 3D shape and fills the neck opening with an inner back. You don't need to shoot the inside of the garment separately or combine layers in Photoshop.
How do I create a ghost mannequin photo from a flat lay?
Lay the garment flat and smooth, shoot it from directly above in even light, then upload it and choose Flat lay as the photo type. The AI turns it into a worn shape with an inner neck. Compare the result with your garment before you publish it.
How is this different from invisible mannequin AI that only removes the background?
Background removal cuts the garment out but leaves the mannequin's neck and a hole where it was. This tool removes the mannequin itself and fills the neck opening with an inner back, which is the part that usually takes an editor the longest.
Can I use a photo of the garment on a real person?
Yes. Choose Worn as the photo type: the person is removed and the clothing keeps its worn shape, including both pieces of a set, and stickers or promotional graphics on top of the photo are left out. The inside of the neck is drawn by AI, so compare the result with your garment. Use photos you have the rights to, such as your own or a supplier's with permission.
Will it change my garment's color or print?
It's told to keep the color, print, logo, text and stitching exactly as they are, but AI can still change small details, and inside the neck it can add a label your garment doesn't have. Always check the result against your product before you publish it. Check changed labels and garment details
Can I make a back view?
Yes. Choose Back under "Which side of the garment?". Back views don't get an inner neck, because you wouldn't see one from behind.
Can I keep the real neck label, and do extra photos cost more?
Standard uses 2 credits per generation, including retries. See how to use an inside-collar reference
Can I make a 45° view?
Yes, on the ghost mannequin tool. Choose 45°. A reference from another angle helps, but any side not shown in the photos is drawn by AI and must be checked against the garment.
Why is there no transparent background?
The ghost mannequin tool produces JPG images on white or light gray backgrounds. Transparent output is not available; choose the background that suits your listing.
Where can I compare this workflow with Photoroom?
Our guide compares Photoroom’s official documentation with this tool’s inputs, batch processing, credit packs and garment-detail checks. Read the Photoroom comparison.
What can I try before buying?
Sign in with email or Google. New accounts can generate 1 Standard trial image and inspect its watermarked preview before deciding to buy.
Why does my trial preview have a watermark?
The trial lets you inspect the generated result. A single-image purchase unlocks that image without a watermark; a credit pack unlocks your trial image and adds more generations.
Can I download my original trial image after paying?
Standard uses 2 credits per generation, including retries. See billing answers
What is the difference between one image and a pack?
A single-image purchase unlocks one existing image and adds no generation credits. Packs provide 10, 40, 150, 450 or 1,200 Standard generations and unlock your existing trial image.
Do these purchases renew automatically?
No. Single-image unlocks and the credit packs shown here are one-time purchases. They do not start a subscription or renew automatically. Read about credit expiry and renewals
What happens if generation fails?
Credits for failed generations are returned automatically. If a completed image has changed important garment details, compare it with the original before publishing and contact support for help. Read about failed generations
What size are the downloaded images?
The short edge is 2048 px: 1:1 downloads at 2048 × 2048, 4:5 at 2048 × 2560 and 3:4 at 2048 × 2731. Every image downloads as a JPG. See output dimensions
Who can see my photos?
Only you. Your uploads and results are stored privately, previews use links that expire after a few minutes, and downloads check that you're signed in to the account that made the image.
How does batch processing use credits?
Standard uses 2 credits per generation, including retries. See batch upload guidance
Start with your task
Ghost mannequinClothing photo editorEdit clothing photos with AI: remove mannequins or hangers, create ghost mannequin or flat lay images, and get consistent product photos for your store.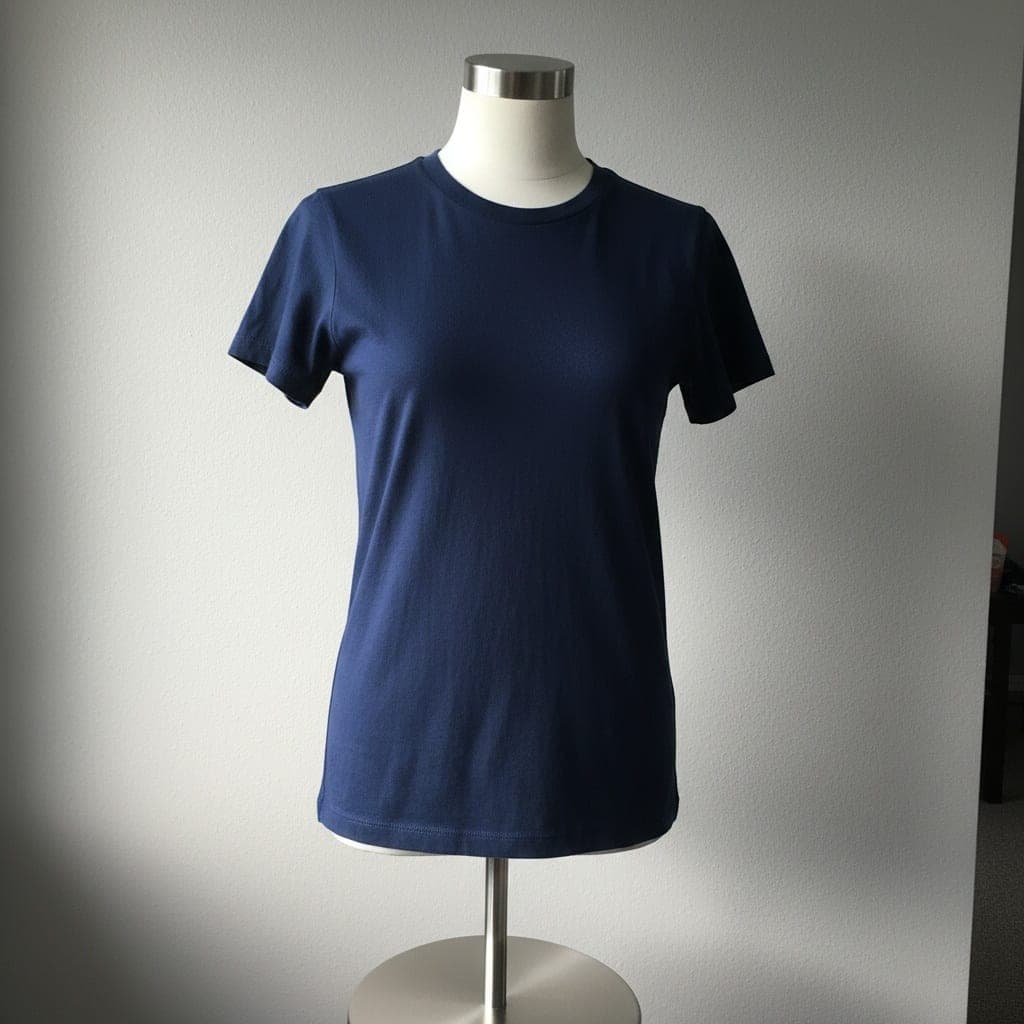
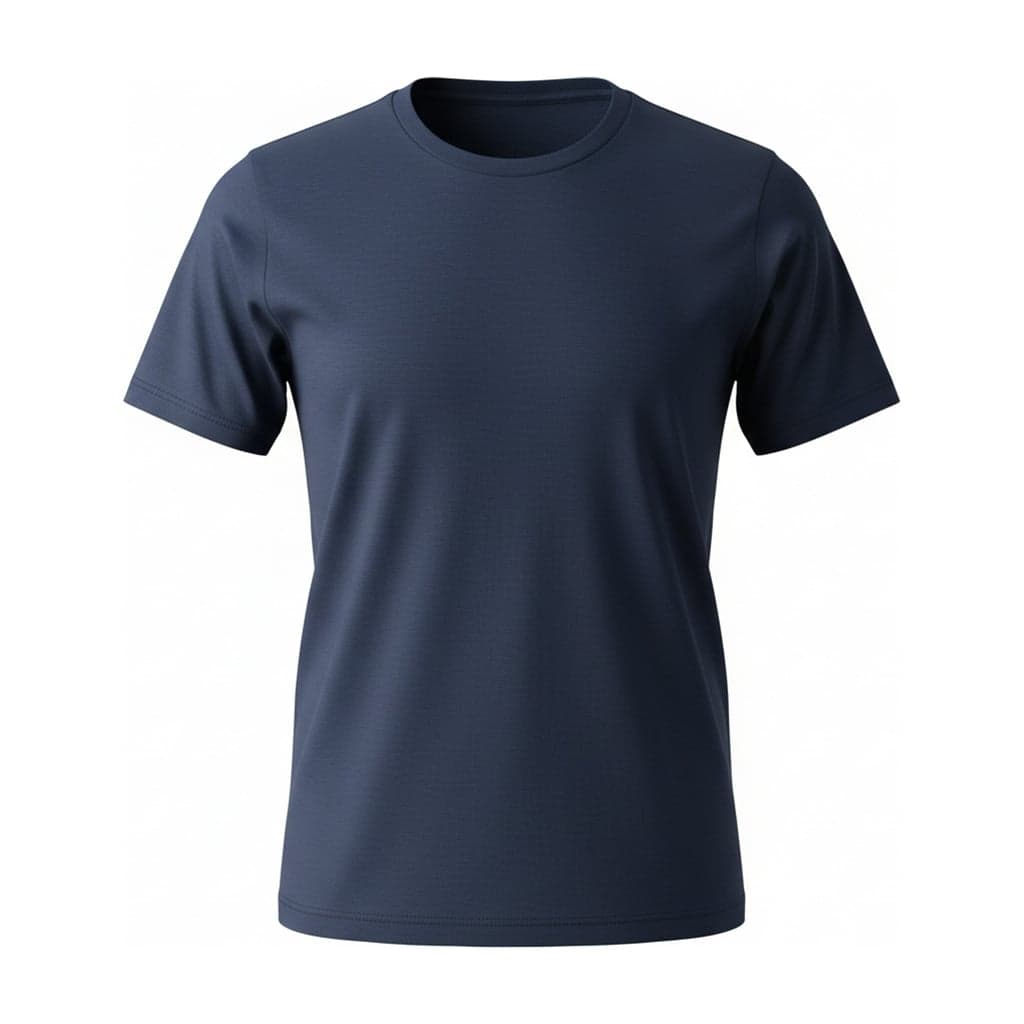 Ghost mannequinRemove a mannequin from a photoRemove the mannequin from a clothing photo, including the neck, arms and stand. AI fills in the inner neck so the garment looks worn by an invisible form.
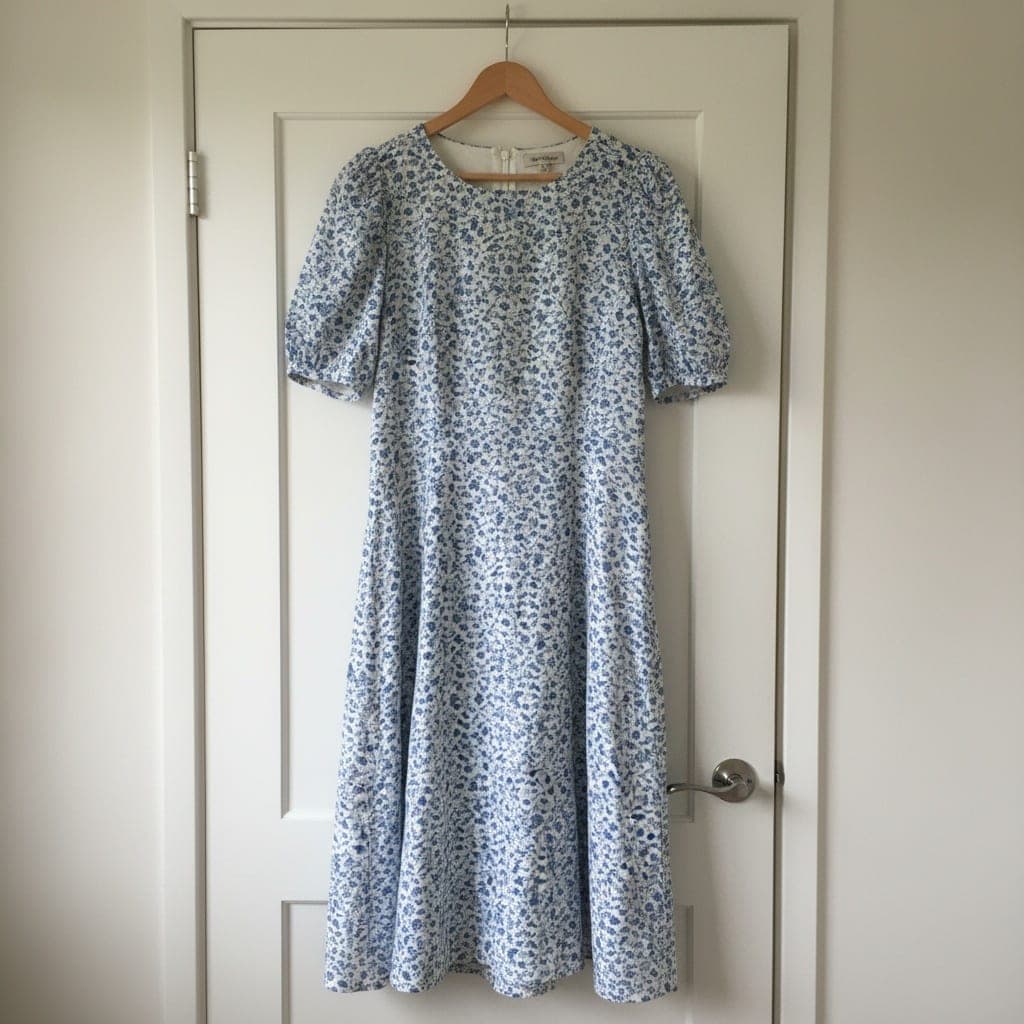
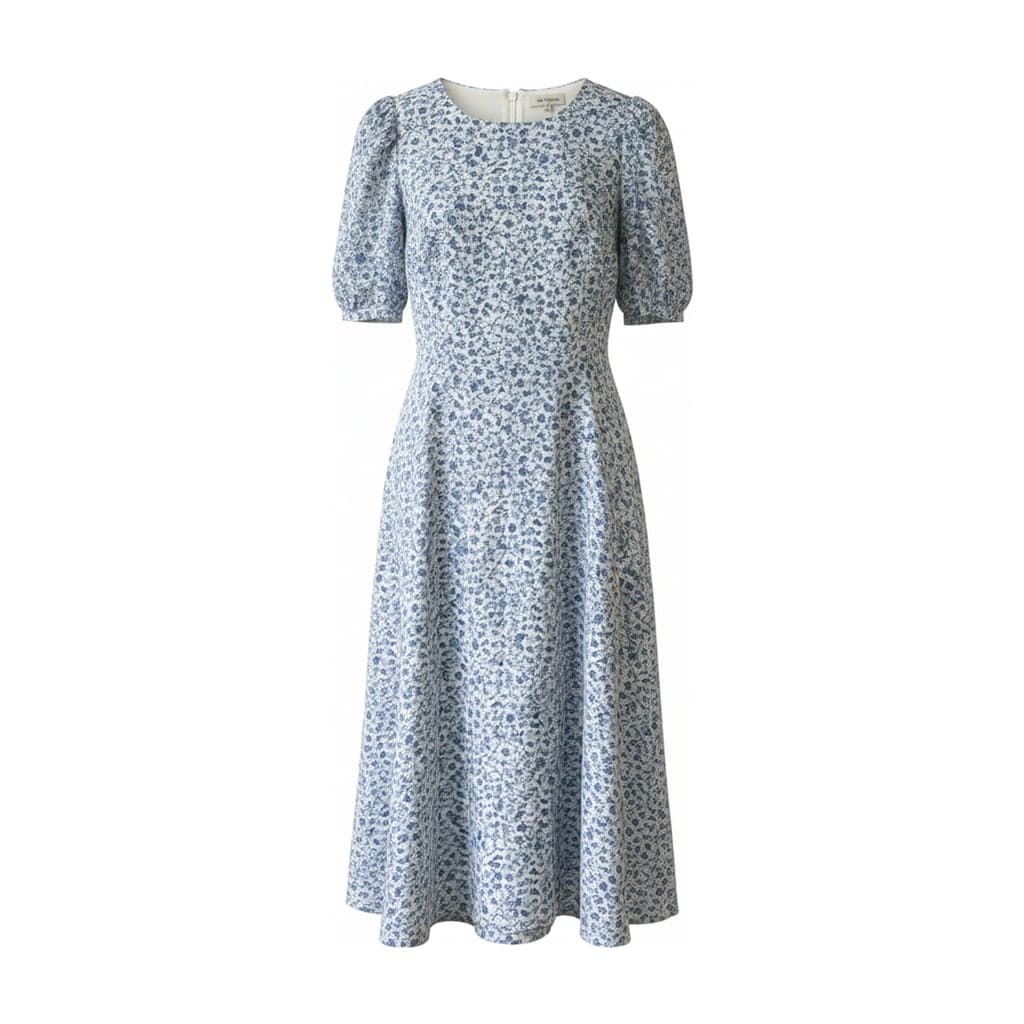 Ghost mannequinRemove a hanger from a photoTurn a photo of clothes on a hanger into a clean product image. AI removes the hanger and hook, rounds the shoulders and puts the garment on a plain background.
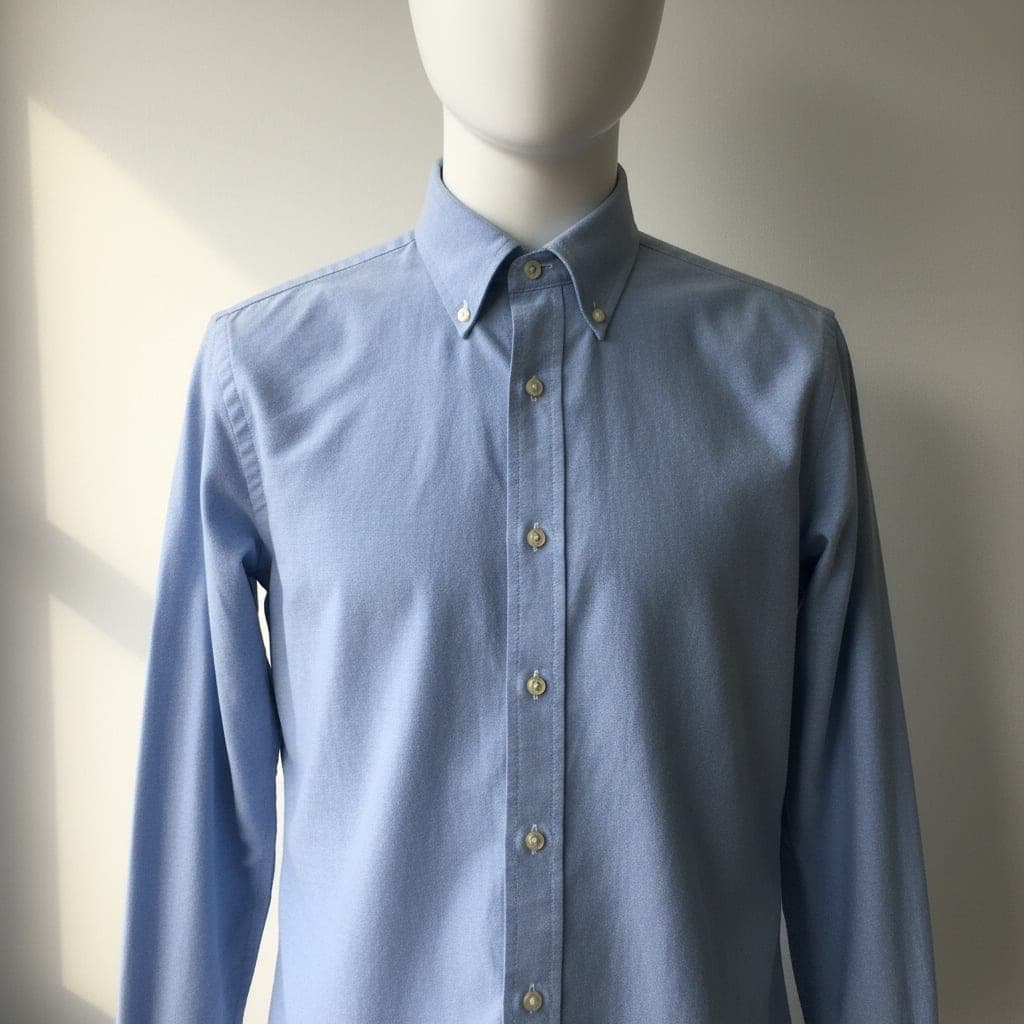
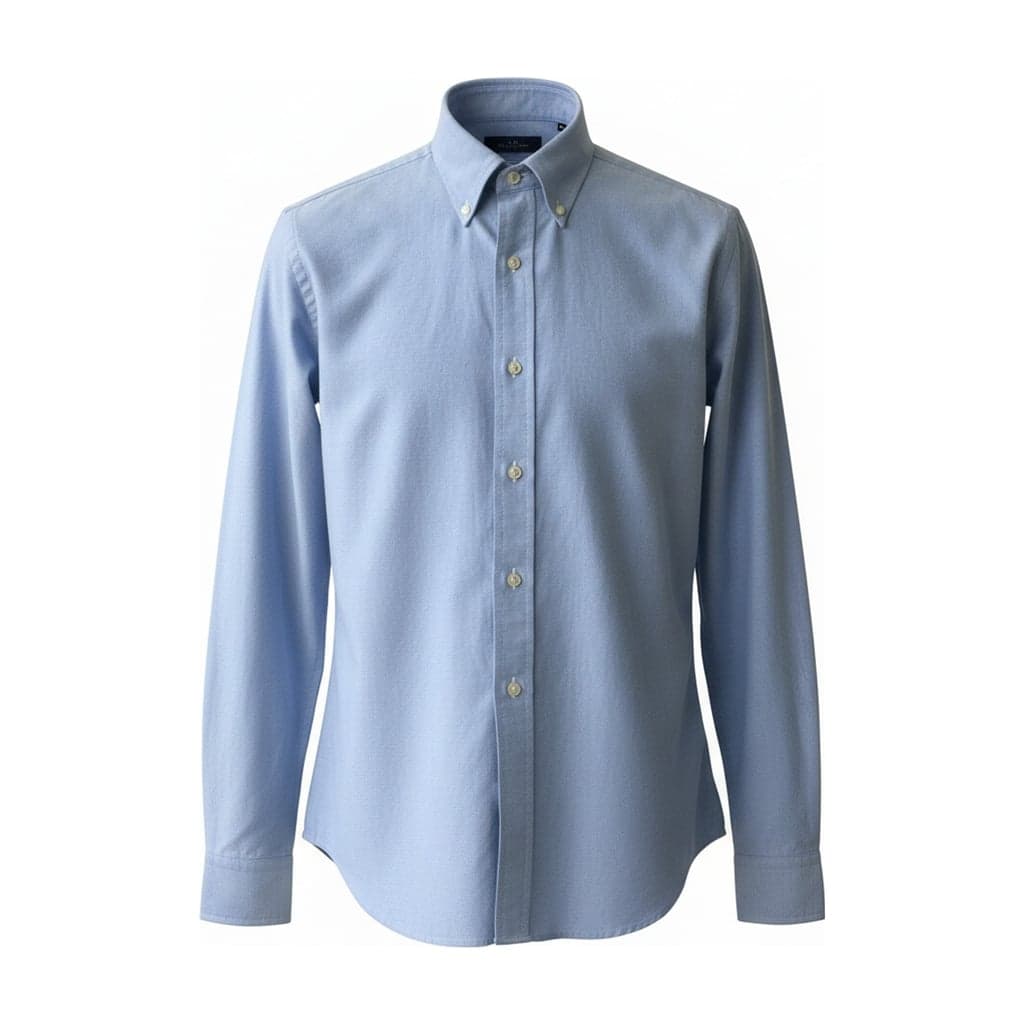 Ghost mannequinWhite background clothing photosTurn mannequin, hanger, flat lay or worn clothing photos into AI-generated white background product images, 2048 px, for Amazon, Etsy and Shopify.
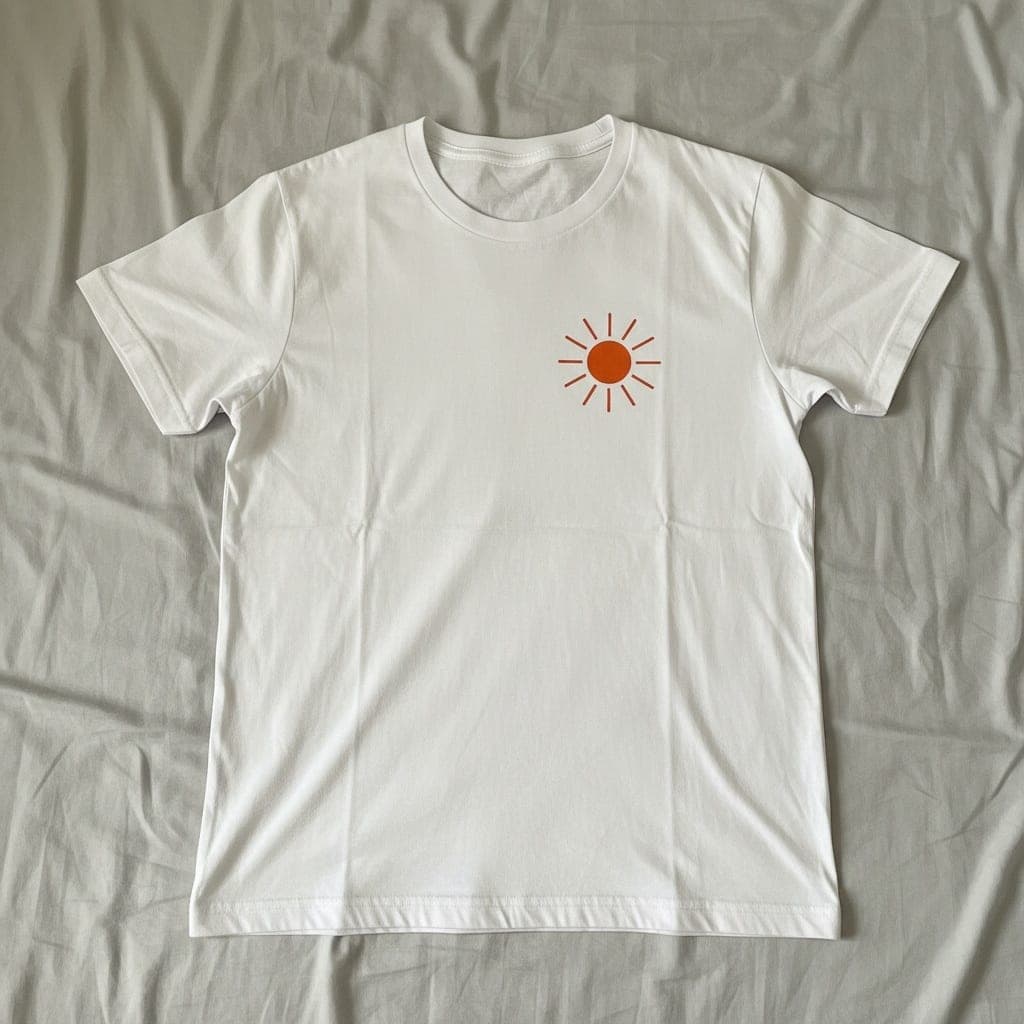
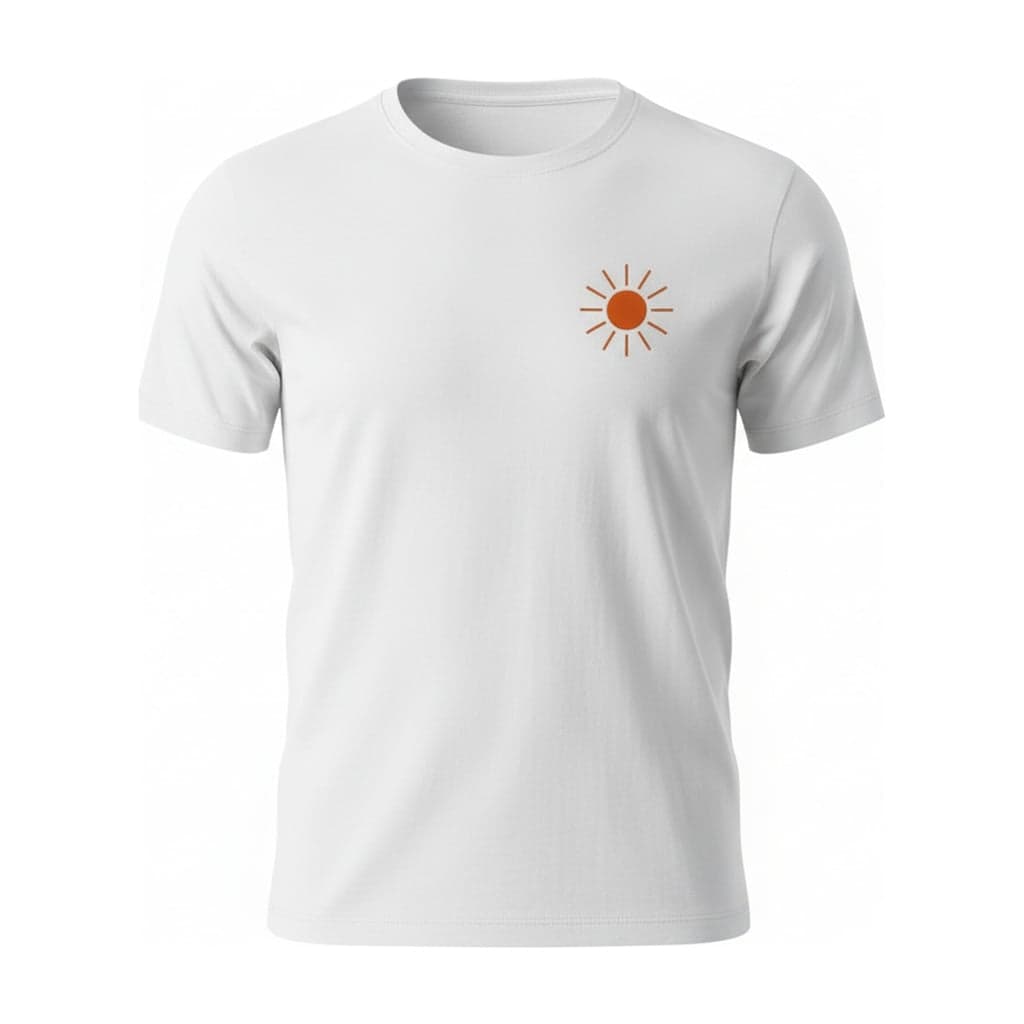 Ghost mannequinFlat lay to ghost mannequinTurn flat lay clothing photos into ghost mannequin product images with AI. See inputs, credit use, examples and garment-detail checks before publishing.Ghost mannequinShopify clothing photosCreate ghost mannequin product photos from existing garment photos, check the details, and upload the JPG to Shopify. See the workflow, examples and limits.