
Ghost Mannequin AI Prompt: What to Write and What to Check
A ghost mannequin AI prompt you can adapt for image models that accept a photo, why each sentence is there, and the mistakes to check for in every result.
Last updated:
If you use a general image model that accepts a reference photo, you can ask it for a ghost mannequin image directly. The result depends heavily on the prompt. A short request like "make this a ghost mannequin photo" usually gets the idea across, but it leaves the model free to change the garment, invent an inner neck, pick its own background and crop the sleeves. This guide gives a fuller ghost mannequin AI prompt, explains what each part prevents, and lists what to check before you use the image.
Everything below comes from building and testing the prompts behind our own ghost mannequin generator. It is general advice, not a guarantee for any particular model: models differ and change over time, so test with your own garments.
A prompt you can adapt
Attach one clear photo of the garment on a mannequin, on a hanger or laid flat, then use a prompt like this. Replace the parts in brackets.
Turn this photo into a professional e-commerce ghost mannequin
(invisible mannequin) product photo of the same garment.

Keep the garment exactly as it is: the same color, fabric, print,
logo, text, buttons, zips, pockets, stitching and length. Do not
add, remove or move any details.

Show it as if worn by an invisible body, with natural 3D volume and
soft, natural folds. [Remove the mannequin completely, including its
neck, shoulders and stand. / Remove the hanger and its hook and give
the shoulders a natural rounded shape.]

Front view, facing the camera straight on, symmetrical.

The neck opening shows only the inside of the same garment: the back
panel in the same fabric and color, smooth and plain, with no label.

The whole garment, including both sleeves and the hem, fits inside
the frame with clear empty space on every side, centered.

Place it on a seamless plain pure white background with no floor,
no backdrop edge, no gradient and no shadow.

No mannequin, no hanger, no stand, no people, no props, no text,
no watermark. Bright, even studio lighting, sharp focus,
true-to-life color.
Why each part is there
"The same garment" and the keep list. Without an explicit list of what must not change, models tend to tidy up: they smooth prints, simplify logos, change button counts or straighten a deliberately uneven hem. Naming the details you care about makes the model more likely to keep them. It does not make it certain.
Invisible body and natural folds. This is the effect itself. Asking only to "remove the mannequin" often produces a flat cut-out with an empty neck gap rather than a worn shape.
One removal sentence for your input. Mannequins and hangers leave different traces. A mannequin leaves its neck and stand; a hanger leaves a hook and pointed shoulder corners. Describing the one in your photo works better than a general "remove everything".
The inner neck sentence. This is the most important line. A mannequin hides the inside of the neck, so the model has to draw it, and left to itself it often adds a brand label, a size tag or printed text that your garment does not have. Asking for a plain back panel avoids invented labels. If your photo does show the real inner neck, for example a hanger shot where the label is visible, change the sentence to ask for it to be kept exactly as shown instead; a plain-back instruction can erase a real label too.
Whole garment in frame. Models like to frame a subject edge to edge. When the image is later cropped to your store's ratio, sleeves and hems get cut. Asking for space on every side gives you room to crop.
Background in words, not codes. Describe the background in plain language. A color code such as a hex value can end up painted into the image as text. If you need an exact gray, ask for white and recolor the background afterwards in an editor: in our tests, asking for light gray directly tended to drift towards blue or a gradient.
The "no" list. It removes the common leftovers: a stand base, a hook, a hand, a prop, or a watermark-like mark.
What to check in every result
Even with a careful prompt, compare the result with the real garment side by side:
- Color and wash. Dark denim, black and saturated colors are the most likely to shift.
- Prints, logos and text. Look for letters that have changed, merged or become nonsense.
- Hardware. Count buttons, check zipper length and whether a zip is open or closed, and look at pocket positions.
- Neckline shape. V-necks can become shallower and collars can change shape.
- Inner neck. Look for a label, size tag or seam that is not on the garment.
- Length and proportions. Sleeves and hems should end where they do on the garment.
- Leftovers. Hooks, stand bases or shadows shaped like a mannequin.
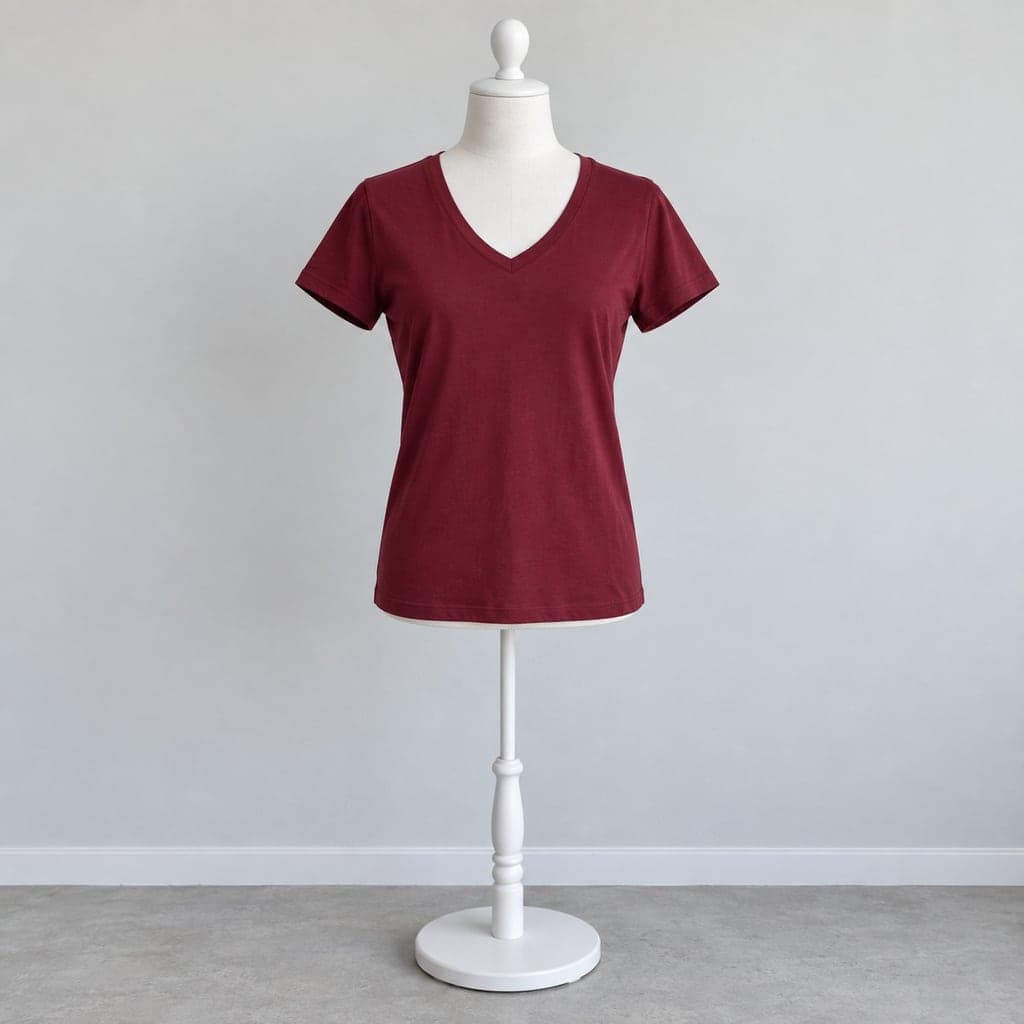 Mannequin
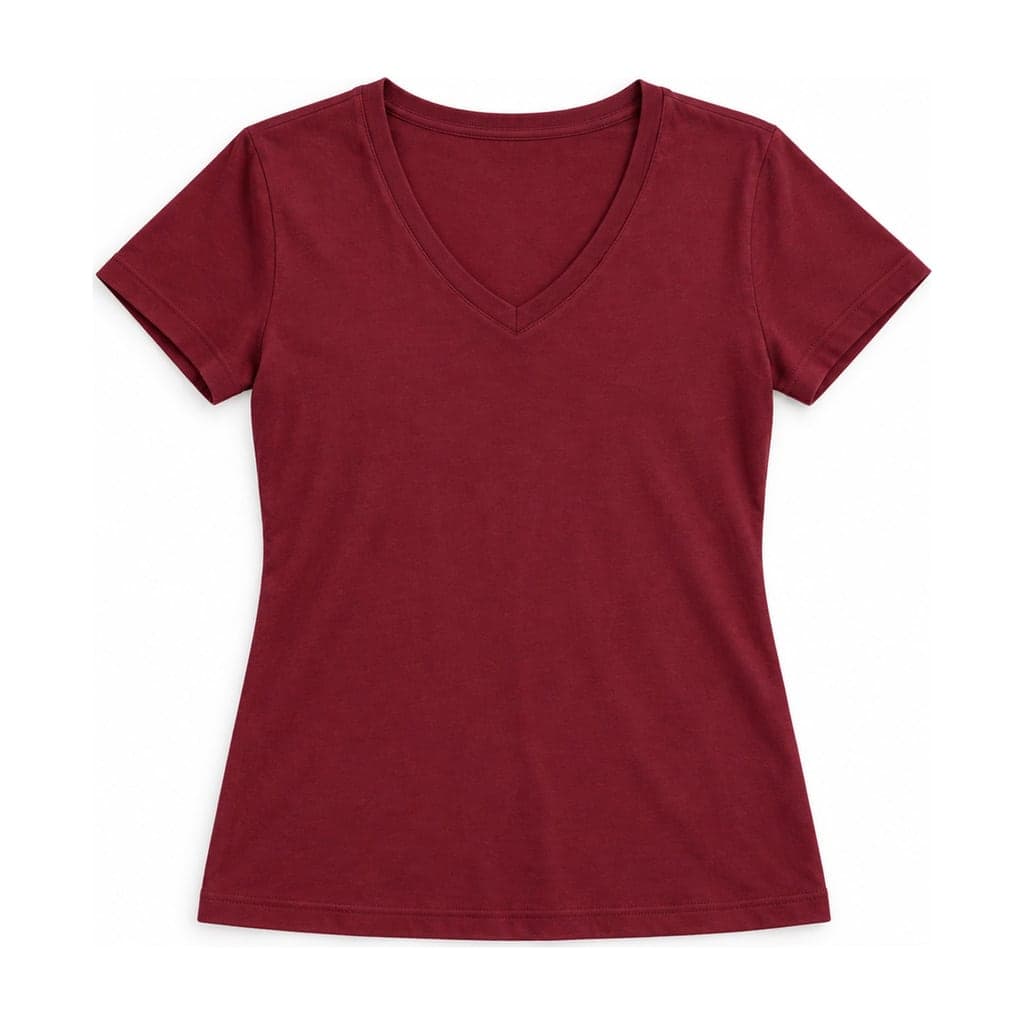 Flat lay
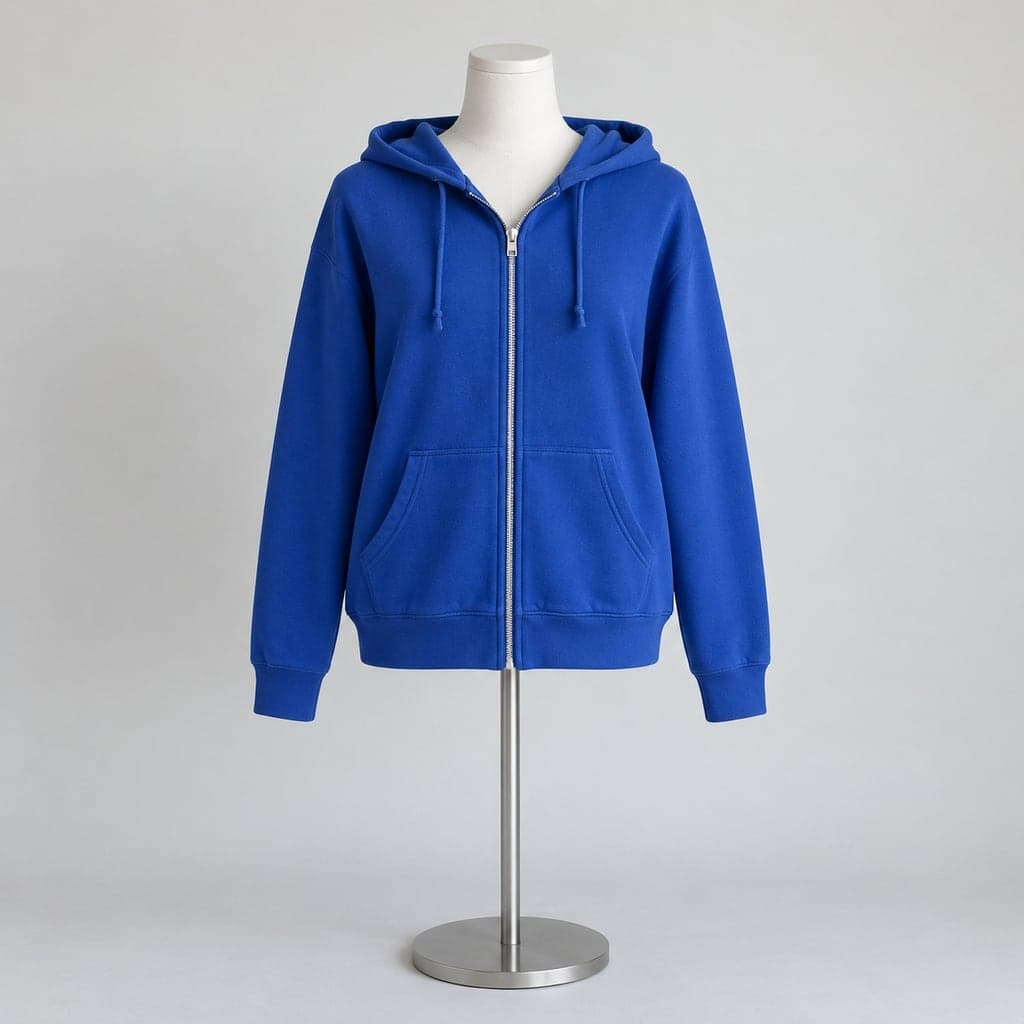 Mannequin
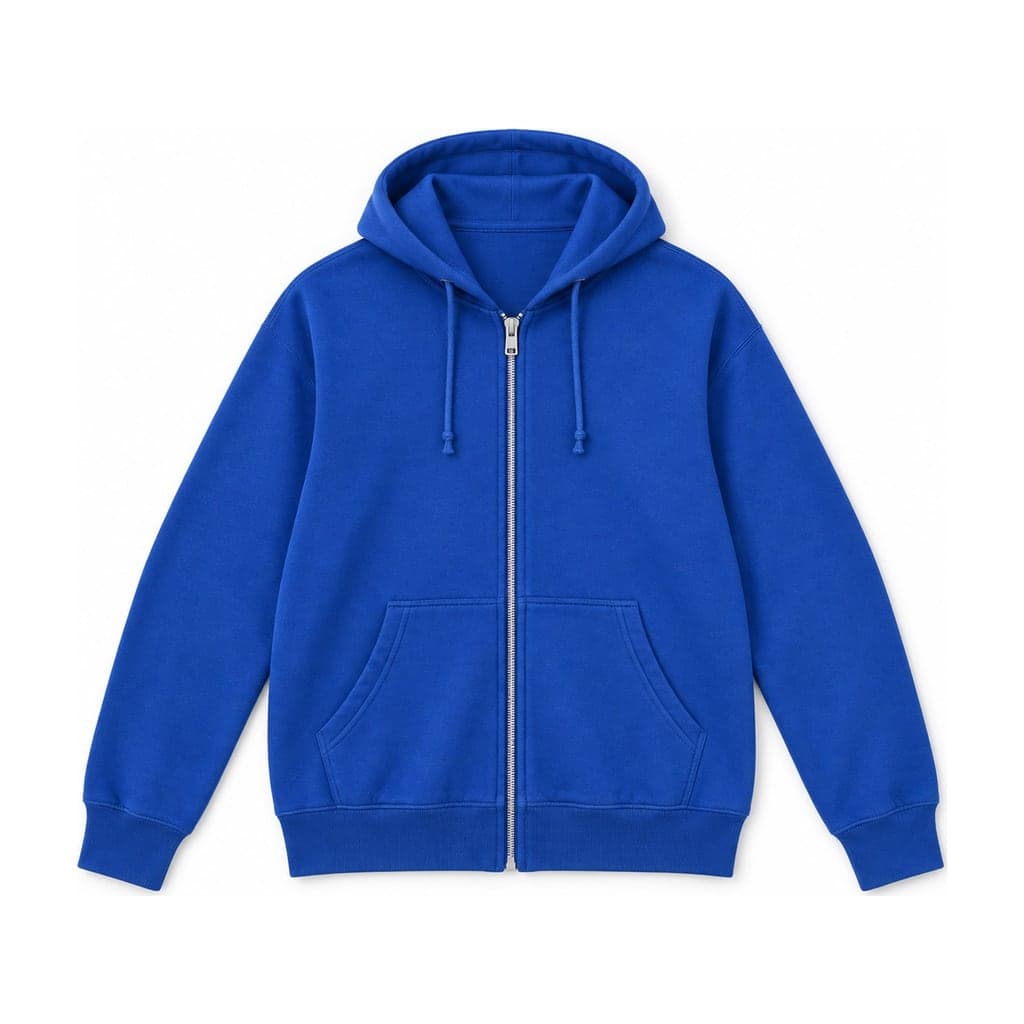 Flat lay
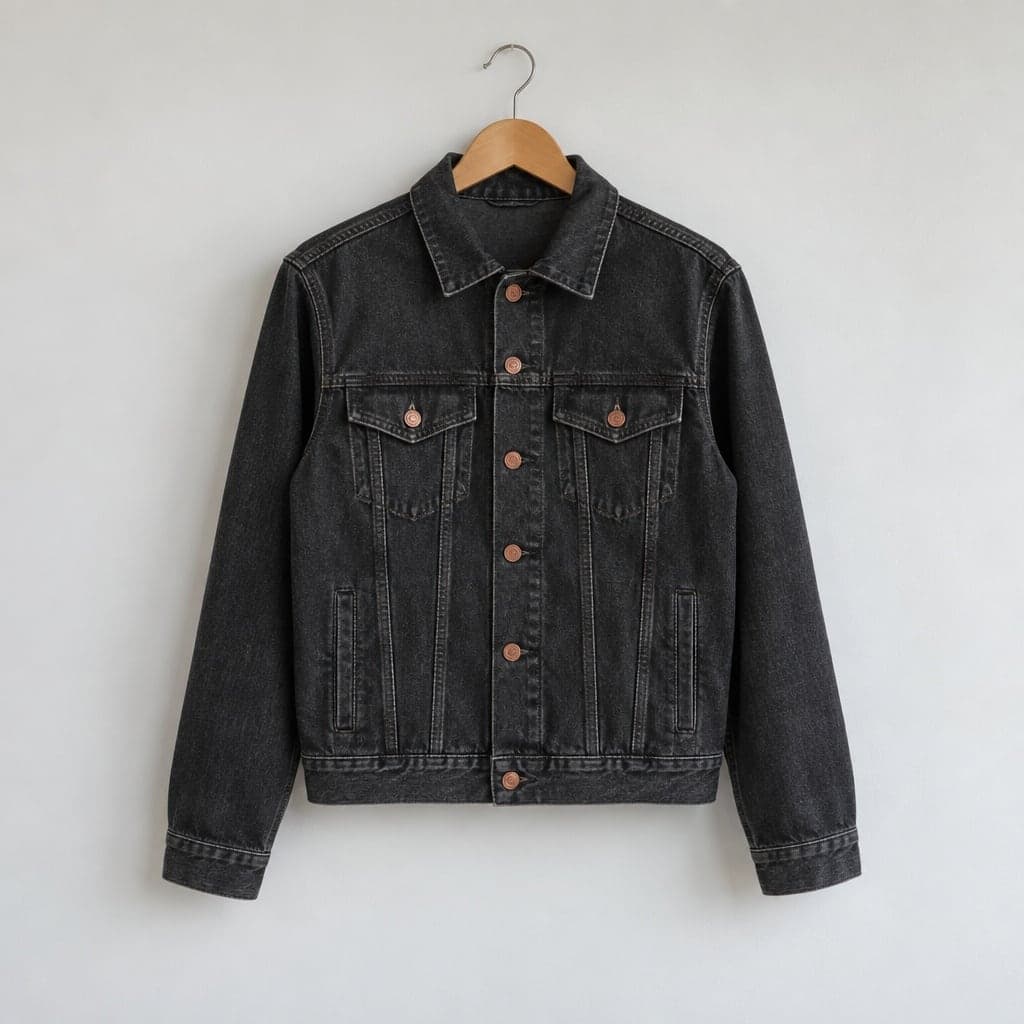 Hanger
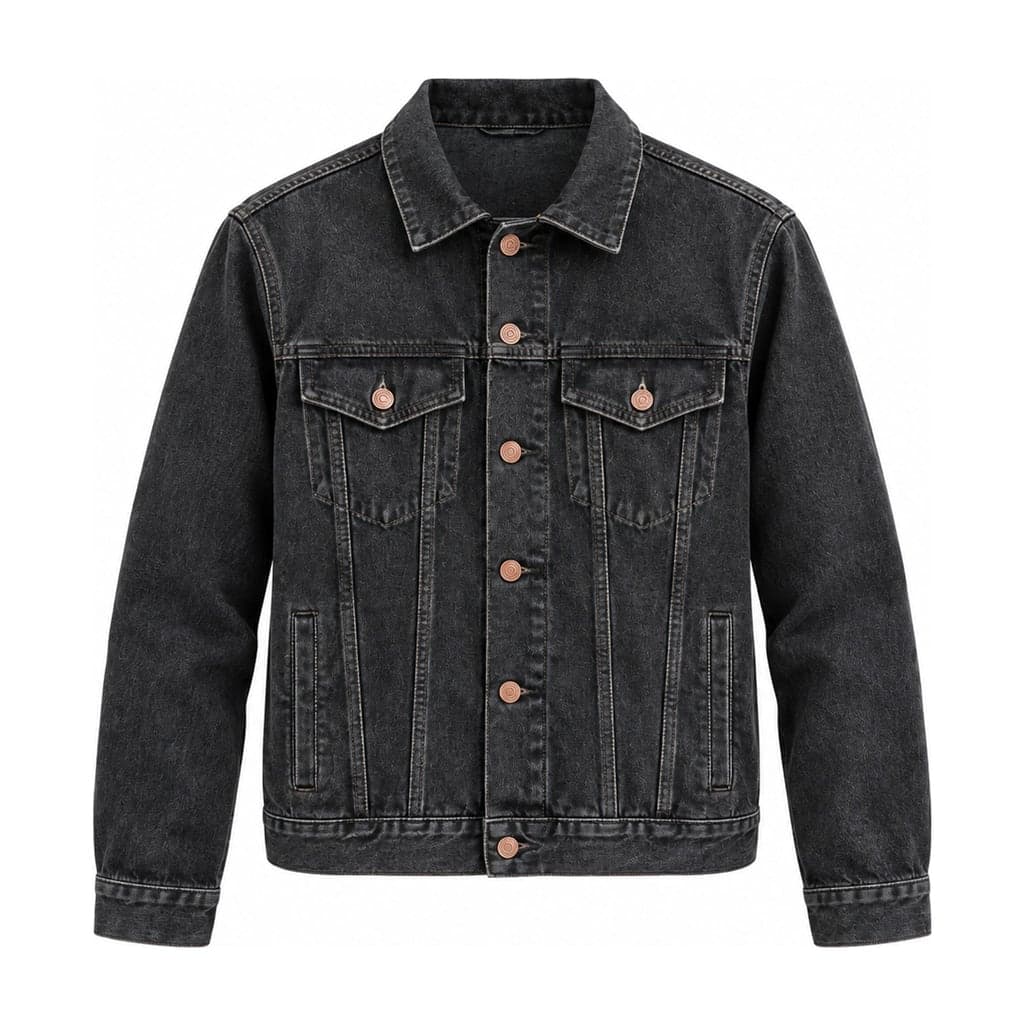 Ghost mannequin
The examples above are untouched results from our tool, and the note under each one says what differs from the input photo. They show the kinds of changes to look for: a shallower neckline, an altered zipper opening and a changed denim wash.
When a prompt is not enough
Prompting a general model works for occasional images. It gets harder across a catalog, where you want the same background, ratio, spacing and output size for every product and do not want to paste and adjust a long prompt each time.
That is the gap our ghost mannequin generator fills. You choose the input type, the side of the garment, the background, the aspect ratio and the spacing; the prompt is built for you on the server from those settings, the image is padded to your ratio at 2048 px on the short edge, and a separate check looks for an invented neck label and warns you. You can also add a close-up of the real collar so the inner neck is based on it rather than drawn from nothing. The result still needs the same comparison with your garment. For top-down views, the flat lay generator works the same way.
If you prefer to edit by hand, our ghost mannequin Photoshop guide explains the two-photo compositing method, which uses real fabric for the inner neck instead of a generated one.
Related reading
Learn what a ghost mannequin photo is, see how to photograph clothes for the effect, or compare a ghost mannequin service with AI.