
Mannequin Photography for Ecommerce: How to Shoot Clothes Without Models
How to photograph clothing on a mannequin for an online store: choosing a mannequin, styling the garment, light, camera position, the shot list and turning the photos into ghost mannequin images.
Last updated:
Mannequin photography is the most common way to photograph clothing without models. A mannequin or dress form gives a garment a worn, three-dimensional shape, holds it still for as long as you need and looks the same for every product. That makes it a good fit for an ecommerce catalog, where consistency matters more than mood. This guide covers choosing a mannequin, styling the garment on it, the light and camera setup, the shot list, and what to do with the photos afterwards.
Why shoot clothes on a mannequin
| Option | Shape | Consistency | Effort per item |
|---|---|---|---|
| Model | Best fit and movement | Varies with pose and person | Highest: booking, styling, edits |
| Mannequin | Worn 3D shape | High: same body every time | Medium: dress, pin, shoot |
| Hanger | Hangs flat, shoulders up | High, but looks less shaped | Low |
| Flat lay | Whole garment from above | High if arranged the same way | Medium: arranging takes time |
A mannequin sits in the middle: more shape than a hanger or flat lay, far less cost and variation than a model. Many stores either publish the mannequin photo as it is, or remove the mannequin afterwards to get a ghost mannequin image, where the garment looks worn by an invisible body.
Choosing a mannequin
- Torso or dress form for most clothing. A form without a head, arms or legs is enough for tops, jackets and dresses. For trousers, use a lower-body form or a full mannequin.
- Size close to your sample size. A garment that is too tight shows strain lines; one that is too loose collapses. Padding or clips can fix small differences, not large ones.
- Neutral, plain color. A white, light gray or skin-tone mannequin without printed patterns. Dark or patterned bodies show through thin or light fabric.
- Removable parts, if you plan the ghost effect by hand. Mannequins made for ghost mannequin photography have a removable neck piece, chest plate or arms, so the inside of the garment can be photographed and composited later. If you use an AI tool instead, a standard form works.
- A stable stand with adjustable height, so you can set the same garment height every time.
Styling the garment on the mannequin
Most of the work in mannequin photography happens before the camera comes out.
- Steam the garment on the mannequin. Creases from storage show clearly in product photos.
- Fit it from the back. Pull excess fabric behind the mannequin and hold it with clips or pins out of sight. The front should look fitted, not tight.
- Fill sleeves and gaps with tissue paper if a sleeve hangs flat or a shoulder dips.
- Button, zip and straighten everything the way a customer would wear it: collar flat, cuffs even, hem level.
- Check symmetry from where the camera will be. A seam or placket a few millimeters off-center is obvious in the final image.
- Remove lint with a lint roller just before shooting.
Light, background and camera position
Use soft, even light: a large window to one side with a white board opposite, or two daylight-balanced lights with softboxes at about 45 degrees on either side. Avoid one hard light, which throws deep shadows into folds. Turn off room lights so you are not mixing color temperatures.
Put the mannequin in front of a plain white or light gray background, with enough distance that its shadow does not fall on the wall.
Set the camera on a tripod at the height of the middle of the garment, roughly chest height for tops, and point it straight at the mannequin. A camera tilted up or down makes the garment look stretched. With a phone, step back and use the 2x lens instead of the wide lens to avoid distortion. Mark the tripod and mannequin positions on the floor so every product is shot from the same place.
The mannequin shot list
For each garment, take the same set:
- Front, full garment, centered.
- Back, turning the mannequin rather than moving the camera.
- Side or three-quarter view if the profile matters.
- Inside of the collar or neckline, shot into the garment from the front with the neck piece removed, or with the garment opened up. This is the photo that fills in the hidden neck area for a ghost mannequin image.
- Details and labels: fabric, buttons, zips, prints, care and size labels.
Keep the camera settings, light and white balance the same for the whole batch.
From mannequin photos to ghost mannequin images
Traditionally, a retoucher removes the mannequin in Photoshop and places the inside-of-collar photo into the neck opening. Our Photoshop workflow guide walks through it, and the service vs AI comparison covers outsourcing it.
An AI tool can do the removal from the front photo alone. Our ghost mannequin generator takes a mannequin photo, removes the torso, neck and stand, and gives you a hollow garment on a white or light gray background at the ratio and spacing you choose. In single-image mode you can add your inside-of-collar photo as an extra reference.
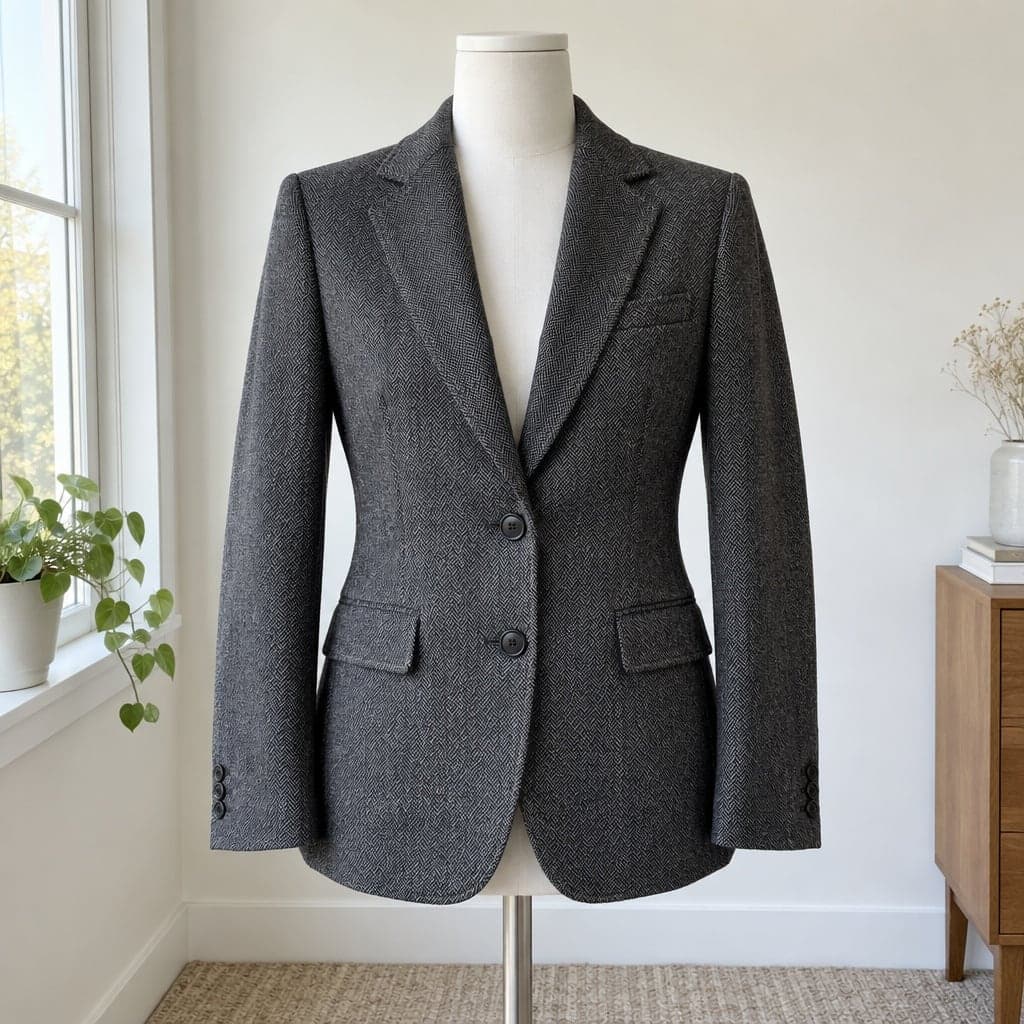 Mannequin
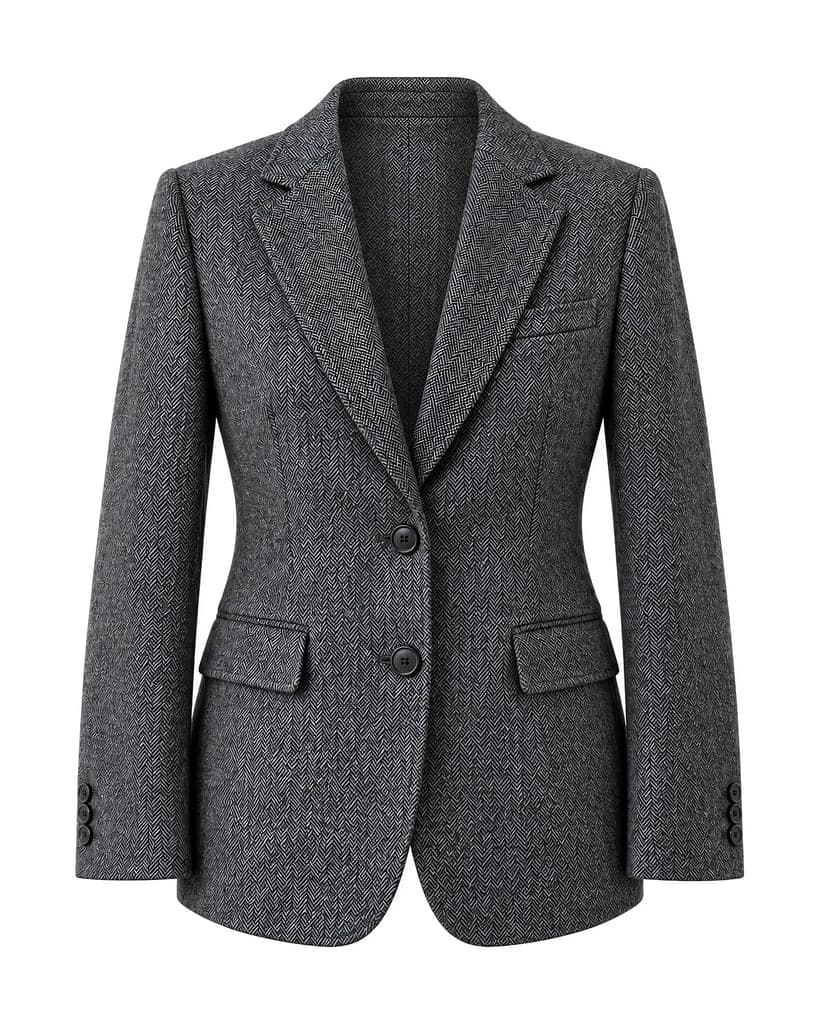 Ghost mannequin
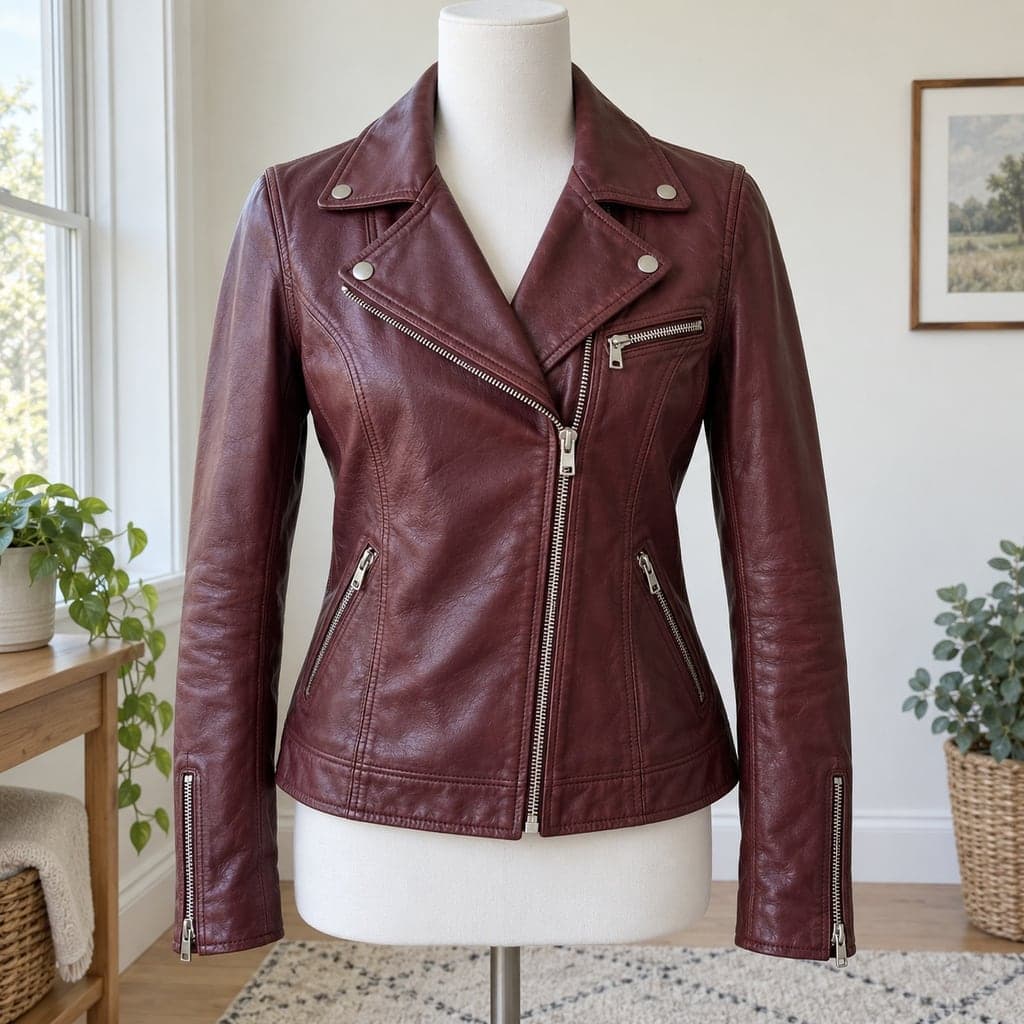 Mannequin
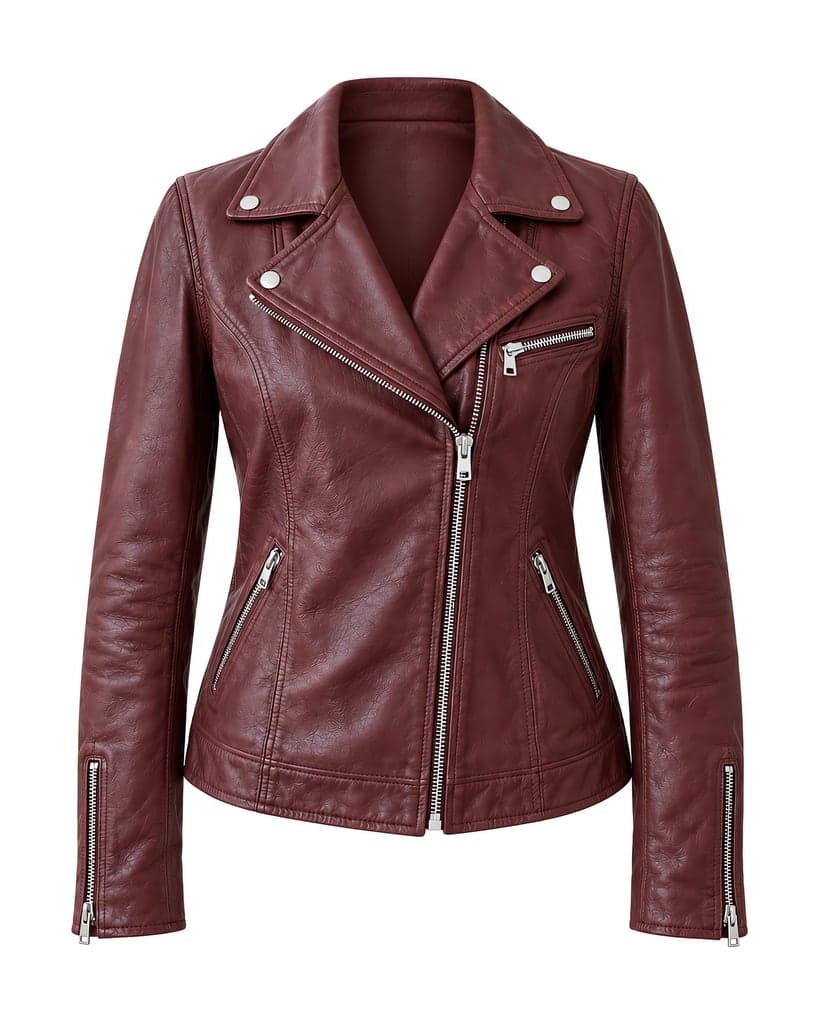 Ghost mannequin
The AI draws anything the camera did not capture, mainly the inner neck, and can change color, texture or small details. The note under each example says what changed compared with the original photo. Compare every result with the garment before you publish it, and keep your real detail photos for close-ups. If you would rather show the garment laid flat, the flat lay generator works from the same mannequin photo.
Quick checklist
- Mannequin close to sample size, plain light color
- Garment steamed, fitted from the back, symmetrical
- Soft light from both sides, room lights off
- Camera level with the middle of the garment, same position every time
- Front, back, side, inside of collar, details and labels
- Every edited or generated image checked against the garment
Related reading
Learn the basics of ghost mannequin photography, read our clothing and apparel photography overview, or see how to take pictures of clothes to sell.